Three years ago, I had a client from Chicago who approved a bomber jacket sample in two days. He looked at the photo on his phone, thought "looks sharp," and wired a 30% deposit for 4,000 units. Six weeks later, the container arrived. The zipper tape on all 4,000 jackets was navy blue. The approved sample had a black zipper tape. He didn't notice. His buyer noticed immediately. He had to discount the entire order by 40% just to move them out of his warehouse. That one missed detail cost him more than the entire year's profit on that account.
Properly evaluating a clothing sample requires a systematic, three-dimensional inspection that goes far beyond looking at a photo. You must physically measure every critical dimension against your tech pack, stress test the seams and attachments, verify the hand feel and drape of the fabric against your original sourcing intent, and document every deviation in writing. The sample is not an art project. It is a legally binding contract that tells the factory exactly what you will accept 5,000 times over. If you sign off on a flawed sample, you have just approved 5,000 flawed garments.
I run the sample room at Shanghai Fumao as tightly as I run the bulk production floor. I have seen what happens when brands rush this step. I want to walk you through the exact process we use internally to check our own work before we ever ship a sample to a buyer. This is the checklist that separates the professionals who sleep well at night from the gamblers who pray when the container door opens.
What Are the Critical Measurement Points to Check on a Pre-Production Sample?
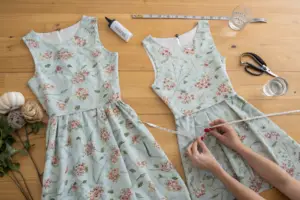
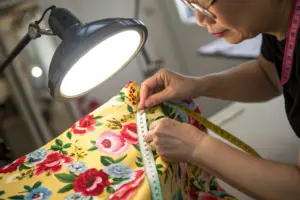
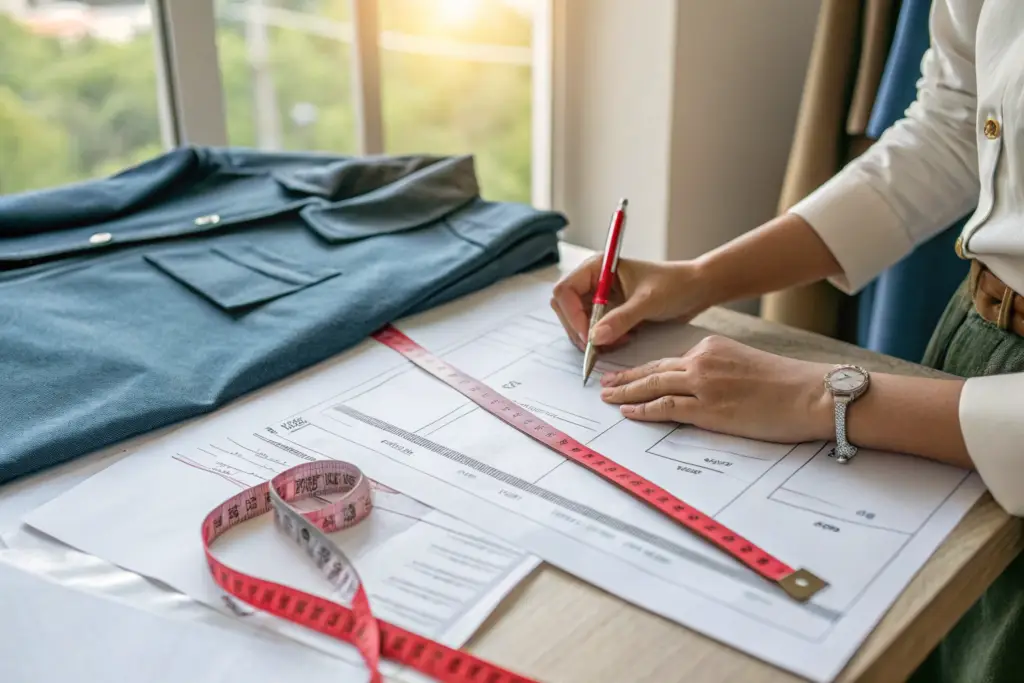
You cannot evaluate a sample by holding it up in front of a mirror and saying "Looks good." You need a tape measure and a flat table. Gravity lies. Fabric stretches. You must measure a garment on a hard, flat surface with the fabric smoothed, not pulled.
I had a brand owner last year who complained that the bulk production men's wear shirts were "too tight." We pulled the signed-off sample from storage and measured it. The chest on the sample was 42 inches. The spec sheet he provided said 44 inches. He had never measured the sample. He just tried it on a fit model who happened to have a smaller build. He approved a 42-inch chest without realizing it. The factory followed the approved sample perfectly. The error was in his evaluation process.
How Do You Accurately Measure Chest, Shoulder, and Length on Different Garment Types?
Different garment categories require different measurement techniques. A T-shirt is measured differently than a woven blouse or a structured jacket. If you use the wrong method, your numbers will be meaningless.
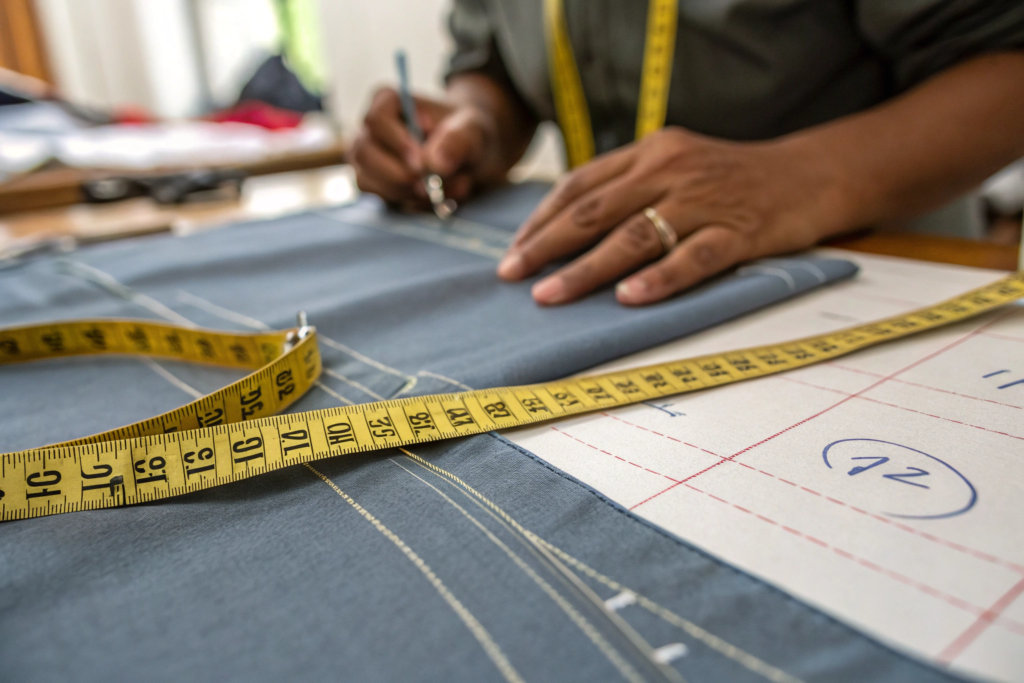
Here is the correct way to measure the three most critical points across common categories:
| Measurement | T-Shirt / Knitwear | Woven Shirt / Blouse | Outerwear / Jacket |
|---|---|---|---|
| Chest (Half) | Lay flat. Measure 1 inch below armhole seam, straight across. | Lay flat. Measure from side seam to side seam at the bottom of the armhole curve. | Lay flat. Measure across the front panel above the pocket placement, edge to edge. |
| Shoulder | Measure from shoulder point to shoulder point across the back of the neck. | Measure from shoulder seam intersection at collar to shoulder seam intersection at sleeve. | Measure across the back yoke seam, not the curved shoulder seam. |
| Body Length | Measure from the Highest Point of Shoulder next to collar straight down to the hem. | Measure from the center back neck seam (below collar band) straight down to hem. | Measure from center back neck seam to bottom hem. Do not follow the curve of the back. |
At Shanghai Fumao, we use a standardized measurement diagram that we send with every sample. We want you to measure the sample exactly the way we measured it. If we measure from the HPS and you measure from the side neck, we will have a half-inch discrepancy that leads to a pointless argument. Alignment on method is just as important as alignment on tolerance.
Why Does Seam Allowance and Tolerance Matter More Than the Exact Number?
You write "Chest: 40 inches" on a spec sheet. But you don't write "+/- 0.5 inches." That missing note is where the trouble starts.
Fabric moves. A knitwear fabric like cotton jersey has natural relaxation. A piece cut at exactly 40 inches might relax to 39.5 inches after it comes off the cutting table. If your tolerance is too tight (say, +/- 0.25 inches), you are setting the factory up to fail. They will cut the garment bigger to be safe, which changes the fit and wastes fabric.
I recommend the following tolerance standards for clothing evaluation:
- Woven / Non-Stretch: +/- 0.5 inches on main body measurements.
- Knit / Stretch: +/- 0.75 inches on main body measurements (allow for relaxation).
- Seam Allowance: Check that the internal seam allowance is at least 3/8 inch (1 cm). Anything less and the seam will burst when the customer puts stress on it. Use a seam ripper to open a small section of the sample and verify this. You cannot see it from the outside.
A client who sources activewear learned this the hard way. The sample looked great, but the factory used a 1/4 inch seam allowance to save a tiny bit of fabric. The crotch seams of the leggings split on 15% of the first batch. Measuring the finished garment would not have caught this. Destroying the sample to check the construction is the only way. For more on industry standard tolerances, review the guidelines from the American Apparel and Footwear Association.
How Can You Test Fabric Quality and Durability from a Single Sample?
You hold the sample. It feels soft. You think, "This is nice quality." But softness out of the bag is not durability. Mills apply finishing agents called "softeners" that wash out after one laundry cycle. The fabric that feels like a cloud today might feel like sandpaper next week.
You need to torture the sample a little bit. Not enough to destroy it if you need to keep it for reference, but enough to know what will happen in the real world. I tell all my brand buyers to do three simple tests at home before signing the sample approval form. These tests reveal more about fabric quality than any mill certificate.

What Is the "Recovery Test" and Why Is It Crucial for Stretch Fabrics?
If you are sourcing women's wear leggings, activewear, or anything with spandex, this test is non-negotiable. Stretch is easy. Recovery is hard.
How to Perform the Recovery Test:
- Lay the sample flat. Measure a 10-inch section across the stretch direction (usually width-wise on the body).
- Stretch that section firmly to its maximum comfortable stretch—not to the point of tearing, but to where it feels snug on a body. Hold for 10 seconds.
- Release and let the fabric rest for 60 seconds.
- Measure the section again.
If the fabric returns to 10 inches (or 9.9 inches), you have excellent recovery. If it stays at 10.5 inches, you have a problem called "bagging out." The garment will look saggy and loose after an hour of wear. The customer will think the sizing is wrong, but it's actually the fabric quality. We reject elastane blends that do not recover to within 5% of their original dimension. Cheap spandex loses its memory fast.
How Do You Simulate Pilling and Seam Slippage at Home?
You don't need a $20,000 Martindale abrasion machine. You have jeans.
The Denim Rub Test for Pilling
Take the sample fabric and rub it vigorously against the thigh of a pair of clean, dry denim jeans. Do this 20-30 times with moderate pressure. Look at the surface of your clothing sample. Do you see tiny fuzz balls forming? That is pilling. If it pills after 30 rubs against denim, imagine what happens after a season in a washing machine. This is a critical test for sweaters and fleece outerwear.
The Seam Slippage Test
This is for woven blouses and men's wear dress shirts. Take the sample and grip the fabric on either side of a seam (like the side seam). Pull firmly but steadily. Do not yank. Do you see light coming through the seam? Does the weave open up and expose the stitching thread?
If you see the fabric pulling away from the thread, the seam is weak. The yarn count is too loose or the seam allowance is too narrow. In bulk production, these seams will split open. This is especially common in viscose and rayon fabrics. I had a brand owner who approved a beautiful drapey rayon dress sample. The bulk arrived and the side seams opened on 20% of the units just from being tried on. The slippage test on the sample would have warned him. For a visual guide on this specific failure, consult FabricLink's Textile Education resources.
Why Should You Evaluate Trims and Accessories Separately from the Fabric Body?
You spent three weeks agonizing over the fabric shade of blue. You approved the fit. Then the bulk order arrives and the buttons crack in half when the customer tries to button the shirt. Or the zipper teeth separate at the bottom. The garment is worthless. The trim failed.
Trims—zippers, buttons, snaps, drawcords, labels—are the moving parts of the garment. They are the stress points. A factory can use a beautiful Italian wool, but if they pair it with a cheap Chinese zipper, the jacket fails when the zipper breaks. You must evaluate the trims with the same rigor as the main fabric.
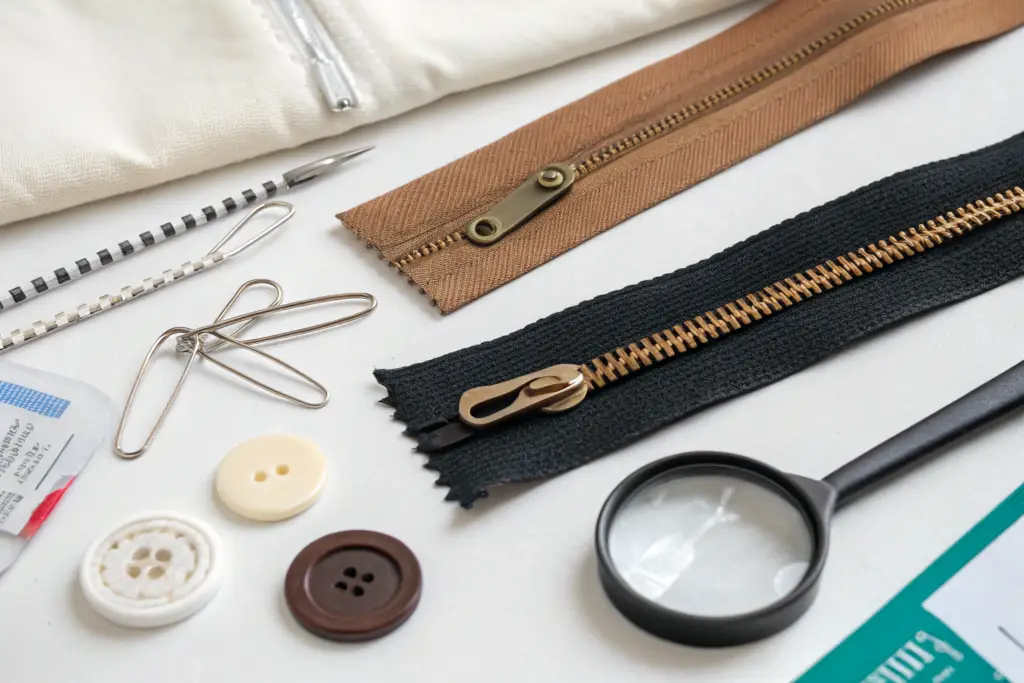
How Do You Verify Zipper Functionality and Colorfastness of Hardware?
The zipper is the most common point of failure in jackets, outerwear, and pants. You need to test it on the sample like a five-year-old would test it. Yank it. Force it.
The Zipper Checklist:
- The Zip Test: Zip and unzip the sample 20 times fast. Does it snag? Does it hesitate? A smooth zipper should glide with minimal effort.
- The YKK Check: Look at the slider body. Does it say YKK? If it does, the zipper is likely high quality. If it is unbranded, you need to test it twice as hard. YKK has a massive market share because their tolerances are tight. There are other good brands (SBS, IDEAL), but YKK is the gold standard for bulk apparel orders.
- The Scratch Test for Hardware: Take a coin or a key and scratch the back of the zipper pull or a snap button. Does the "antique brass" finish flake off to reveal shiny silver underneath? If the finish is cheap paint, it will look terrible after two weeks in a retail store or a customer's washing machine.
We had a custom logo order for a brand that wanted gold-colored zipper pulls. The sample looked great. But the factory sourced cheap plated pulls. We did the scratch test, and the gold came right off. We switched to a YKK zipper with a genuine brass finish. It cost $0.18 more per unit. That $0.18 saved the brand from a 100% return rate on a $120 jacket.
Why Does Thread Color and Stitch Density Affect Long-Term Durability?
This is the detail that separates the amateurs from the pros. You look at the sewing machine stitching on the sample. It looks straight. You approve it. But you didn't check the thread type or the stitch count.
The Thread Burn Test
Pull a loose thread from an inside seam allowance. Hold a lighter to it. Does it melt into a hard black bead? It's polyester. Does it turn to ash and smell like burning paper? It's cotton. For activewear and stretch apparel, you want polyester thread. Cotton thread will snap when the fabric stretches. For denim and heavy woven garments, cotton-wrapped poly core thread is best.
Stitch Density (SPI - Stitches Per Inch)
Take a ruler and count the stitches in one inch of the seam. Here is the standard for safety:
| Garment Type | Minimum SPI | Why It Matters |
|---|---|---|
| Woven Dress Shirts | 8-10 | Fine finish, but seam can slip if less than 8. |
| T-Shirts / Knitwear | 10-12 | Needs to stretch without thread breaking. |
| Denim / Heavy Jackets | 7-9 | Too many stitches can perforate and weaken the denim. |
| Leather / Outerwear | 6-8 | Thick materials require longer stitch length. |
I check the SPI on every sample from Shanghai Fumao before it leaves. If the thread is too thin or the stitches are too far apart, the clothing manufacturer is trying to save time. Sewing faster with a longer stitch length saves labor. But it costs you in returns and repairs.
What Documentation Should Accompany a Sample for Proper Sign-Off?
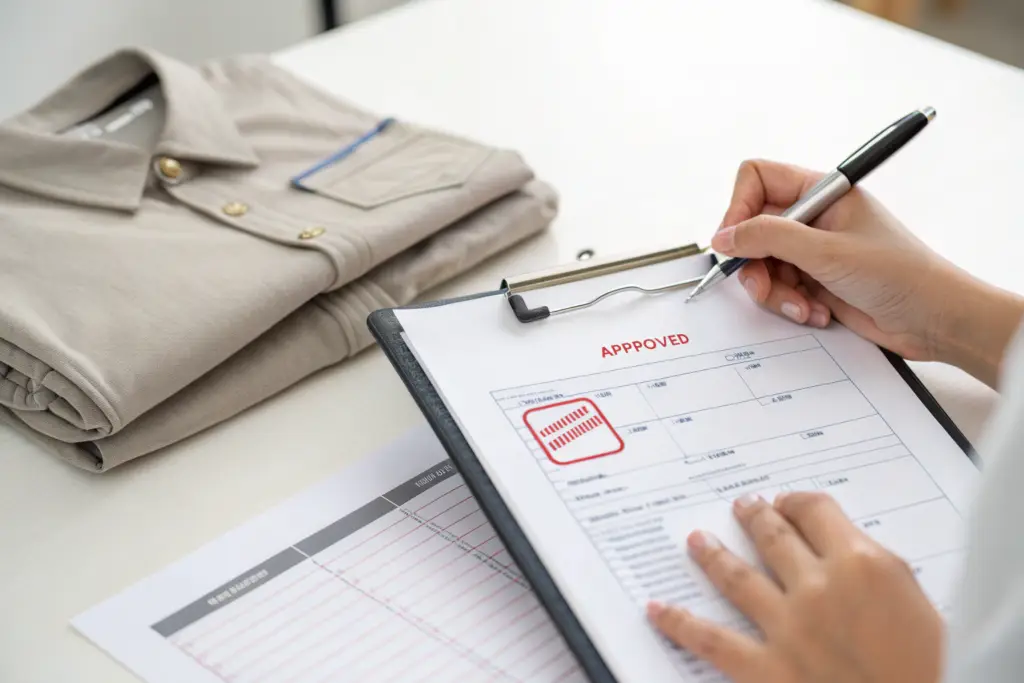
You have measured the sample. You have rubbed it, stretched it, and burned a thread. Now you need to document your findings. A verbal "looks good" on a Zoom call is not a defense against a container of 10,000 wrong garments. You need a paper trail that a lawyer could read.
I provide my wholesale clients with a standardized Sample Approval Form. If your factory doesn't provide one, you must create your own. This document protects you when the bulk production doesn't match. Without it, you are relying on memory, and memory is faulty.
What Is the Difference Between Fit Sample, PP Sample, and TOP Sample?
You might hear these terms thrown around and think they are interchangeable. They are not. Confusing them is a major source of timeline delays.
| Sample Type | Stage | Purpose | Who Approves? |
|---|---|---|---|
| Fit Sample | Design Phase | Verify pattern shape and silhouette on a live model or dress form. Fabric can be similar, not exact. | Designer / Technical Designer |
| PP Sample (Pre-Production) | Pre-Bulk | This is the contract. Made with exact bulk fabric, trims, and construction. This is what you must sign off. | Buyer / Brand Owner |
| TOP Sample (Top of Production) | Bulk Phase | First piece off the bulk production line. Verifies that the factory set up the line correctly to match the PP Sample. | Factory QC / Third-Party Inspector |
I have seen brand owners approve a "Fit Sample" made of cheap muslin and then get angry when the bulk production in heavy fleece fits differently. The PP Sample is the only sample that matters for your payment methods and final approval. It must be 100% representative of what you will receive in the box.
Why Do You Need a Written Comment Sheet Even If the Sample Is "Perfect"?
"Perfect" is a trap. There is no perfect sample. There is only a sample that meets the agreed-upon specifications. Even if it meets every spec, you must write that down.
Your comment sheet should include:
- Date of Approval: This starts the clock on production lead time.
- Explicit Statement: "Approved for bulk production exactly as received. Any deviation requires re-approval."
- Minor Comments: "Approved, but note: Clean finish inside collar. Ensure bulk has same clean finish." This covers the detail you liked but wasn't on the spec.
- Photos: Attach a photo of the sample you are approving, with a date stamp.
I keep every signed approval form from every clothing client in a shared cloud folder. When a client from Canada questioned the pocket placement on a run of 2,000 women's wear shorts, I pulled up his signed PP approval form with the photo of the pocket he signed off on. The conversation shifted from "You made it wrong" to "Oh, I approved the wrong placement." That shift in responsibility is why documentation exists. It clarifies who owns the decision. For templates and best practices on this process, check the resources available from The Maker's Row blog on manufacturing workflows.
Conclusion
The sample is the most important garment you will ever receive from a factory. You will never wear it. You will never sell it. But it determines the fate of every other piece you do sell. A rushed sample approval is the single most expensive shortcut in the apparel industry.
We walked through the specific measurements you must take and why tolerance matters more than the exact number. We discussed how to abuse the sample a little bit at home—stretching it, rubbing it, and picking at its threads—to predict what will happen in the real world. We looked at the trims and the zippers, the small parts that cause the biggest headaches. And we covered the paperwork that turns a subjective opinion into an objective, enforceable agreement.
At my factory, we want you to be rigorous. We want you to find the issues in the sample stage because we have time to fix them. Finding them in bulk is a disaster for both of us. A strong sample approval process is not about being difficult. It is about being precise. It is about making sure that what you designed in your head matches what the sewer makes on the line.
If you want to establish a clear, documented sample approval process for your next collection, we can help guide you through it. We provide spec sheets, measurement guides, and material certification with every pre-production sample. Reach out to our Business Director Elaine at elaine@fumaoclothing.com to discuss how we manage the sampling workflow to protect your brand from costly bulk production errors.