To ensure maximum fabric yield and reduce custom garment waste, you need to use computer-aided pattern nesting, standardize your size ratios, control fabric roll widths, and train cutting room staff on defect management. These methods can reduce fabric waste from 15% down to 5% or less.
I run a clothing factory in China with five production lines. We ship to North America and Europe. Fabric is our biggest cost. It is usually 50% to 70% of the total garment cost. Every inch of wasted fabric is money lost. Over the years, we have cut our fabric waste from 12% to 4%. That saves our clients thousands of dollars per order. Let me show you exactly how we do it.
Why does fabric yield matter more than labor cost in garment production?
Many brand owners focus on labor cost. They want to know the sewing price per piece. But fabric is usually much bigger. A small improvement in fabric yield saves more money than a big improvement in labor cost. The math is simple. Let me show you.
What percentage of fabric is typically wasted in garment cutting?
The industry average for fabric waste is 10% to 15%. That means for every 100 meters of fabric you buy, 10 to 15 meters go into the trash. Some factories waste even more. We have seen waste as high as 25% in poorly managed cutting rooms.
Here is how fabric waste breaks down in a typical cutting room:
| Waste Type | Percentage of Total Fabric | Cause |
|---|---|---|
| Marker waste (between patterns) | 5% to 8% | Poor pattern nesting, inefficient layout |
| End of roll waste | 2% to 4% | Short remnants, mismatched roll lengths |
| Defect waste | 1% to 3% | Fabric flaws, stains, weaving errors |
| Cutting error waste | 1% to 2% | Human mistakes, misaligned layers |
| Sample and development waste | 1% to 2% | Sample cutting, fitting iterations |
| Total typical waste | 10% to 19% | Combined from all sources |
A client from New York ordered 10,000 woven shirts from us. The fabric cost was $3.20 per meter. Each shirt used 1.6 meters of fabric. Total fabric cost was $51,200. With 12% waste, they bought fabric for 11,200 shirts. The extra 1,200 shirts worth of fabric cost $6,144. That was pure waste.
We reduced their waste to 5%. They bought fabric for only 10,526 shirts. The waste cost was $2,683. We saved them $3,461 on that single order. That is more than the profit on 300 shirts. And this saving happens on every order.
How does fabric yield affect your landed cost and pricing?
Lower fabric yield means higher landed cost. Higher landed cost means lower margins or higher retail prices. In a competitive market, you cannot pass all costs to customers. So the waste comes out of your profit.
Let me show you a real calculation from a cost of goods sold analysis we did for a client:
| Scenario | Fabric Waste | Fabric Cost per Shirt | Labor Cost per Shirt | Total Cost per Shirt | Margin at $25 Retail |
|---|---|---|---|---|---|
| Poor yield | 15% | $4.60 | $2.80 | $7.40 | 70.4% |
| Average yield | 10% | $4.40 | $2.80 | $7.20 | 71.2% |
| Good yield | 5% | $4.20 | $2.80 | $7.00 | 72.0% |
| Excellent yield | 3% | $4.12 | $2.80 | $6.92 | 72.3% |
The difference between poor yield and excellent yield is $0.48 per shirt. On an order of 50,000 shirts, that is $24,000 of extra profit. You do not need to sell more products. You do not need to raise prices. You just need to cut fabric better.
One of our activewear clients switched to us because their previous supplier had 18% waste. We got them down to 6% waste. Their cost per legging dropped by $0.65. They saved $32,500 on a 50,000 piece order. That money went straight to their bottom line.
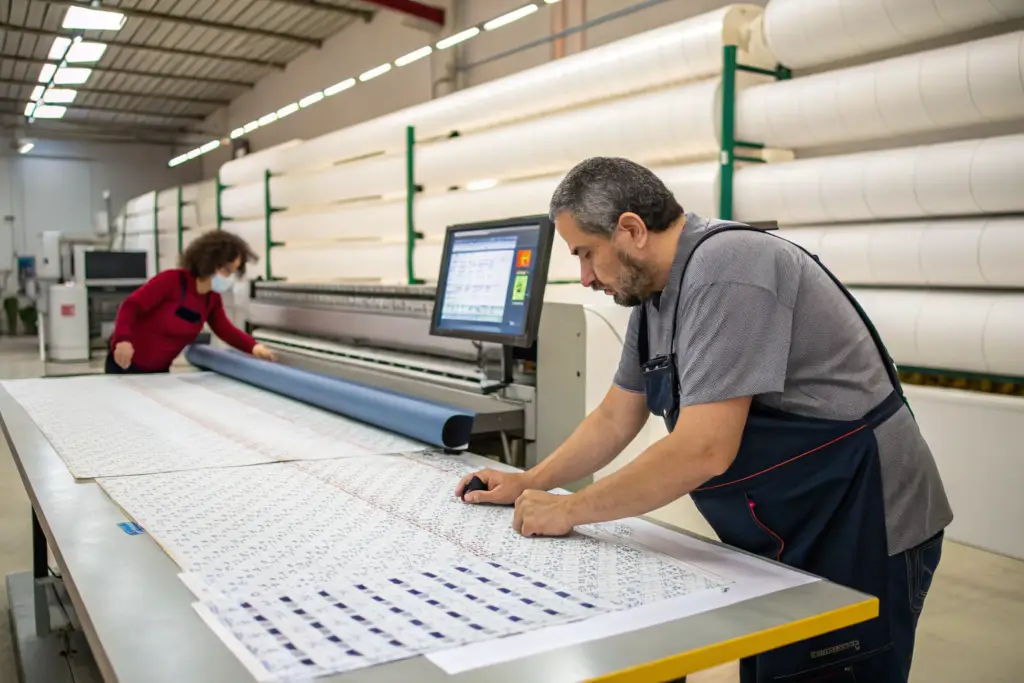
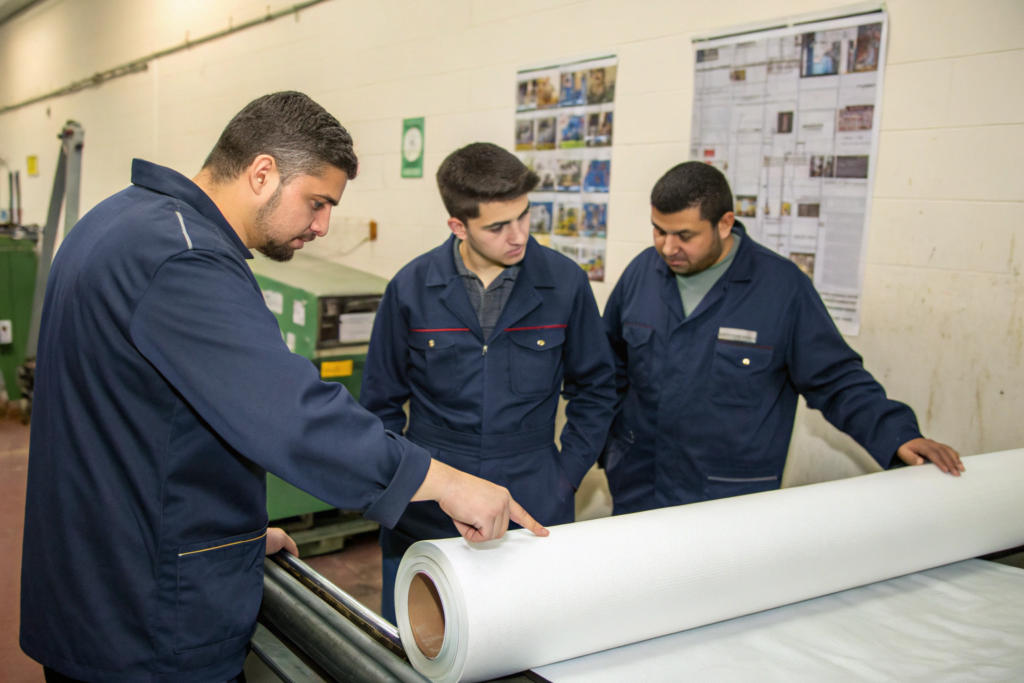
What is marker nesting and how does it reduce waste?
Marker nesting is the process of arranging pattern pieces on a marker. The marker is the cutting plan. It shows where each piece goes on the fabric. Better nesting means more pieces in less space. That means less waste.
How does computerized nesting compare to manual nesting?
Manual nesting is done by hand. A skilled marker maker arranges paper patterns on a long table. It takes years to learn. The best manual nesters can achieve 82% to 85% fabric utilization. That means 15% to 18% waste.
Computerized nesting uses CAD software for garment manufacturing. The software tries thousands of arrangements in seconds. It finds layouts that humans cannot see. Computerized nesting can achieve 90% to 95% fabric utilization. That means only 5% to 10% waste.
Here is a comparison from our own cutting room:
| Nesting Method | Fabric Utilization | Waste | Time to Create Marker | Best For |
|---|---|---|---|---|
| Manual (expert) | 82% to 85% | 15% to 18% | 2 to 4 hours per marker | Small batches, unusual fabrics |
| Basic CAD | 87% to 90% | 10% to 13% | 10 to 20 minutes | Most woven garments |
| Advanced CAD with AI | 90% to 95% | 5% to 10% | 5 to 10 minutes | Knitwear, activewear, high-volume |
| Interactive CAD (manual + computer) | 92% to 96% | 4% to 8% | 15 to 30 minutes | Complex styles, expensive fabrics |
We switched to advanced CAD nesting three years ago. Our fabric utilization went from 84% to 92%. That is an 8% improvement. On a $500,000 annual fabric spend, that is $40,000 saved. The software paid for itself in three months.
A client from Texas asked us to nest a complex jacket pattern. The jacket had 18 pieces including lining and interfacing. Their previous supplier used manual nesting. Utilization was 79%. We used CAD nesting and got 91% utilization. The client saved $1.20 per jacket on fabric. Their order was 8,000 jackets. Total saving was $9,600.
Can pattern adjustments improve fabric yield without changing the design?
Yes. Small changes to pattern pieces can have big effects on yield. You do not change the look of the garment. You just change the shape of the pattern by millimeters.
Here are pattern engineering techniques that improve yield:
| Technique | What You Change | Yield Improvement | When to Use |
|---|---|---|---|
| Seam alignment | Move seam lines to straight grain | 2% to 4% | Woven shirts, trousers |
| Corner rounding | Soften sharp corners on small parts | 1% to 2% | Pocket flaps, collar points |
| Nesting notches | Add notches that help nesting | 1% to 3% | Any garment with curved pieces |
| Grain line adjustment | Rotate grain line slightly | 2% to 5% | Knitwear, stretch fabrics |
| Size graduation | Change grade rules between sizes | 3% to 6% | Multi-size orders |
We worked with a client from Chicago on a women’s dress. The original pattern had a straight hem. We changed the hem to a slight curve. The curve allowed us to nest the front and back pieces closer together. Fabric utilization improved by 4%. The client did not notice any difference in the finished dress. But they saved $0.35 per dress. On 25,000 dresses, that is $8,750.
The key is to involve your factory early. Send us your patterns before you finalize them. We will run a nesting test. We will tell you if small changes can improve yield. Most changes are free. Some require a small pattern adjustment fee. But the savings usually pay for the fee many times over.
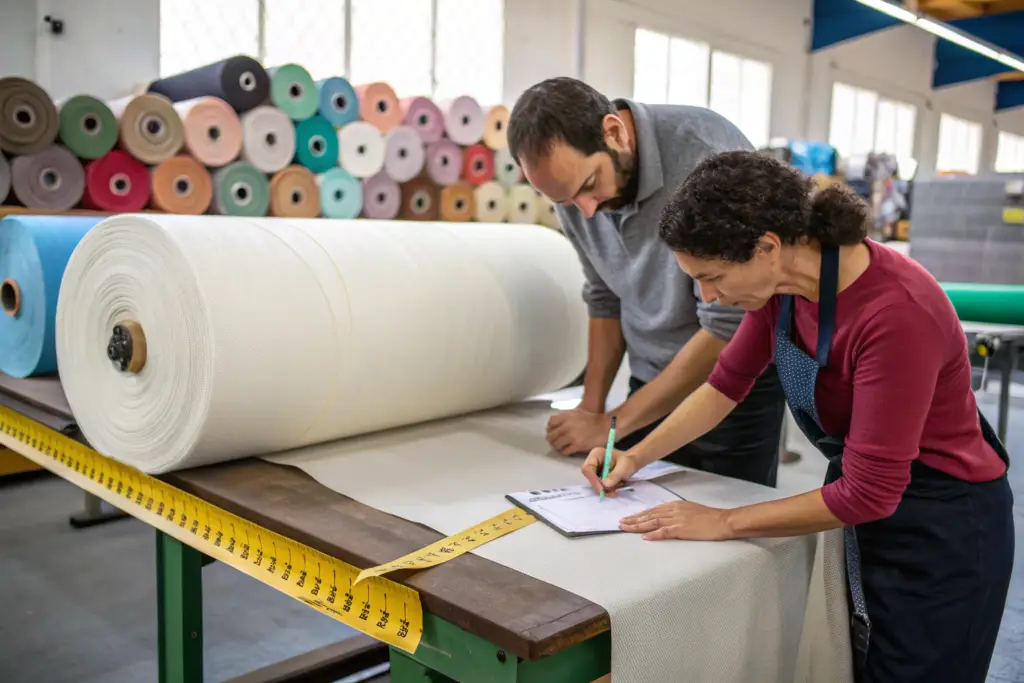
How do fabric roll widths and lengths affect your waste?
Fabric rolls are not all the same. Different mills produce different widths. Different widths give different waste percentages. You need to match the roll width to your marker width. A mismatch creates waste before you cut a single piece.
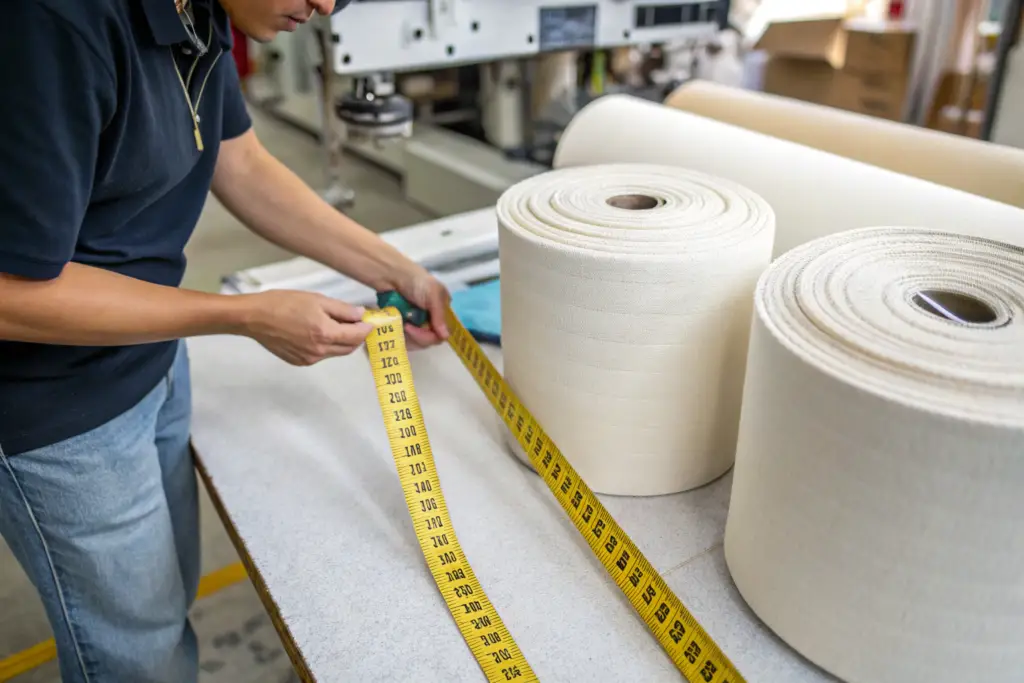
What is the ideal fabric roll width for your garment?
The ideal roll width is slightly wider than your marker width. If your marker is 150 cm wide, you want a roll that is 155 cm to 160 cm wide. The extra 5 to 10 cm gives you room for fabric shrinkage and edge defects. But too much extra width creates waste.
Here is how fabric width affects marker efficiency:
| Marker Width | Roll Width | Extra Width | Waste from Extra Width | Best For |
|---|---|---|---|---|
| 150 cm | 152 cm | 2 cm | 1.3% | Woven shirts, tight nesting |
| 150 cm | 155 cm | 5 cm | 3.2% | Most garments |
| 150 cm | 160 cm | 10 cm | 6.3% | Knitwear with selvage issues |
| 150 cm | 170 cm | 20 cm | 11.8% | Not recommended |
| 180 cm | 185 cm | 5 cm | 2.7% | Wide fabrics for coats |
A client from Colorado ordered men’s woven shorts. Their pattern needed a marker width of 145 cm. They bought fabric that was 165 cm wide. The extra 20 cm created 12% waste just from the width mismatch. We asked them to buy 150 cm wide fabric instead. Waste from width dropped to 3%. They saved $0.22 per short. On 30,000 shorts, that is $6,600.
We now help our clients specify roll widths when they order fabric. We send them our marker width requirement. They tell the mill. The mill adjusts the loom width. Everyone saves money.
How do you manage end-of-roll remnants effectively?
Every fabric roll has a remnant at the end. The remnant is too short to use for a full marker. But it is not trash. You can use remnants for small parts, samples, or smaller sizes.
Here is our remnant management system:
| Remnant Length | What We Do With It | Value Recovered |
|---|---|---|
| More than 5 meters | Save for small batch reorders | 80% of fabric value |
| 2 to 5 meters | Use for sample cutting, small parts (pockets, cuffs) | 50% of fabric value |
| 1 to 2 meters | Use for fitting samples, color swatches | 25% of fabric value |
| Less than 1 meter | Sell to scrap buyer or recycle | 5% to 10% of fabric value |
A client from Florida had a high-end denim order. The denim cost $8.50 per meter. We saved all remnants longer than 2 meters. When the client needed 300 extra pairs of shorts for a promotion, we used the remnants. The client did not need to buy new fabric. They saved $3,400 on that small reorder.
The key is organization. We label every remnant with fabric type, color, and length. We store them on a dedicated rack. Our cutting team checks the remnant rack before ordering new fabric for small batches. This system saves our clients $15,000 to $20,000 per year on average.
How do you train cutting staff to minimize human error?
Machines help. But humans still matter. A skilled cutting team catches problems before they become waste. An untrained team creates waste every day. Training is not expensive. But it pays back fast.
What are the most common cutting errors that create waste?
We track every cutting error. We analyze the cause. Then we train to prevent it. Here are the most common errors we see:
| Error Type | How It Happens | Waste Created | Prevention Method |
|---|---|---|---|
| Misaligned plies | Fabric layers shift during spreading | 3% to 5% of the lay | Use clamps, check alignment every 20 plies |
| Wrong tension | Fabric stretched unevenly | 2% to 4% of the lay | Calibrate spreading machine daily |
| Defect missed | Stain or hole not caught | 1% to 3% of the lay | Two-person inspection during spreading |
| Cutting off-line | Blade drifts from marker line | 1% to 2% of pieces | Replace blades every shift, use laser guide |
| Bundle mix-up | Pieces from different sizes mixed | Rework time, some scrap | Color-coded bundle tickets |
A client from Seattle had a hoodie order with us. One of our new cutters misaligned the plies. The top layer shifted 2 cm from the bottom layer. We caught it after cutting 200 pieces. Those 200 pieces had to be recut. The waste was 15 meters of fabric. Cost to us was $45. We retrained the cutter. The error did not happen again.
We now have a cutting room quality checklist that every supervisor uses. They check ply alignment every 30 minutes. They check blade sharpness every shift. They log every defect found. The log helps us see patterns. For example, we noticed more defects on Monday mornings. Now we do extra training on Monday mornings. Defects dropped by 40%.
How often should you replace cutting blades and spreader parts?
Dull blades create ragged edges. Ragged edges mean inaccurate pieces. Inaccurate pieces mean bad seams. Bad seams mean returns. It is a chain reaction. Many factories keep blades too long. They save $5 on a blade. They lose $500 on waste.
Here is our preventive maintenance schedule:
| Equipment | Part to Replace | Replacement Frequency | Cost of Replacement | Waste Saved |
|---|---|---|---|---|
| Straight knife | Cutting blade | Every 8 hours of cutting | $8 | 2% waste reduction |
| Straight knife | Sharpening stone | Every 2 weeks | $15 | 1% waste reduction |
| Band knife | Blade | Every 40 hours | $25 | 1.5% waste reduction |
| Spreader | Tension roller | Every 3 months | $40 | 1% waste reduction |
| Spreader | Edge sensor | Every 6 months | $60 | 0.5% waste reduction |
We changed our blade replacement rule. We used to replace blades when they felt dull. Now we replace them on a fixed schedule. The cost is $8 per blade. We use about 60 blades per month. That is $480 per month. But our waste from ragged edges dropped from 2.5% to 0.8%. On a $200,000 monthly fabric spend, that is $3,400 saved. The math is clear.
One of our lean manufacturing consultants told us something simple. “The most expensive blade is the one you use too long.” He was right.
How do you measure and track fabric yield over time?
You cannot improve what you do not measure. Many factories do not track fabric yield. They guess. Guessing does not work. You need a system. You need data. You need to share the data with your clients.
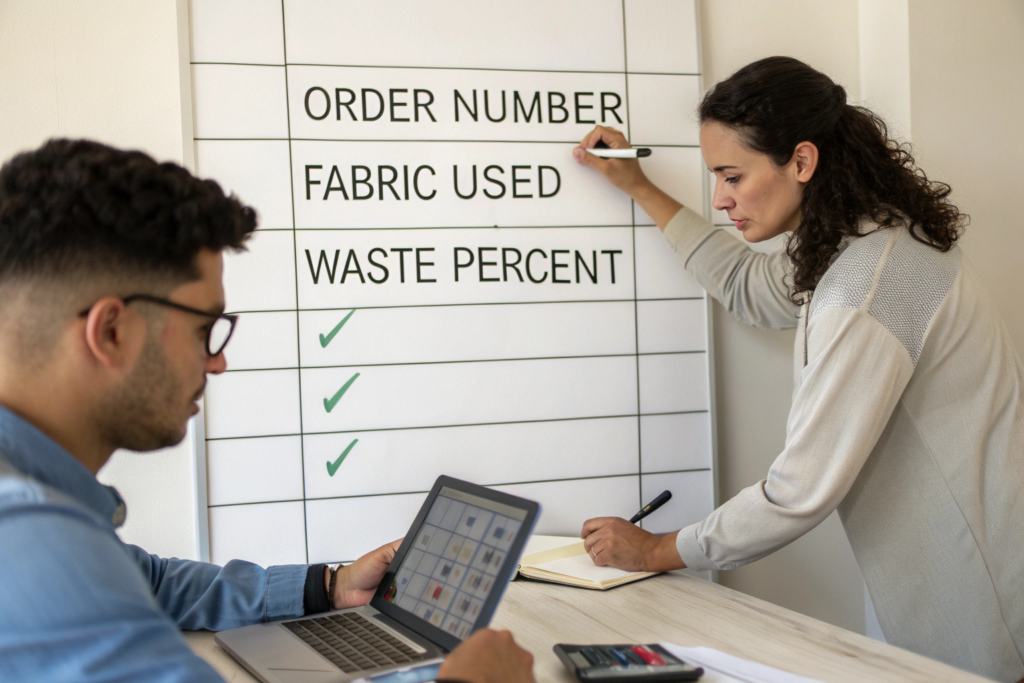
What key performance indicators should you track for fabric yield?
We track four KPIs for every order. We share them with our clients in a monthly report. The report shows where we are winning and where we need to improve.
Here are our fabric yield KPIs:
| KPI | How We Calculate It | Good Target | Our Current Average |
|---|---|---|---|
| Marker efficiency | (Area of pattern pieces ÷ Area of marker) x 100 | 88% or higher | 91.2% |
| Fabric utilization | (Fabric in finished goods ÷ Total fabric purchased) x 100 | 92% or higher | 94.8% |
| Cutting accuracy | (Pieces within tolerance ÷ Total pieces cut) x 100 | 98% or higher | 98.7% |
| Remnant recovery | (Value recovered from remnants ÷ Original fabric value) x 100 | 15% or higher | 22.4% |
We put these numbers on a dashboard. Every client can see their order’s performance. A client from Oregon saw that their marker efficiency was only 84%. That was low. We reviewed their patterns. We found that their pattern pieces had too much space between them. We adjusted the nesting. Efficiency went up to 89%. The client saved $1,200 on their next order.
The key is consistency. We track every order the same way. We compare orders month to month. We set improvement goals. Last year, our average fabric utilization was 93.2%. This year it is 94.8%. That 1.6% improvement saved our clients about $45,000 in total.
How often should you audit your cutting room processes?
We audit our cutting room every month. The audit takes two hours. We use a simple checklist. We involve the cutting team supervisors. They help find problems. They also help find solutions.
Here is our monthly cutting room audit checklist:
| Audit Area | What We Check | Pass Mark | Our Last Score |
|---|---|---|---|
| Marker planning | Nesting efficiency, software version | 90% | 94% |
| Fabric spreading | Tension, alignment, ply height | 95% | 96% |
| Defect management | Inspection rate, marking method | 90% | 91% |
| Cutting equipment | Blade sharpness, calibration, safety | 95% | 97% |
| Bundle control | Ticket accuracy, size separation | 95% | 95% |
| Remnant storage | Labeling, organization, inventory | 85% | 88% |
We found a problem in last month’s audit. Our defect management score was only 88%. The issue was inconsistent marking. Some cutters marked defects with chalk. Others used stickers. The stickers sometimes fell off. We standardized on chalk markers. We retrained everyone. This month’s score was 93%.
A client from Pennsylvania saw our audit report. They told us that no other factory had ever shared an internal audit with them. They appreciated the transparency. They increased their order volume with us by 40%.
Conclusion
Maximum fabric yield is not complicated. It is a system of small improvements. Use computer nesting instead of manual nesting. Match your fabric roll width to your marker width. Save and use remnants for small batches. Train your cutting staff on the basics. Replace blades before they get dull. Track your KPIs every week. Audit your processes every month.
Each improvement gives you 1% to 3% less waste. Add them together. You go from 15% waste to 5% waste. That 10% improvement is pure profit. On a $500,000 annual fabric spend, that is $50,000 back in your pocket. No new customers needed. No price increases needed. Just better cutting.
We apply these methods to every order at Shanghai Fumao. We do it because it saves our clients money. And saving our clients money keeps them coming back. It is that simple.
If you want to reduce your fabric waste and lower your costs, let us talk. Contact our Business Director Elaine. Her email is elaine@fumaoclothing.com. Send her your patterns or your fabric specifications. She will run a free nesting test. She will show you exactly how much fabric you can save. Let us help you turn waste into profit.