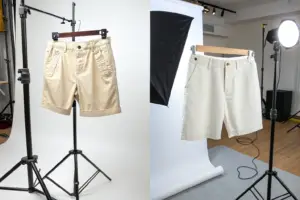
You have a vision. You sketch it. You send it to the factory. They send back a sample. It is not what you imagined. The collar is wrong. The fabric is not right. The silhouette is different. You are disappointed. The factory is confused. They followed your instructions. But your vision did not come through. I have seen this happen many times. The problem is not the factory. It is not the design. It is the gap between vision and communication.
Based on our experience developing thousands of samples, ensuring your design vision matches the sample requires clear communication, detailed specifications, and active collaboration. For example, last year we worked with a brand from Austin. They had a vision for a women's blouse with a specific drape. They sent a sketch. The first sample was wrong. We sat down together. They brought a reference garment. They showed us the drape they wanted. We took photos. We wrote detailed notes. The second sample was perfect. The brand learned that vision needs translation. That is the power of clear communication.
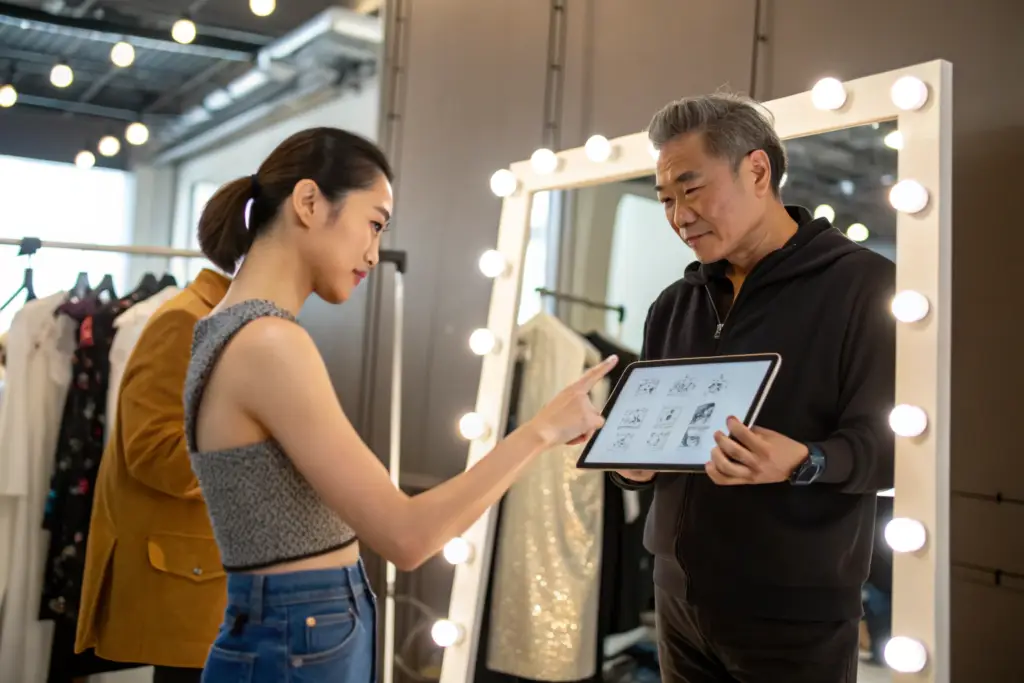
So, how do you ensure your design vision matches the sample? Let me break it down. I will explain the tools you need. I will show you how to use references. I will discuss the importance of tech packs. And I will give you a framework for collaboration.
What Tools Do You Need to Communicate Your Vision?
Your vision exists in your head. The factory cannot see it. I remember a client from New York. They described a "flowy" dress. The factory made a dress that was loose. It was not flowy. The client was unhappy.
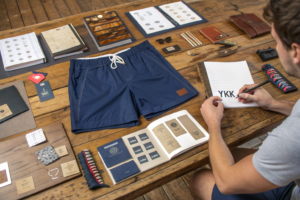
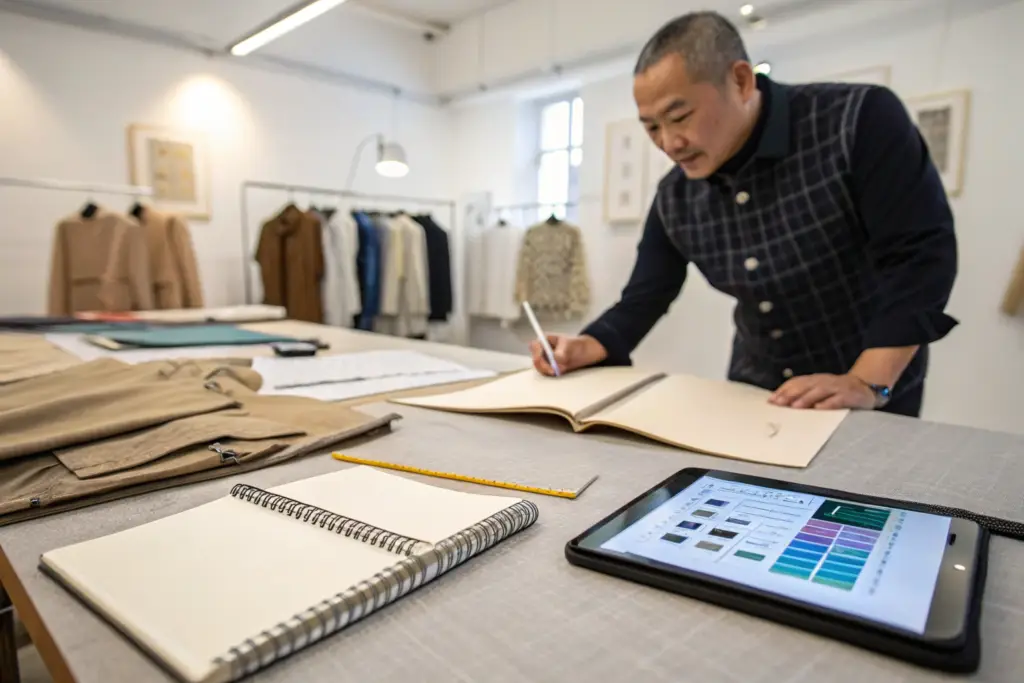
To communicate your vision, use multiple tools: sketches, reference images, fabric swatches, and reference garments. A sketch shows the silhouette. Reference images show the feeling. Fabric swatches show the texture. Reference garments show the construction. For the New York client, we asked for a reference garment. They sent a dress with the drape they wanted. We could feel the fabric. We could see the construction. The next sample matched. For woven tops, a reference garment is especially helpful. The drape of a woven fabric is hard to describe. For knits, a fabric swatch is essential. The stretch and weight determine the fit. For outerwear, a reference jacket can show the desired structure and lining.
How Do You Use Reference Images Effectively?
Reference images should show:
- The overall silhouette from front, back, and side
- Close-up details of collars, cuffs, and pockets
- The garment on a body (how it moves)
- The fabric drape (how it falls)
For a denim client, they sent reference images of the wash they wanted. The images showed the exact shade and fading pattern. The sample matched.
Why Is a Reference Garment Better Than a Photo?
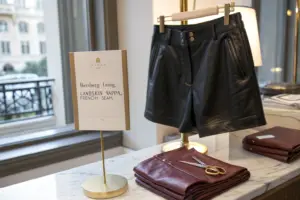
A reference garment can be touched. You can feel the fabric weight. You can see the construction inside. You can try it on to understand the fit. For a tailored jacket client, they sent a reference jacket. We could see the interfacing. We could feel the shoulder padding. The sample was accurate.
How Does a Tech Pack Bridge the Gap?
A sketch is not enough. I remember a client from Chicago. They sent a beautiful sketch. But they did not provide measurements. The factory guessed. The sample was the wrong size.
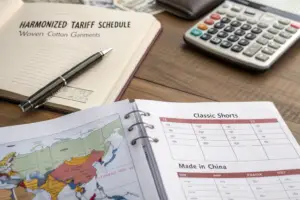
A tech pack is the blueprint for your garment. It includes flat sketches, measurements, fabric specifications, trim details, and construction methods. For the Chicago client, we created a tech pack template. They filled in the measurements. The sample was accurate. For woven shirts, the tech pack includes collar type, placket width, and button size. For knits, it includes rib type and neckband width. For outerwear, it includes zipper type and pocket placement. A complete tech pack leaves no room for interpretation.

What Information Must Your Tech Pack Include?
A complete tech pack must include:
- Flat sketches (front, back, side)
- Measurement spec sheet (all key points, tolerances)
- Fabric description (content, weight, construction)
- Trim list (zippers, buttons, labels, thread)
- Construction details (seam types, stitch types)
- Colorway information
- Labeling and packaging instructions
For a sportswear client, the tech pack also includes stretch specifications and moisture-wicking requirements.
How Do You Use Photos to Supplement the Tech Pack?
Photos show what the tech pack cannot. Take photos of:
- The reference garment (front, back, side, inside)
- Details (collar, cuffs, pockets, zippers)
- The fabric (close-up, showing texture)
- The fit on a body
For a denim client, they sent photos of the wash they wanted from multiple angles. The sample matched exactly.
How Do You Collaborate During Sample Development?
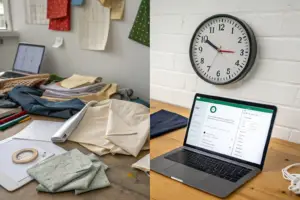
Sample development is not a one-way street. I remember a client from Boston. They sent a tech pack. They waited. The sample came back. It was wrong. They did not communicate during the process.
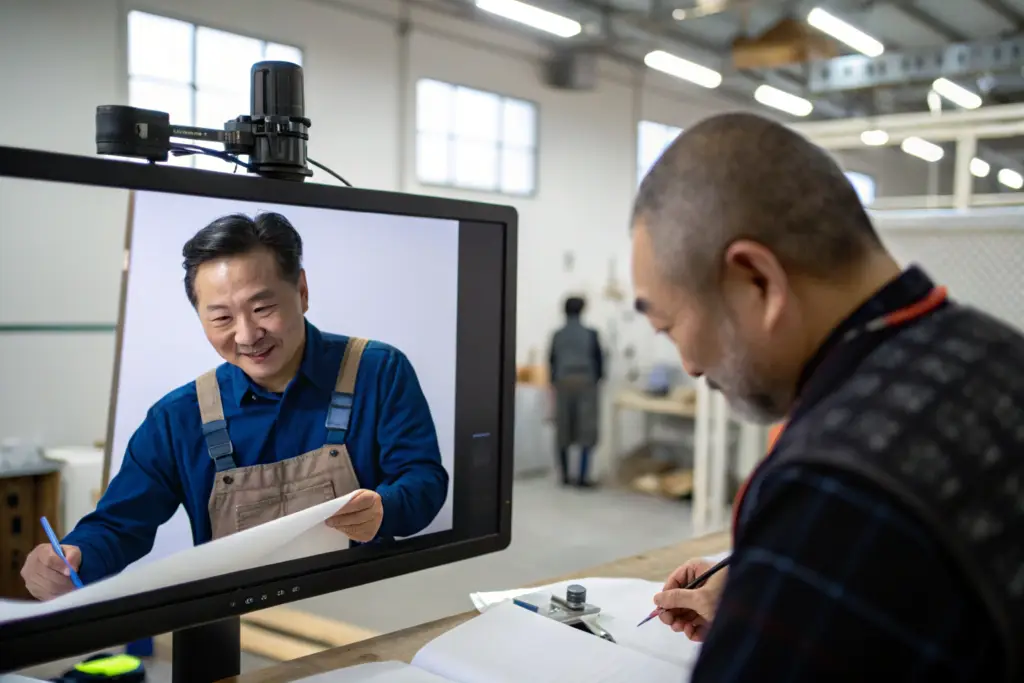
Collaboration during sample development ensures that issues are caught early. Schedule a sample review call. Share photos of the in-progress sample. Ask questions. For the Boston client, we now have weekly check-ins during sample development. The client sees the sample before it is finished. They can correct issues early. For complex designs, we do multiple check-ins. For simple styles, one check-in may be enough. The key is to communicate before the sample is complete.
How Often Should You Communicate During Sampling?
Communication frequency depends on complexity. For a simple t-shirt, one email update may be enough. For a tailored jacket, weekly video calls may be needed. For a women's blouse client, we had two check-ins per sample round. The first check-in reviewed the cut fabric. The second reviewed the sewn sample. The client caught issues early.
What Questions Should You Ask Your Factory?
Ask questions like:
- Is the fabric working as expected?
- Are there any construction challenges?
- Does the pattern need adjustment?
- Can we see a photo of the in-progress sample?
- When will the sample be ready?
For a denim client, they asked to see the wash sample before it was applied to the garment. The wash was wrong. They corrected it. The final sample was perfect.
How Do You Evaluate the First Sample?
The first sample is rarely perfect. I remember a client from Seattle. They rejected the first sample because it was not perfect. They did not give specific feedback. The second sample was also wrong.
Evaluating the first sample requires a structured approach. Compare the sample to the tech pack. Compare it to the reference images. Make a list of what is correct and what is not. For the Seattle client, we created a sample evaluation form. They listed each issue with a location, a description, and a correction. For woven shirts, the evaluation includes collar shape, placket width, and cuff construction. For knits, it includes neckband stretch and hem curve. For outerwear, it includes zipper function and pocket placement.
What Do You Do If the Sample Does Not Match Your Vision?
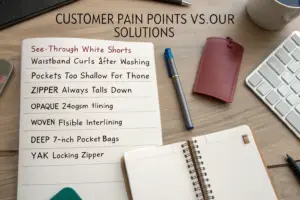
If the sample does not match your vision, document the differences. Be specific. "The collar is too wide by 0.5 inches." "The fabric is too stiff. It should drape more." Provide reference images. Request a second sample. For a sportswear client, the first sample had the wrong color. They provided a Pantone number. The second sample matched.
How Many Sample Rounds Does It Take to Match Vision?
Most styles take 2 to 3 sample rounds to match the vision. Simple styles may take 1 round. Complex styles may take 4 or 5 rounds. For a denim client, the wash took 3 rounds to match the reference. The fit took 2 rounds. The total was 5 rounds. The client was patient. The final product matched their vision.
Conclusion
Ensuring your design vision matches the sample requires clear communication, detailed specifications, and active collaboration. Use multiple tools: sketches, reference images, fabric swatches, and reference garments. Create a complete tech pack with measurements and construction details. Collaborate during development with check-ins and questions. Evaluate the first sample systematically and provide specific feedback.
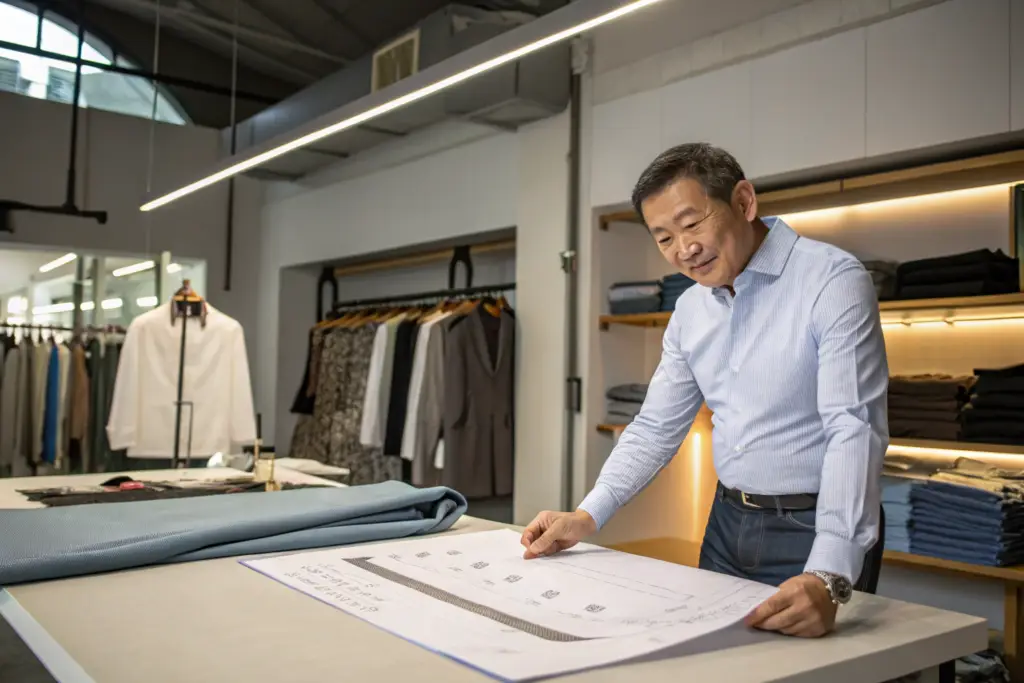
At Shanghai Fumao, we help brands translate their vision into samples. We ask questions. We review references. We share photos. We work together to get it right. Your vision is our goal.
Let us help you bring your vision to life. Contact our Business Director, Elaine, directly at elaine@fumaoclothing.com. Send us your sketches and references. We will make a sample that matches your vision.