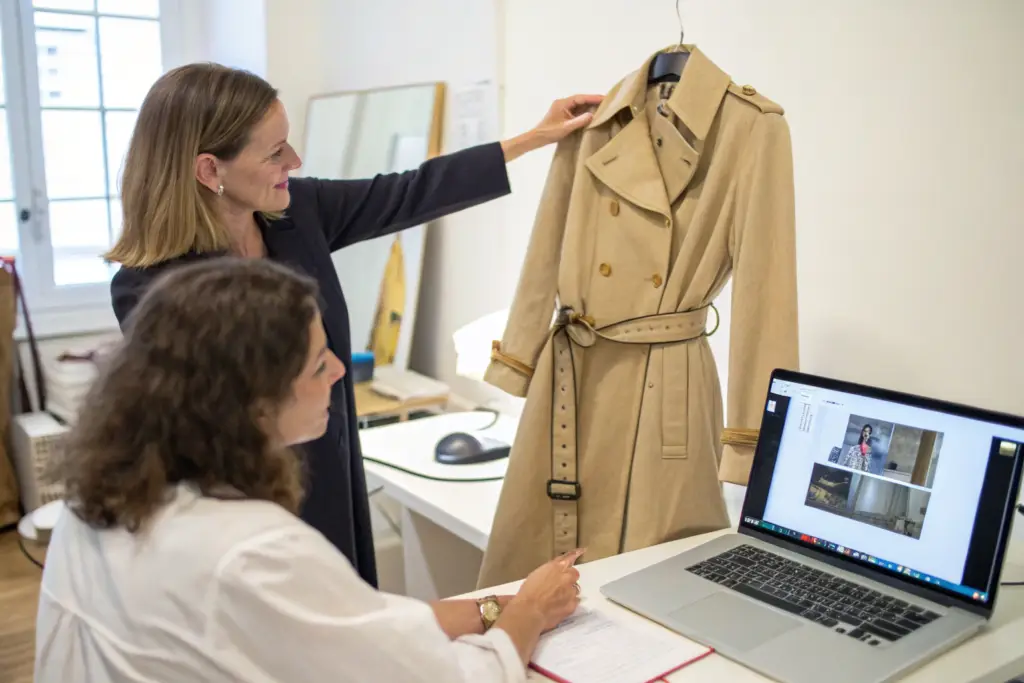
I was on a video call with a brand owner from Los Angeles last March. She held up a pre-production sample of her belted linen trench coat. She liked the fit. She liked the fabric. She wanted one change. "Can we move the belt loops up by about an inch?" she asked. I asked her to show me on the sample exactly where she wanted the new belt loop position. She held her fingers on the coat, indicating the new placement. I marked the position with a pin on our duplicate sample in the factory, took a photo, and sent it to her on WhatsApp within 30 seconds. She confirmed. I handed the marked sample to our pattern maker. The change was implemented in 20 minutes. The revised sample shipped the next day. This simple change, communicated clearly, cost nothing and delayed nothing. I have also experienced the opposite. A different brand owner sent an email with the instruction: "Please adjust the belt loops slightly higher." No measurement. No reference point. No photo. Our pattern maker guessed. The revised sample arrived, and the belt loops were too high. The brand owner was frustrated. We made another sample. The project was delayed by ten days. The difference between these two outcomes was not the complexity of the change. It was the clarity of the communication.
Communicating design changes effectively to a garment factory requires three elements: a visual reference that shows the exact change on the garment itself, a numerical specification that quantifies the change in millimeters or centimeters, and a written confirmation that documents the change in a format both parties can reference later. The most reliable method is to mark the change directly on a physical sample with a contrasting thread, a sticker, or a pin, then photograph the marked sample from multiple angles and send the photos with a written description of the change and the new measurement. Relying on written descriptions alone, especially across a language barrier, is the most common cause of sampling errors and production delays.
Garment design communication is a translation process. The brand owner has a three-dimensional vision in their mind. The factory has a set of production capabilities and constraints. The communication must translate the vision into instructions the factory can execute. This translation is inherently prone to error. Words like "slightly," "a bit," "more," and "better" have no objective meaning in a production environment. They are interpreted differently by different people. A "slightly longer sleeve" to the brand owner might mean 2 centimeters. To the pattern maker, it might mean 5 centimeters. Neither interpretation is wrong. The instruction was ambiguous. At Shanghai Fumao, I have developed a standardized communication protocol that eliminates ambiguity and reduces the sampling revision cycle by an average of 40% compared to unstructured communication. Let me walk you through the exact methods we use and how you can apply them to your own factory communications.
The Visual Reference Rule: Why Photos Beat Text Every Time
The single most effective rule for communicating design changes is this: never describe a change in words that you can show in a picture. A photograph of a marked sample eliminates the interpretation gap. The factory sees exactly what you see. There is no translation of words into a mental image. There is no misunderstanding of terms. The photograph is the instruction. I have received emails that said "change the collar shape to be more rounded." The word "rounded" could mean a gentle curve with a 10-centimeter radius or a sharp curve with a 3-centimeter radius. The factory guessed. The sample was wrong. The revision was wasted. A photograph of the existing collar with a hand-drawn curve showing the desired shape would have eliminated the guesswork entirely.
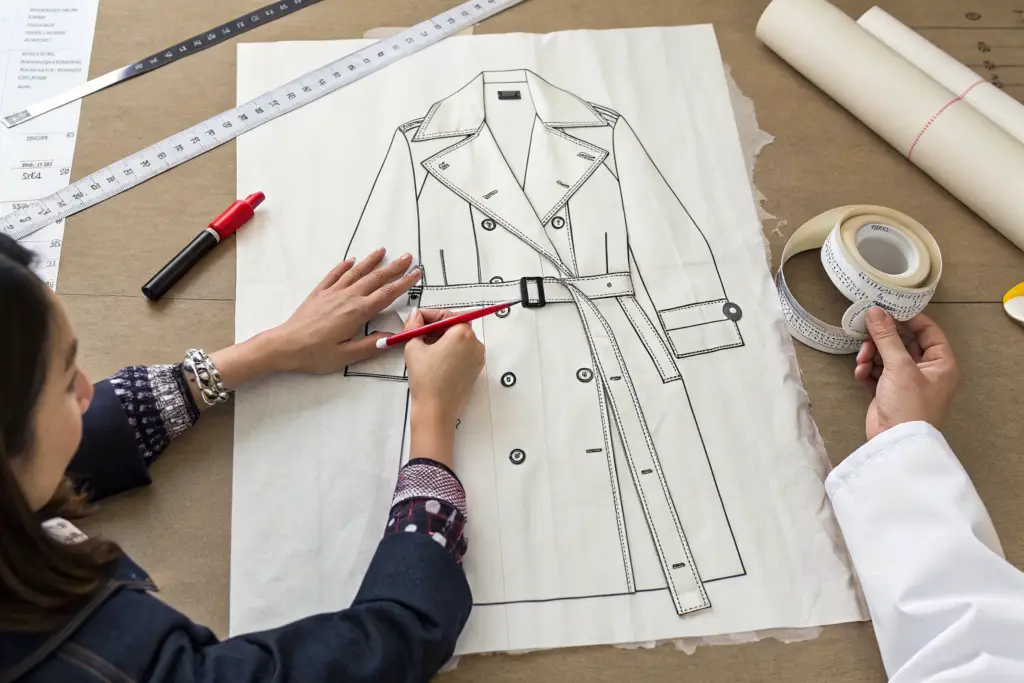
Our standard visual reference protocol for design changes requires three photographs of every change. Photograph one is a wide shot showing the entire garment so the factory can identify which style and which area is being referenced. Photograph two is a close-up shot with the change location clearly marked using a colored sticker, a pin, a contrasting thread basting, or a piece of masking tape with an arrow. Photograph three is a measurement shot with a ruler or measuring tape placed against the garment showing the current measurement and, where possible, a mark indicating the new measurement. The three photographs are sent together with a written description of the change. The photographs are the primary instruction. The text is the backup documentation.
The colored sticker method is the simplest and most reliable marking technique. A small, bright green or orange sticker, the kind sold at any stationery store, is placed at the exact point where the change is required. An arrow drawn on the sticker indicates the direction of the change. A second sticker can mark the new position. For example, to move a pocket position, place a green sticker at the current pocket location and a red sticker at the desired new location. Photograph the garment with both stickers visible and a measuring tape showing the distance between them. The instruction is unambiguous. The pattern maker measures the distance on the photograph, confirms it against the written description, and adjusts the pattern accordingly. This method requires no special equipment, no design software, and no technical vocabulary. A brand owner in New York can communicate a complex design change to a factory in Shanghai in five minutes with materials available at their desk.
How Do You Mark Changes on a Physical Sample Without Damaging It?
The sample is a valuable asset. It is the reference standard for the entire production order. Damaging the sample with permanent marks can create confusion for future reference. The marking methods we recommend are non-destructive. Pins with colored heads are ideal for marking point changes like button positions, belt loop locations, or pocket corners. The pin is inserted at the exact new position. It can be removed without leaving a mark. Contrasting thread basting is ideal for marking line changes like new seam lines, new hem positions, or new collar edge shapes. A needle and thread in a bright, contrasting color, like white thread on a navy coat, are used to sew a temporary basting stitch along the new line. The basting stitch is easily removed later by pulling the thread. Masking tape or painter’s tape with hand-drawn arrows and notes is ideal for marking area changes like shoulder slope adjustments or collar shape modifications. The tape adheres lightly and removes cleanly without leaving residue. Sticky notes with hand-drawn diagrams can be attached to the garment with a pin. The note shows a sketch of the change. The pin marks the location. The combination is clear and non-destructive. Never use permanent marker directly on the garment fabric. The ink can bleed, and the mark cannot be removed. Never cut the sample. A cut sample is a destroyed reference standard. If the change requires cutting, such as changing a neckline shape, indicate the new cut line with basting thread or tape. Let the factory cut their own duplicate sample.
What If You Don’t Have a Physical Sample to Mark?
In the early stages of a new design, a physical sample may not yet exist. The design exists only as a sketch, a mood board image, or a reference photo of a competitor’s product. In this case, the visual reference rule still applies, but the reference is a digital image, not a physical garment. The method is digital markup. The brand owner takes the reference image and opens it in any basic image editing software, including the built-in photo editor on a smartphone. Using the drawing tool, the brand owner draws directly on the image. An arrow points to the specific detail being referenced. A circle highlights the area to be changed. A text annotation describes the change. For example, a reference photo of a vintage trench coat might be marked up with "Use this lapel width" and an arrow pointing to the lapel, accompanied by a separate note specifying "Target lapel width: 8cm at widest point." The marked-up image is more instructive than the original image alone. A second method is the measurement overlay. The brand owner prints the reference image at the largest possible scale, uses a ruler to measure the feature of interest on the printed image, and calculates the desired full-scale measurement based on a known reference measurement on the same garment. This method is approximate and should be verified on a physical sample, but it provides a quantitative starting point that is far more useful than a verbal description. The key principle remains the same: show, do not tell.
The Measurement Specification: Quantifying Every Change
Visual references show the factory where to make the change. Measurement specifications tell the factory how much to change. The two work together. A photograph with a sticker shows that the belt loop should move up. The measurement specification states that the belt loop should move up by 3.5 centimeters, measured from the waist seam to the center of the belt loop. Without the measurement, the factory must estimate the distance from the photograph, which introduces error. Without the photograph, the factory must guess the reference point for the measurement, which also introduces error. The combination of visual reference and numerical specification eliminates both sources of error.
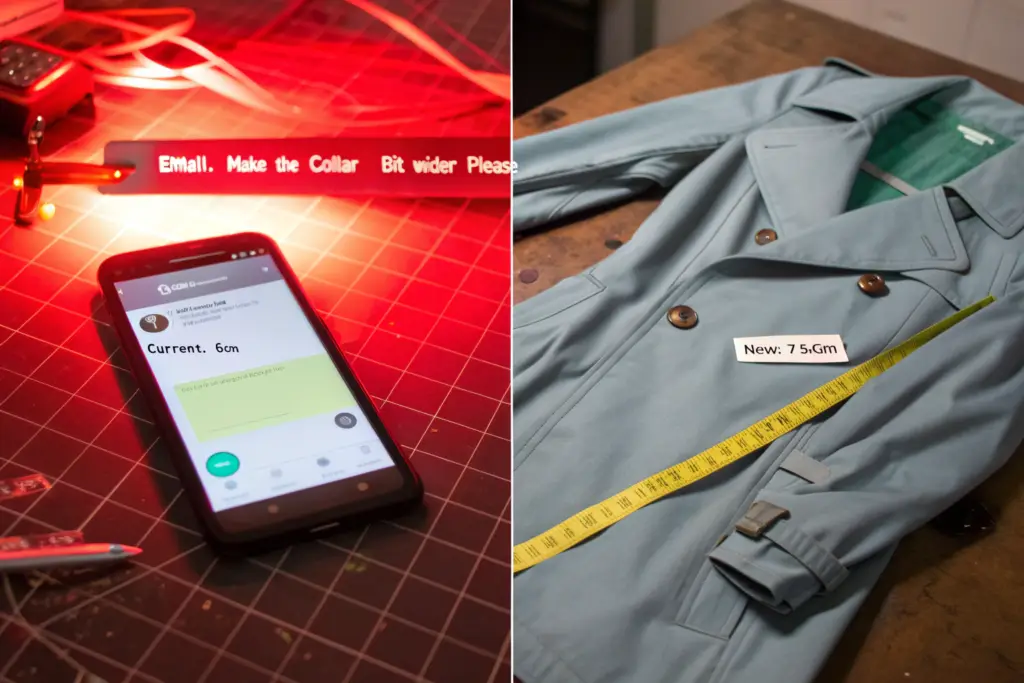
Every design change communication must include four measurement data points: the feature being changed, identified by a clear name that matches the tech pack terminology, the current measurement on the sample, measured and documented before the change is requested, the new target measurement, specified in centimeters or millimeters, and the tolerance range, typically plus or minus 0.5 centimeters for most garment measurements. For example: "Collar width at center back: current 6.5cm, new target 7.5cm, tolerance plus or minus 0.5cm." This format leaves no room for interpretation.
The current measurement is critical and often overlooked. A brand owner requests "increase the collar width by 1 centimeter." The pattern maker looks at the sample and measures the collar at 6 centimeters. The pattern maker makes the new collar 7 centimeters. The brand owner receives the sample and is unhappy. The brand owner had measured the collar on their sample at 6.5 centimeters and expected the new collar to be 7.5 centimeters. The discrepancy occurred because the brand owner and the factory measured from slightly different reference points. The collar width was measured from the collar fold by the brand owner and from the neck seam by the pattern maker. The 0.5 centimeter difference was invisible in casual communication. It became visible in the revised sample. By stating the current measurement according to the brand owner’s measurement method, the ambiguity is removed. The instruction becomes "collar width measured from collar fold to outer edge: current 6.5cm, new target 7.5cm." The reference point is specified. The measurement is unambiguous.
How Should Measurements Be Taken for Consistent Communication?
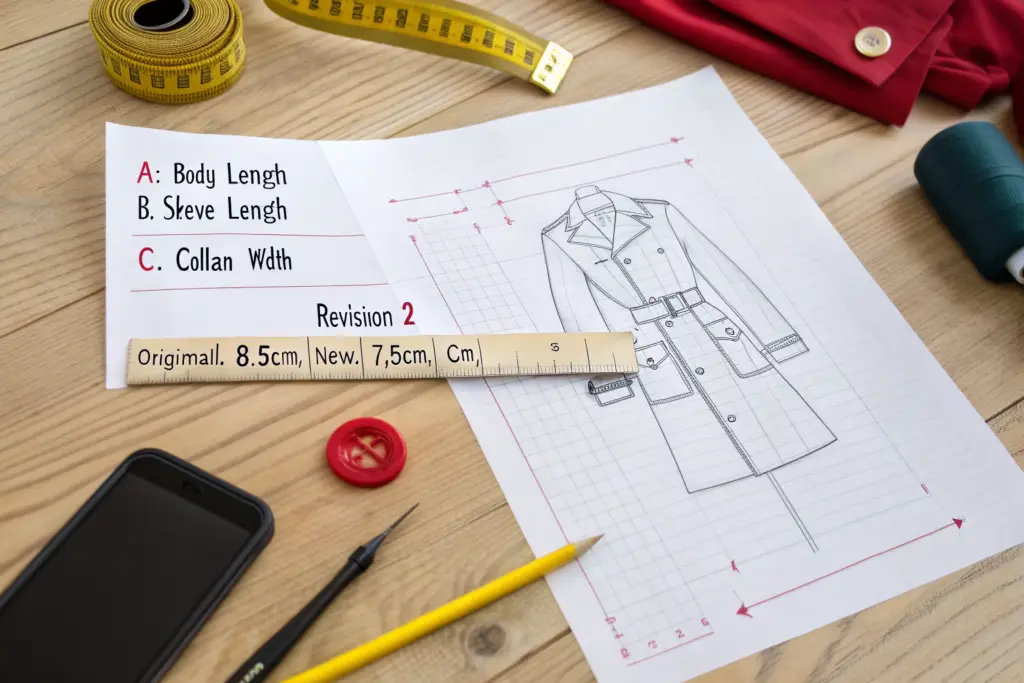
Measurement consistency requires a shared measurement protocol. The brand owner and the factory must measure garments the same way, from the same reference points, to communicate effectively. The industry standard reference points are defined by the garment construction seams. Body length is measured from the center back neck seam, the point where the collar attaches to the back body, straight down to the hem. Shoulder width is measured from the shoulder seam at the neck intersection to the shoulder seam at the sleeve intersection, following the shoulder seam line. Sleeve length is measured from the shoulder seam at the sleeve intersection to the sleeve hem, following the outer sleeve seam. Chest width is measured 2.5 centimeters below the armhole intersection, from side seam to side seam, with the garment laid flat and the measurement doubled for the full circumference. Collar width is measured from the collar attachment seam to the outer collar edge at the center back. These reference points should be specified in the tech pack and used consistently throughout the sampling and production process. If the brand owner uses different reference points, the factory should be informed. A simple note in the measurement specification, such as "we measure body length from the highest point of the shoulder, not the center back neck," aligns the measurement methods and prevents systematic errors.
What Tolerance Should You Specify for Design Changes?
A tolerance is the acceptable range of variation around the target measurement. No factory can produce every garment to an exact millimeter. Fabric stretch, cutting variance, and sewing operator technique introduce small variations. The tolerance defines how much variation is acceptable before the garment is classified as defective. For most design changes on summer coats, a tolerance of plus or minus 0.5 centimeters is standard and achievable. This applies to body length, sleeve length, chest width, collar width, and pocket placement. For very fine details like topstitching distance from the seam edge or buttonhole length, a tolerance of plus or minus 0.2 centimeters is standard. For very flexible measurements like the belt length on a wrap coat, a tolerance of plus or minus 1.0 centimeter is acceptable. The tolerance should be specified for every measurement in the tech pack. If a tolerance is not specified, the factory will apply its internal standard, which may be tighter or looser than the brand expects. Specifying the tolerance removes this uncertainty. A measurement specification without a tolerance is an incomplete specification.
The Written Confirmation and Version Control System
Visual references and measurement specifications are the content of effective communication. Written confirmation and version control are the process that ensures the communication is received, understood, and acted upon. A brilliant design change instruction that is buried in an email thread from three weeks ago, missed by the factory’s production team, and not referenced in the current tech pack is a failed communication. The content was perfect. The process failed. Design changes must be documented, confirmed, and version-controlled to prevent the most frustrating outcome in garment manufacturing: the factory produces the previous version because they never received or processed the change instruction.
Our design change communication protocol requires three process steps beyond the content of the change itself. Step one is a single-channel submission. All design changes for a given order must be communicated through one channel, typically email with a specific subject line format, not scattered across email, WhatsApp, WeChat, and phone calls. Step two is a factory confirmation. The factory must reply to the change instruction within one business day, acknowledging receipt and confirming that the change is understood and can be implemented within the stated timeline and cost parameters. Step three is a tech pack update. Every approved change must be incorporated into the master tech pack document, with the version number incremented and the change logged in a change history table. The updated tech pack is redistributed to all relevant parties.
The single-channel rule prevents the fragmentation that destroys production accuracy. I have seen orders where the brand owner sent sleeve length changes by email, collar changes by WhatsApp voice message, and button changes during a phone call. None of the changes were captured in the tech pack. The factory produced the original version. The brand owner was furious. The factory was confused. The root cause was communication fragmentation. We now require all design changes to be submitted to a single email address with a subject line format of "[Order Number] Design Change [Change Number]: [Brief Description]." For example: "FMC-2405 Design Change 03: Collar Width Increase to 7.5cm." This format ensures the change is logged in the email system, searchable by order number, and sequenced with previous changes. The change number prevents confusion when multiple changes are submitted. WhatsApp and WeChat are used for quick clarifications and confirmations, not for initial change submissions.
How Do You Confirm That the Factory Has Understood the Change?
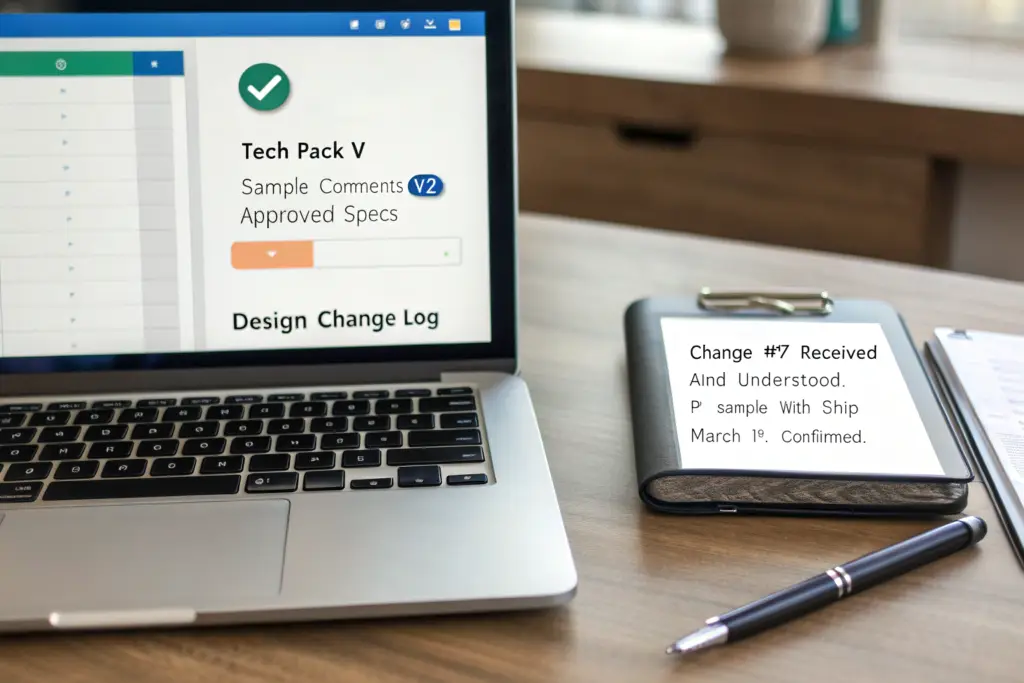
The acknowledgment response from the factory is not a formality. It is a quality checkpoint. The factory’s response should do more than say "received." It should demonstrate understanding. We train our account managers to respond to design change requests with a specific format. The response restates the change in the factory’s own words: "We understand that the collar width at center back should be increased from 6.5cm to 7.5cm, measured from the collar attachment seam to the outer collar edge." The response confirms the impact on the timeline: "This change can be implemented on the pre-production sample. The revised sample will ship on March 18th, a two-day delay from the original sample ship date." The response confirms the impact on cost: "This change does not affect the fabric consumption or the sewing time. There is no cost change." Or "This change adds 2cm to the hem circumference, which increases fabric consumption by 0.15 meters per unit. The unit cost will increase by $0.45." The acknowledgment that restates the change and confirms the impact is the factory’s signal that the change has been understood and processed. If the factory’s restatement is incorrect, the brand owner catches the misunderstanding immediately and corrects it. This feedback loop prevents the discovery of a misunderstanding three weeks later when the wrong sample arrives.
What Is a Change History Table and Why Does It Matter?
A change history table is a simple log embedded in the tech pack document that records every design change made after the initial tech pack was issued. The table has columns for the change number, the date, the change description, the affected measurements, the person who requested the change, and the status of the change, approved or pending. The change history table serves three purposes. First, it provides a single reference point for every change made to the design. The pattern maker, the cutting room, the sewing supervisor, and the quality inspector can all look at the change history table and see the complete evolution of the design. Second, it prevents the re-emergence of old versions. A change that increases the body length by 3 centimeters in March is recorded in the change history. In May, when a new team member joins the project and reviews the original spec, the change history alerts them that the spec has been updated. Third, it provides a record for dispute resolution. If a quality issue arises and the factory claims they were never informed of a change, the change history table with the factory’s confirmation date provides documented evidence that the change was communicated and acknowledged. The change history table costs nothing to maintain. It takes 30 seconds to add a row when a change is approved. It can save weeks of rework and thousands of dollars in dispute costs.
Common Mistakes and How to Avoid Them
Even with a good communication system, mistakes happen. The most common mistakes are predictable and preventable. I have catalogued the communication errors that have caused sampling delays, production rework, and brand disappointment over fifteen years of factory operations. The patterns are clear. The mistakes fall into a small number of categories. Each category has a specific prevention strategy.
The five most common design change communication mistakes are: the vague language mistake, using words like "slightly," "a bit," or "more fitted" without numerical specification, the scattered communication mistake, sending different parts of a change through different channels so no one has the complete picture, the unconfirmed assumption mistake, assuming the factory received and understood a change without obtaining explicit acknowledgment, the outdated reference mistake, referencing an old sample or an old tech pack version that has been superseded, and the last-minute change mistake, requesting a design change after bulk production has already begun, when the cost and delay impact are dramatically higher than during the sampling phase. The prevention for each mistake is straightforward and procedural.
The vague language mistake is prevented by the discipline of quantification. Before sending any change request, ask yourself: "Can this instruction be measured?" If the answer is no, the instruction is not ready to send. Replace "make the sleeve a bit looser" with "increase the bicep circumference by 2 centimeters, measured 15 centimeters down from the shoulder seam." The scattered communication mistake is prevented by the single-channel rule. Every change goes to the designated email address. Every change gets a change number. The unconfirmed assumption mistake is prevented by the acknowledgment requirement. No change is considered communicated until the factory has restated the change and confirmed the impact. The outdated reference mistake is prevented by version control. Every sample, every tech pack, and every photograph should be labeled with the date and the version number. The most recent version is the only version used for reference. The last-minute change mistake is prevented by understanding the cost curve of changes. A change during the sketch phase costs nothing. A change during the sample phase costs a few days. A change after bulk cutting has begun costs fabric, labor, and schedule delay. The cost of a change increases exponentially as the order progresses through the production pipeline. The discipline is to finalize the design during the sampling phase and resist the temptation to tweak after bulk production is authorized.
How Do You Handle a Change Request After Bulk Production Has Started?
A post-start change request is a crisis management situation, not a routine communication task. The first step is to stop the production line if the change affects a process that is currently underway. Continuing to produce defective units while the change is being discussed multiplies the waste. The second step is to assess the impact. How many units have already been produced? Can they be reworked, or are they scrap? How much fabric has been cut? Can the cut panels be used with the change, or must they be recut? What is the delay to the shipment date? What is the total cost of the change, including material waste, labor rework, and schedule delay? The third step is to present the impact assessment to the brand owner and ask for a decision. The decision is not "yes, make the change." The decision is "knowing that this change will cost $2,400 and delay the shipment by nine days, do you want to proceed?" The brand owner must make an informed business decision, not a design decision. A change that improves the collar shape slightly but costs $2,400 and misses the launch window is a bad business decision. A change that corrects a functional defect, such as a button that falls in a position that makes the coat unwearable, is a necessary cost. The communication framework for a post-start change is the same as for a pre-production change: visual reference, measurement specification, written confirmation. The difference is the addition of the impact assessment and the explicit cost-benefit decision before implementation.
Conclusion
Communicating design changes effectively to a garment factory is a learned skill that separates the brand owners who receive exactly what they envisioned from those who cycle through endless sampling rounds, miss their launch dates, and accumulate frustration with their manufacturing partners. The skill has three components. Show the change visually on a photograph of a marked sample or a marked-up reference image. Quantify the change with specific measurements, including the current measurement, the new target, and the tolerance. Document the change through a single communication channel with a factory acknowledgment and a tech pack update.
The investment required to implement this communication discipline is minimal. A pack of colored stickers costs $3. A measuring tape costs $5. A smartphone camera is already in your pocket. The return on this investment is measured in sampling rounds eliminated, production delays avoided, and quality disputes prevented. A single avoided sampling round saves one to two weeks of lead time and $50 to $150 in courier and sample production costs. A single avoided production error saves the cost of reworking or scrapping defective units, which can reach thousands of dollars on a large order.
At Shanghai Fumao, we have built our client communication system around these principles. We provide every new brand partner with a communication guide that explains our preferred methods for submitting design changes. We respond to every change request with a standardized acknowledgment that restates the change and confirms the impact. We maintain version-controlled tech packs with change history tables for every style in production. We treat clear communication as a shared responsibility. The brand owner provides clear instructions. We provide clear confirmations. The result is a partnership where design intent translates accurately into finished product.
If you are working with us on a current order and have design changes to communicate, or if you are considering working with us and want to understand our communication protocols in detail, contact our Business Director, Elaine. She can provide our brand partner communication guide, a template for submitting design changes, and an example of a version-controlled tech pack with a change history table. Email Elaine at: elaine@fumaoclothing.com.