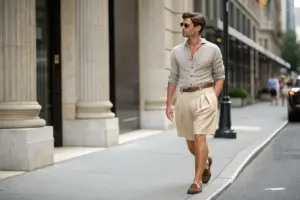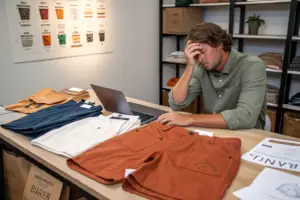
You have the perfect classic short. The fit is right. The fabric is quality. The construction is solid. But it is missing one thing. Your name. Your logo. The mark that tells the customer who made this great product. Without your branding, it is just a generic short. It blends into the sea of unbranded garments. With your branding, it becomes your product. It builds recognition. It builds loyalty. It builds a brand. You know this. But you are not sure how to make it happen. You worry about minimums. You worry about setup costs. You worry about the logo looking cheap or crooked. You worry about sending your artwork to a factory thousands of miles away and getting back a mess. These worries are valid. Bad branding ruins a good garment.
Adding your logo to classic shorts with a Chinese factory is a straightforward process when you understand the five main branding methods: woven labels, embroidery, heat transfer, direct-to-garment printing, and custom hardware. Each method has a specific use case, cost structure, and minimum order quantity. The key to success is providing the factory with a clean, high-resolution vector logo file, specifying the exact placement with a measurement diagram, and approving a physical pre-production sample that shows the branding before bulk production begins. A professional factory guides you through this process. It is not complicated. It is about clear communication and clear specifications.
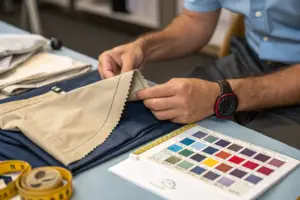
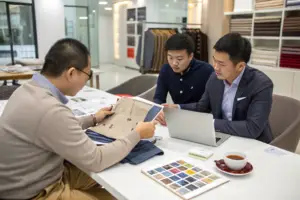
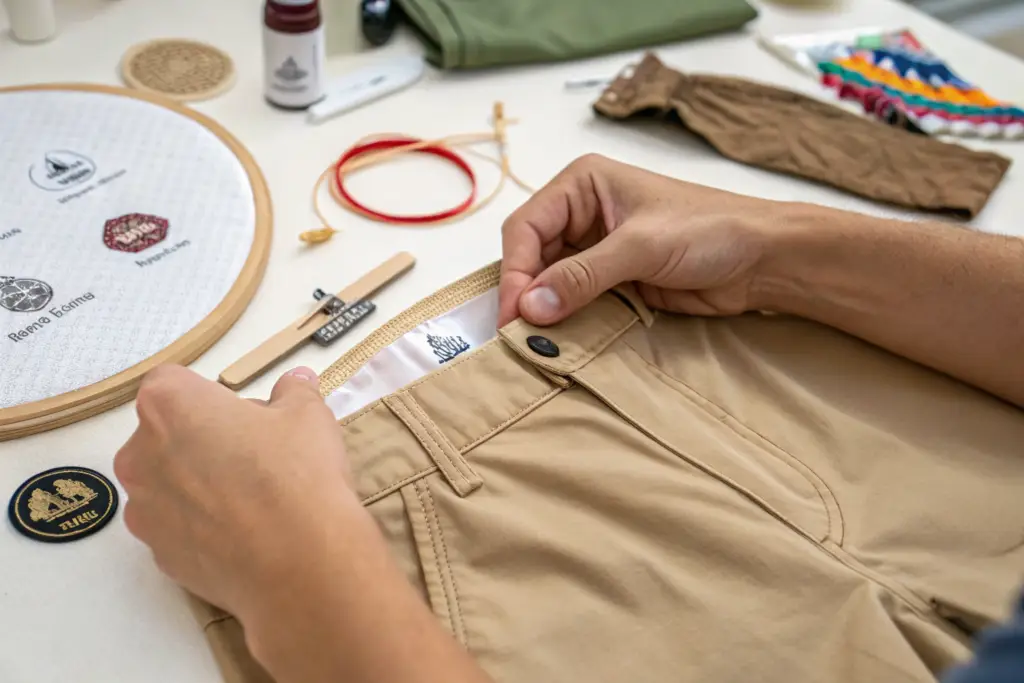
At Shanghai Fumao, we add logos to classic shorts every day. We embroider logos onto chino shorts for streetwear brands. We sew woven labels into linen shorts for resort wear lines. We emboss buttons with brand names for premium tailored labels. I have seen what works. I have seen what fails. This article is a practical guide to every branding method. It tells you the costs, the minimums, the file formats, and the common mistakes. After reading this, you will be able to brief a factory on your branding like a professional.
What Are the Different Methods to Brand Your Classic Shorts?
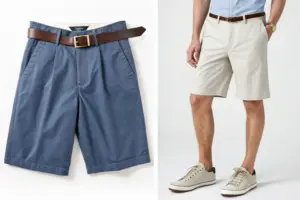
Branding is not one-size-fits-all. The method you choose depends on your brand identity, your budget, and your target retail price. A luxury brand uses a different branding method than a streetwear brand. A minimal brand uses a different method than a logo-heavy brand. The method you choose communicates something about your brand. A small woven label is subtle. A large embroidered logo is bold. A custom button is refined. The branding method is part of your brand's design language.
I recall a brand owner who wanted to put a large, colorful logo on the leg of his chino shorts. He initially asked for embroidery. We showed him the embroidery sample. The logo had many fine details. The embroidery looked thick and slightly distorted. It was not a good match for the intricate design. We suggested a heat transfer instead. The transfer captured every detail crisply. The colors were vibrant. The result was exactly what he wanted. He had chosen the wrong method initially. The right method made the difference.
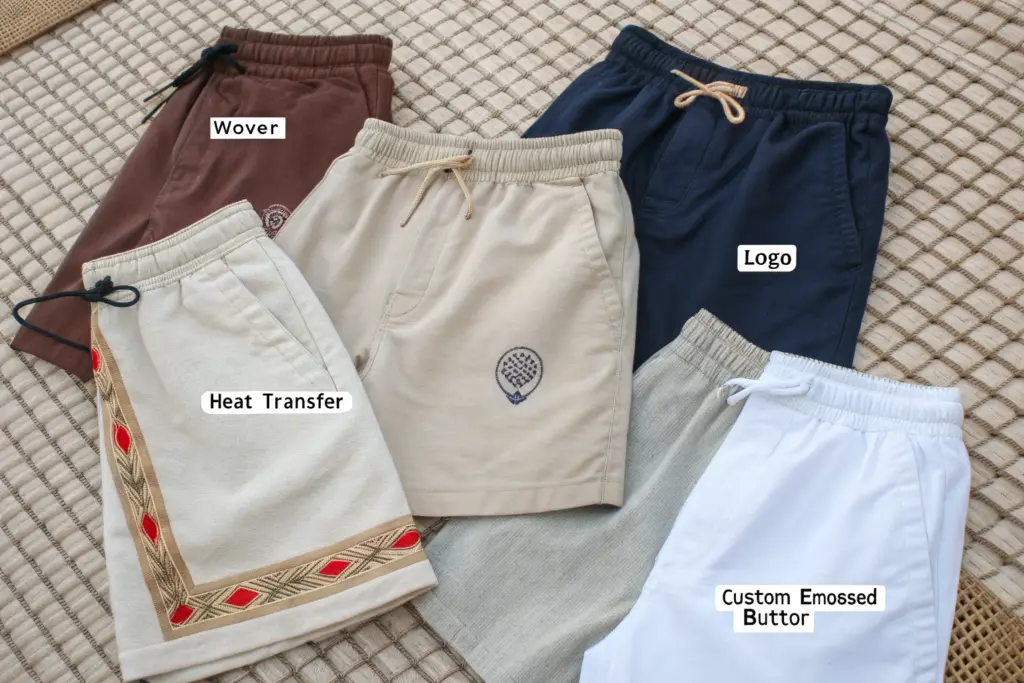
The five main methods are woven labels, embroidery, heat transfer, direct-to-garment printing, and custom hardware. Each has its own technical requirements, cost profile, and aesthetic result. Let's examine each one.
How Do Woven Labels, Embroidery, and Heat Transfers Compare?
Woven labels are fabric tags sewn into the garment. They sit on the back waistband, the side seam, or the pocket. They are the most common branding method. They are durable. They look professional. They handle detailed logos well. The setup cost is for the label weaving. The per-unit cost is low. The minimum order for custom woven labels is typically 1,000 to 2,000 pieces. This is manageable for most brands.
Embroidery is thread stitched directly into the garment fabric. It sits on the chest, the leg, or the back pocket. It is premium. It is permanent. It has a tactile, three-dimensional quality. The setup cost is for the embroidery digitization, converting your logo into a stitch file. This costs $20 to $50 one time. The per-unit cost is based on the stitch count. A small logo might be 3,000 stitches and cost $0.80 per piece. A large logo might be 10,000 stitches and cost $2.50 per piece. There is no minimum order for embroidery beyond the garment order itself. Embroidery works best for simple, bold logos. Fine details and small text can be lost.
Heat transfers are designs printed onto a carrier film and then heat-pressed onto the fabric. They allow for full-color, photographic-quality graphics. They are smooth to the touch. The setup cost is for the transfer screens or digital print setup. The per-unit cost is moderate. Heat transfers are excellent for complex, colorful designs that embroidery cannot achieve. They are less breathable than embroidery and can crack over many washes if not applied correctly. The custom apparel branding methods comparison guide provides a detailed breakdown of each method's pros and cons.
What Is the Purpose of Custom Hardware and Inner Neck Labels?
Custom hardware includes buttons, rivets, zipper pulls, and drawstring tips that are embossed or engraved with your brand name or logo. A custom metal button on a chino short with your brand initials is a subtle, high-end detail. It says luxury. It says attention to detail. The setup cost is for the metal mold, typically $50 to $150 per design. The per-unit cost is low, often $0.10 to $0.30 per piece. The minimum order for custom buttons is usually 2,000 to 5,000 pieces.
Inner neck labels or inner waistband labels are printed satin or cotton labels sewn into the inside of the garment. They carry your brand name, size, care instructions, and country of origin. They are required by law in many markets for consumer information. They are also a branding opportunity. A soft, well-printed inner label feels premium. A scratchy, poorly printed inner label feels cheap. The custom clothing label requirements guide explains the legal requirements. Do not overlook the inner label. It is the last thing the customer sees before they put the garment on.
How Do You Prepare Your Logo Artwork for the Factory?
The artwork you send to the factory determines the quality of the result. A blurry, low-resolution JPG pulled from a website will produce a blurry, unprofessional logo. The factory's digitizer or label maker will have to guess the details. The guess will be wrong. This is the most common branding mistake. The brand owner sends a bad file. The factory does its best. The result is disappointing. The brand owner blames the factory. The fault was in the file.
I have received artwork files that were screenshots from Instagram. I have received files that were embedded in Word documents. I have received files where the logo was a tiny part of a massive photo. None of these work. A professional branding result requires a professional artwork file. The preparation takes a few minutes. It saves weeks of back-and-forth corrections.
The standard file formats, color specifications, and size limits are not complicated. They are industry standards. Learn them once. Use them forever. Let me give you the exact specifications.
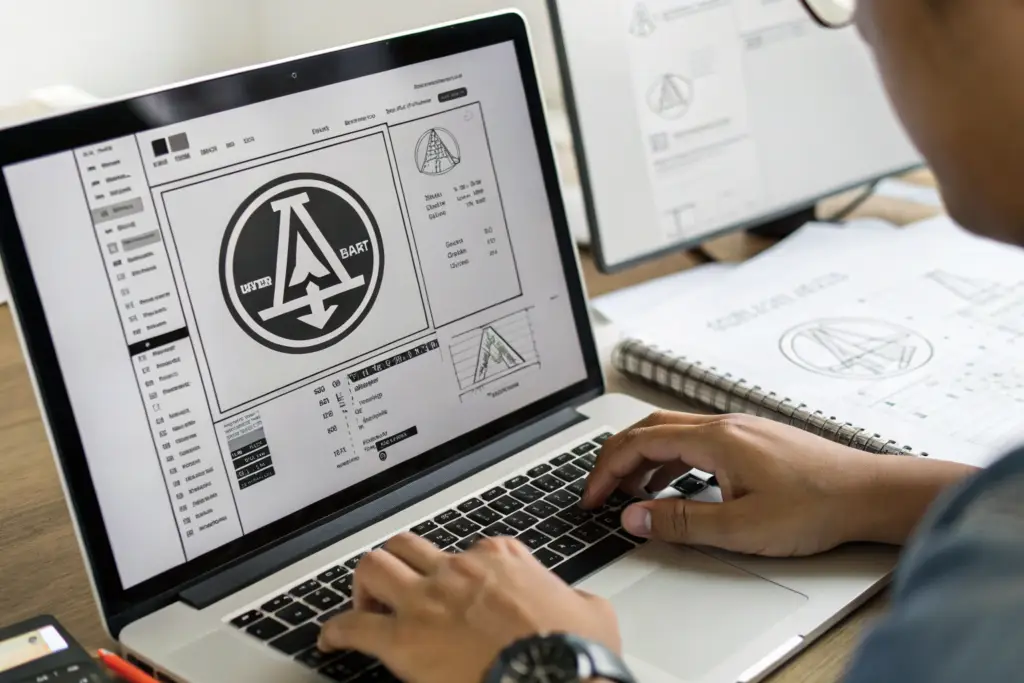
Why Is a Vector File Essential for a Sharp, Professional Logo?
A vector file is a graphic made of mathematical paths, not pixels. It has file extensions like .AI, .EPS, or .SVG. It can be scaled to any size without losing quality. A small embroidery on a short leg uses the same file as a large banner. The lines stay sharp. The curves stay smooth. A raster file, like a .JPG or .PNG, is made of pixels. When scaled up, it becomes blurry and jagged.
For all branding methods, the factory needs a vector file of your logo. If you only have a raster file, a graphic designer can recreate it as a vector. This costs a small fee and is worth the investment. Provide the logo in black and white, not in color, for woven labels and embroidery. The factory will add color later based on your Pantone color specifications. For heat transfers and printing, provide the logo in the exact colors you want, specified with Pantone codes or CMYK values. The vector logo file preparation guide explains the technical requirements. A clean, vector logo file is the single most important thing you can provide for a perfect branding result.
How Do You Specify Exact Logo Placement and Dimensions?
A vague instruction like "put the logo on the back" is not enough. The factory needs a precise placement diagram. This diagram shows the garment, the location of the logo, and the exact measurements from specific reference points. For example, "Woven label centered on the back waistband, 2cm below the top edge of the waistband." Or "Embroidered logo on the left leg, centered horizontally, 10cm up from the hem."
The measurement diagram removes ambiguity. The factory's QC team uses this diagram to check the placement on every piece. The dimension of the logo must also be specified. "Logo width: 4cm. Logo height: 1.5cm." This ensures the logo is the correct size for the garment. A logo that is too large looks loud. A logo that is too small is invisible. The garment logo placement guide provides standard placement measurements for different garment types. Provide a placement diagram with every branding order. It is a simple document that prevents expensive mistakes.
What Is the Step-by-Step Process for Branding Your Shorts?
The branding process follows a structured sequence. It runs parallel to the garment sampling process. You do not submit your logo at the last minute. You submit it at the beginning, alongside your tech pack. The logo is not an afterthought. It is an integral part of the product specification. The process from artwork submission to final approval has clear stages.
I recall a brand owner who forgot to send his logo until the bulk production was already cut. The shorts were sewn, pressed, and packed without branding. We had to unpack 1,000 pairs of shorts, send them to an embroidery facility, and repack them. The delay was two weeks. The extra cost was significant. The lesson is simple. Submit your logo artwork with your initial order. Make it part of the tech pack. The branding process is a priority, not an afterthought.
The process from start to finish is predictable. The factory quotes the branding cost. You approve. The factory creates a digital proof. You approve. The factory creates a physical sample. You approve. The factory proceeds to bulk. Let's walk through it.
What Happens from Artwork Submission to Sample Approval?
You submit your vector logo file, your placement diagram, and your branding method choice. The factory reviews the artwork. They provide a quote for the setup cost and the per-unit cost. You pay the setup fee. The factory creates a digital proof. For a woven label, this is a digital mockup of the label design. For embroidery, this is a digital stitch file simulation. You review the proof carefully. Check the spelling. Check the proportions. Check the colors. You approve the digital proof or request revisions.
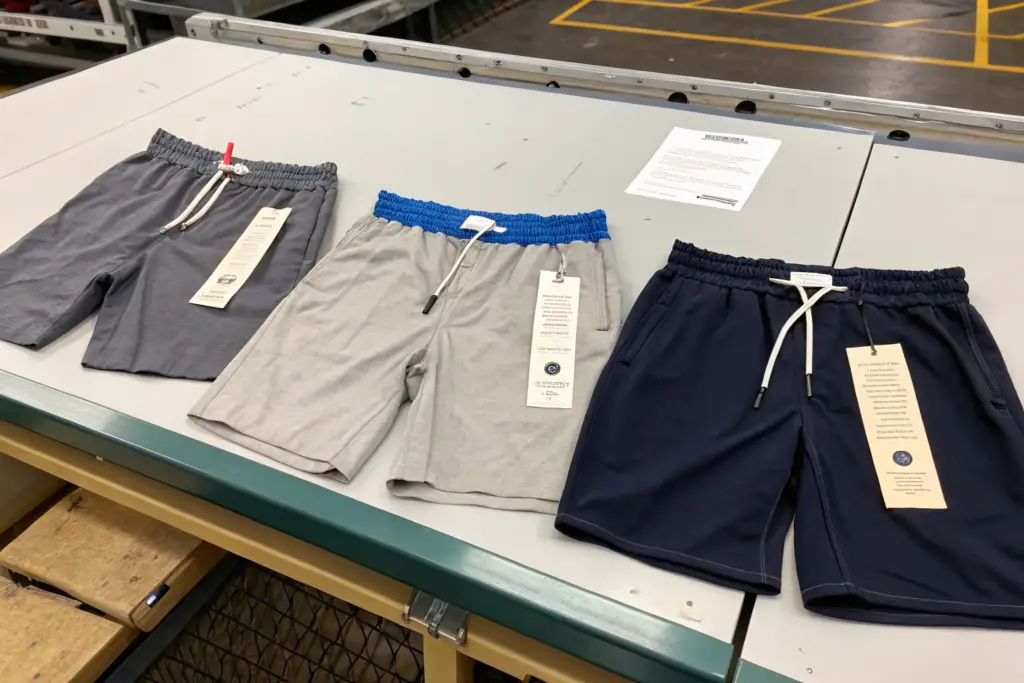
The factory then creates a physical sample. For a woven label, they weave a short run of labels and send you a photo or a physical strip. For embroidery, they stitch your logo onto a fabric swatch or directly onto a sample short. This physical sample is the moment of truth. You see exactly how your logo looks on the actual fabric. The thread texture. The label feel. The color accuracy. You approve the physical sample in writing. This sample becomes the sealed reference standard for bulk production. The branding sample approval process is the same as the garment sample process. Never skip the physical sample step. A digital proof looks different from a physical thread or label.
How Is the Logo Applied During Bulk Production?
After you approve the branding sample, the factory integrates the branding into the production line. Woven labels are sewn into the garment at the waistband attachment station. The sewing operator uses a placement guide to position the label correctly. Embroidery is done either in-house, if the factory has an embroidery department, or outsourced to a specialist. The shorts are hooped, the stitch file is loaded, and the machine stitches the logo.
Heat transfers are applied with a heat press. The operator positions the transfer, sets the temperature and pressure, and presses. The transfer bonds to the fabric. Custom hardware is attached at the button attachment station or the zipper assembly station. At each stage, a QC inspector checks the placement and quality against the approved sample. A logo placed 1cm too high is a defect. A logo with a loose thread is a defect. The QC process catches these and removes them. The garment branding quality control is part of the overall QC system. The factory's QC report should include a section on branding accuracy.
What Are the Costs and Minimum Order Quantities for Custom Branding?
Cost is the practical concern that determines branding decisions. The cost structure has two parts: a one-time setup cost and a recurring per-unit cost. The setup cost is the investment. The per-unit cost is the ongoing expense. Understanding this structure helps you budget correctly. A setup cost of $100 for an embroidery digitization seems high until you spread it over a 2,000-piece order. It becomes $0.05 per piece. The setup cost is amortized over the volume.
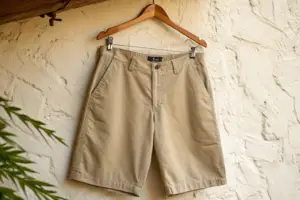
I advise new brands to start with a simple branding method. A woven label and a custom hang tag. The setup costs are manageable. The per-unit costs are low. As the brand grows and the order volumes increase, they can add embroidery, custom hardware, and more elaborate branding. Branding is a journey. You do not need to do everything on your first order. Start with the essentials and build over time.
The costs I quote here are industry estimates based on our production experience. Actual costs vary depending on the complexity of the logo and the order volume. These figures give you a realistic planning range.
![]()
What Are the Typical Setup Fees and Per-Unit Costs for Each Method?
For woven labels, the setup fee for a new weaving plate is $30 to $80. The per-unit cost for 2,000 labels is $0.05 to $0.15 each. For embroidery, the digitization setup fee is $20 to $50. The per-unit stitching cost depends on the stitch count. A 5,000-stitch logo costs approximately $0.80 to $1.20 per piece. For heat transfers, the screen or digital setup fee is $30 to $100. The per-unit transfer cost is $0.50 to $1.50, depending on the size and number of colors.
For custom metal buttons, the mold setup fee is $50 to $150 per design. The per-unit button cost is $0.15 to $0.35. For custom hang tags, the printing plate setup is $20 to $50. The per-unit tag cost, including string, is $0.08 to $0.25. These are wholesale manufacturing costs, not retail prices. The custom apparel branding costs guide provides a detailed breakdown. A brand with a 500-piece order should budget $150 to $400 for total branding setup and per-unit costs, depending on the method.
How Do You Bundle Branding Options for a Cohesive Branded Product?
A cohesive branded product uses multiple branding touchpoints. The customer sees the hang tag first. Then the woven label on the back. Then the custom button. Then the inner care label with the brand name. Each touchpoint reinforces the brand identity. They work together as a system.
A typical bundling for a premium classic short is a woven main label on the back waistband, a custom metal button with a debossed logo, a printed satin inner care label, and a branded hang tag with a string. This combination covers the outside, the inside, and the presentation. The total setup cost for this bundle is $150 to $250. The per-unit additional cost is $0.30 to $0.60. The perceived value increase to the customer is far greater than $0.60. The short looks like a $120 product, not a generic $50 product. The clothing branding package ideas guide offers combination suggestions. Think of branding as a system, not as isolated elements.
Conclusion
Adding your logo to classic shorts is the moment a generic product becomes your brand. The process is technical but simple. Choose your branding method based on your brand identity and budget. Prepare a clean vector logo file. Create a placement diagram with exact measurements. Follow the factory's process: digital proof, physical sample, approval, bulk production. Understand the setup costs and the per-unit costs. Budget for them. See branding as an investment in your brand's equity, not as an expense.
A factory is your branding partner. A good factory guides you through the options, advises on the best method for your logo, and delivers a sharp, correctly placed logo on every piece. A bad factory uses a low-resolution file, guesses the placement, and ships you a mess. The difference is in the process and the communication.
At Shanghai Fumao, branding is a standard part of our service. We have in-house embroidery machines, a network of label weaving partners, and a dedicated QC process for logo placement. We help our clients choose the right branding method, prepare their artwork, and approve samples. If you are ready to add your logo to classic shorts, contact our Business Director, Elaine, at elaine@fumaoclothing.com. Send her your logo file and tell her what you want to achieve. She will prepare a branding quote and a sample timeline. Let us put your name on a great product.