Starting a new clothing line or refreshing an existing collection is exciting. You have the vision. You see the final product hanging in stores. But then, reality hits. You need to get a sample made. And suddenly, the whole process feels stuck. You email a supplier, and they ask a simple question: "What information do we need to start making your sample?" That one question can feel overwhelming. Where do you even begin?
The simple answer is that we need your tech pack to start your sample. A tech pack is the blueprint for your garment. It contains all the technical drawings, measurements, material specifications, and construction details. Without a complete tech pack, we are essentially guessing. And guessing leads to samples that are wrong, wasted time, and missed deadlines.
Many buyers, especially those who are new to working directly with factories, think a sketch or a reference photo is enough. It is a good starting point, but it is not enough for production. I remember last year, a brand owner from New York sent us a photo of a jacket from a high-end designer. He loved the style. We tried our best to interpret the photo, but the first sample came back with the wrong pocket placement. He was frustrated. We were frustrated. We realized the issue was communication. Since then, we always ask new partners to start with the basics. Let me walk you through exactly what we need to get your first sample right, saving you time and money.
How do I create a tech pack for clothing manufacturing?
A tech pack might sound technical and scary. But it is simply a document that tells the factory exactly how to make your product. Think of it as a recipe for a cake. You wouldn’t just tell a baker to “make a chocolate cake.” You would give them the recipe with specific ingredients and steps. A tech pack is the same for your clothes.
What are the essential components of a complete tech pack?
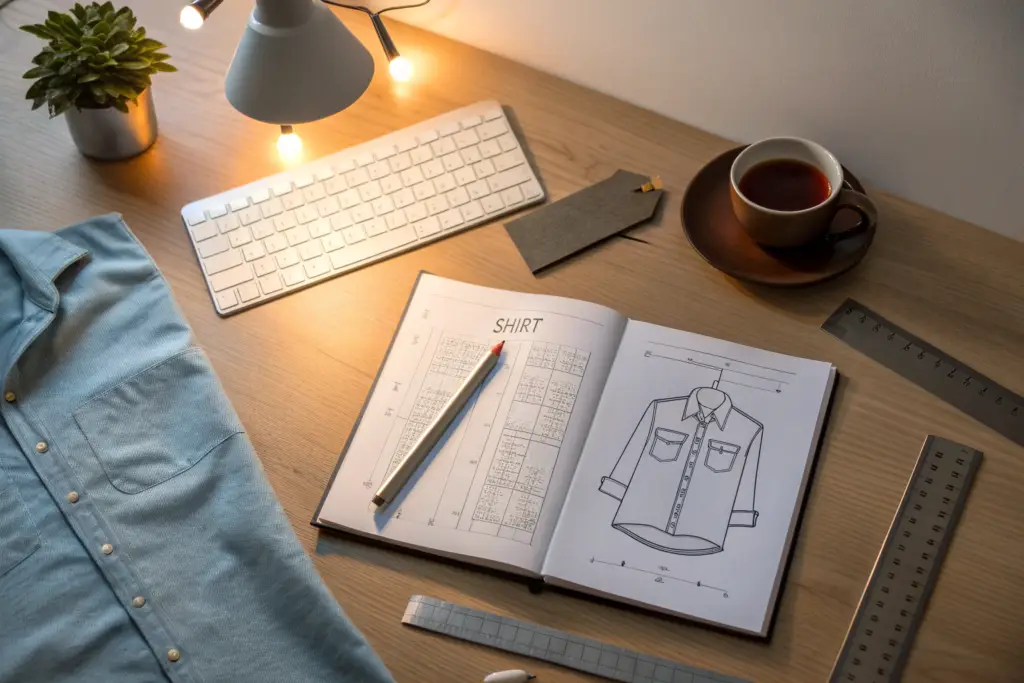
To get started, your tech pack must include a few key sections. The first and most important is the technical flat sketch. This is not a fashion illustration. It is a line drawing of your garment, showing the front and back views. It must be accurate and show all seams, topstitching, and details like pockets or zippers. You can create this in Adobe Illustrator, or if you are not a designer, you can hire a freelancer on platforms like Upwork to create one for you.
The second critical part is the bill of materials, or BOM. This is a list of every single material needed to make one unit of your garment. This includes the main fabric, lining, thread, buttons, zippers, and labels. For each item, you should specify the supplier or the type of material you want. For example, don’t just say “cotton.” Say “100% combed ring-spun cotton jersey, 180 GSM.” This level of detail is what helps us at Shanghai Fumao source exactly what you envision. If you have a specific zipper brand like YKK, you should list that here as well.
Why are measurement specs and a size chart non-negotiable?
The third essential element is the measurement spec sheet. This is a table that lists all the critical points of measurement for your garment. This includes the chest width, body length, sleeve length, and shoulder width. You must provide these measurements in inches or centimeters for each size you plan to offer (like Small, Medium, Large). Without these numbers, we cannot ensure the fit is correct.
Last year, a client from Chicago sent us a sample of a t-shirt he liked. He asked us to “make it like this.” We measured his sample, but we didn’t know if he wanted it to fit tighter or looser. The first samples we made were too baggy for his brand’s style. After three rounds of samples, we finally got it right. That was three times the shipping cost and three times the waiting. If he had just sent us a spec sheet with his desired measurements, we would have saved months. A clear size chart for grading is also vital. It tells us how the measurements should change as the sizes get larger or smaller. You can learn more about standard grading rules from resources like Common Objective.
What fabric and trim details do factories need for sampling?
Choosing the fabric is the most exciting part of the process. But for a factory, it is also the most critical part of the planning. The fabric you choose determines the cost, the feel, and even how the garment is constructed. We cannot start cutting fabric for your sample until we know exactly what we are working with.
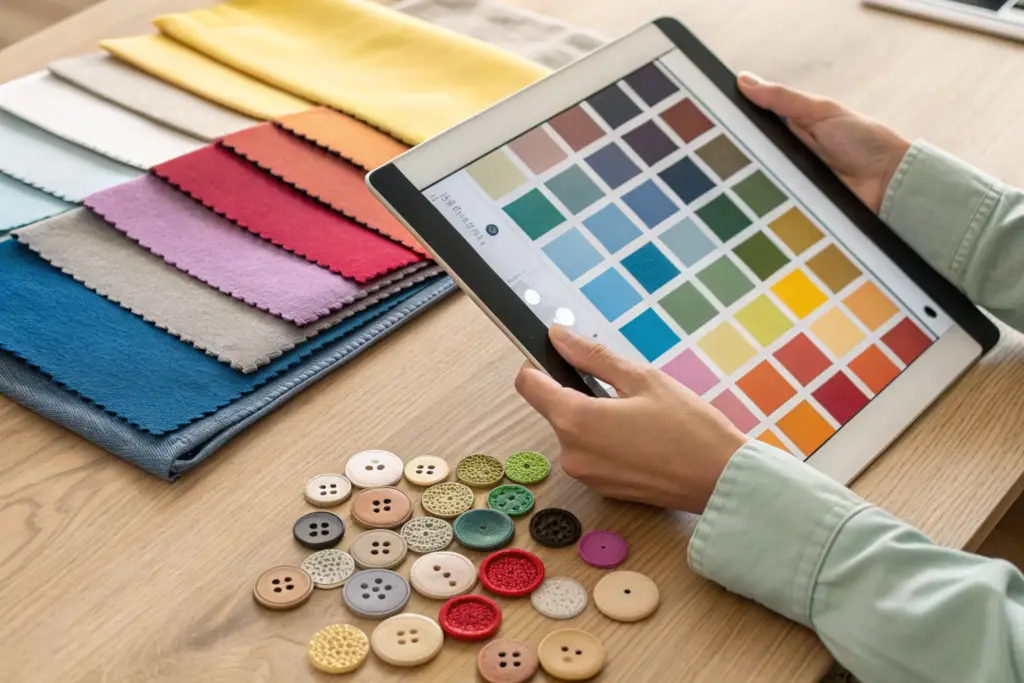
How do I specify the exact fabric I want for my sample?
Sending a photo of a fabric you like is not enough. Photos can be misleading due to lighting and screen settings. To get an accurate sample, you need to provide a physical fabric swatch, or “handloom.” A swatch that is at least 4×4 inches is ideal. This allows us to feel the weight, the drape, and the hand-feel of the material. If you don’t have a physical swatch, you need to give us very specific technical details.
You should tell us the fiber content (e.g., 100% Polyester), the weave or knit type (e.g., 2×2 Rib Knit), and most importantly, the weight. Fabric weight is usually measured in GSM (grams per square meter) or ounces per square yard. For a summer t-shirt, you might want a 150 GSM fabric. For a heavy sweatshirt, you might want 300 GSM. If you are sourcing a specific performance fabric, like for activewear, you might also need to specify finishes like moisture-wicking or anti-microbial. If you are unsure, we can guide you based on your target price and season.
What should I know about trims, labels, and packaging before sampling?
Beyond the fabric, the small details make your brand. These are called trims. You need to decide on your buttons, zippers, and threads. If you have a custom button with your logo, you need to send it to us or provide the mold. If you are using a standard button, tell us the size, color, and material (like 18L natural shell button).
Your brand identity is also in the labels. We need to know what your main label looks like. Is it woven or printed? What is the size of the label? Where do you want it placed—on the back of the neck or the side seam? The same goes for the care label. Do you have specific washing instructions that must be printed? Finally, think about packaging. Do you want each piece folded in a poly bag? Do you need hang tags with your logo? Providing this information upfront ensures the sample represents your final product perfectly. At Shanghai Fumao, we often help brands source these trims locally in China to save on costs, but we always need your approval on the style first. For standard trim sizes and industry specs, you can check suppliers like Sourcing at Magic.
How can I ensure my sample fits perfectly?
Fit is everything. A garment can have the most beautiful fabric and the finest stitching, but if it doesn’t fit well, the customer won’t buy it again. Getting the fit right in the sampling stage is a process, and it requires your active participation. It is a collaboration between your vision and our manufacturing expertise.
What is the role of a fit sample in the development process?
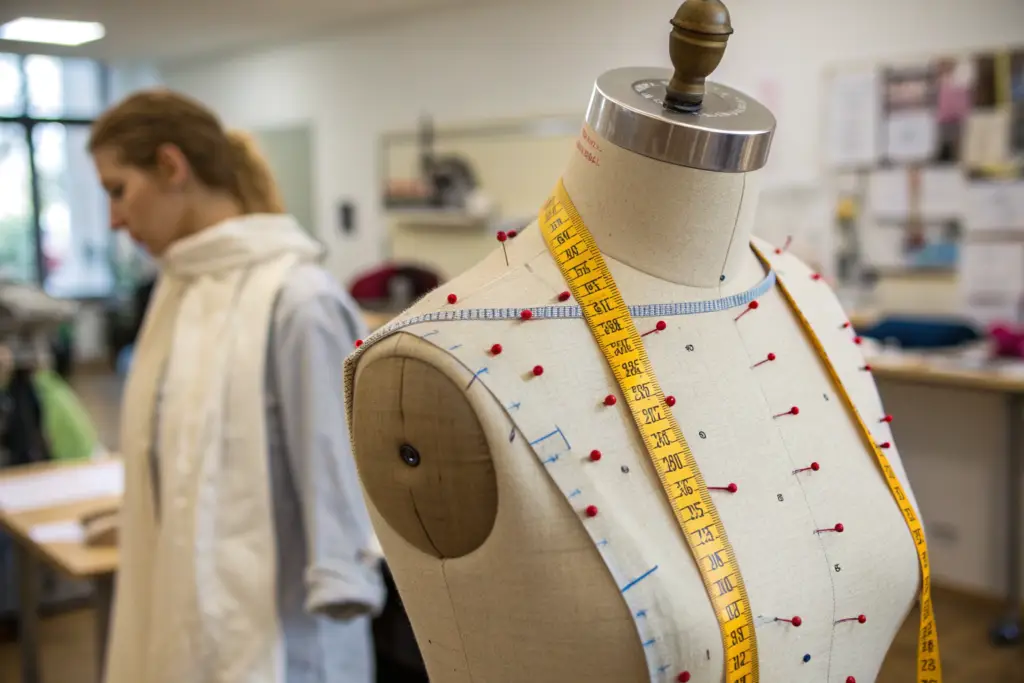
The first sample we send you is called a fit sample. Its purpose is exactly what it sounds like: to check the fit. It is usually made in one size, typically a size Medium. You should try this sample on a live model or a dress form that matches your target customer’s body shape. Do not just lay it flat on a table and guess.
When you try on the fit sample, look at the overall silhouette. Does it hang the way you wanted? Check the critical points. Is the neckline too wide? Are the armholes too tight? Is the body length correct? Take photos from the front, back, and side. Then, send us your feedback with clear instructions. For example, instead of saying “the sleeves are too long,” say “please shorten the sleeve length by 1 inch from the shoulder seam.” This precision is what leads to a perfect second sample. If you are new to fit evaluation, resources like the Fit Guide from Threads Magazine can offer basic principles.
How many rounds of samples are typically needed before production?
This is a common question. The number of sample rounds depends on the complexity of your design and the clarity of your initial instructions. For a simple t-shirt with clear specs, we can often get it right in one or two rounds. For a complex, fully-lined jacket with multiple pockets and special stitching, it might take three or four rounds.
Here is a typical breakdown:
| Sample Stage | Purpose | Who is involved? |
|---|---|---|
| Development Sample | To check the overall look, construction, and fabric. | Factory makes, Brand reviews. |
| Fit Sample | To perfect the sizing and fit on a body. | Factory makes, Brand fits and comments. |
| Pre-Production Sample (PP Sample) | To confirm all details are correct before bulk production, made with the actual production materials and techniques. | Factory makes, Brand gives final sign-off. |
| Top of Production Sample (TOP Sample) | Pulled from the very beginning of the bulk production run to ensure quality is consistent. | Factory sends, Brand inspects. |
I recall working with a Canadian activewear brand on a new pair of leggings. They had a very specific compression fit in mind. The first fit sample was too loose. We adjusted the pattern and sent a second. The waistband was then too tight. By the third sample, we had the tension and stitching just right. We used a specific type of elastic and a flat-lock seam that they loved. That attention to detail in the sampling phase built a strong foundation for a collection that sold out in three months.
Who is my point of contact for sample development?
Communication can make or break a sampling project. You might have the best design in the world, but if you cannot communicate your ideas clearly to the person making it, you will have problems. This is why having a dedicated, skilled point of contact is so important. They are the bridge between your creative vision and our production reality.

Why is a dedicated sales manager crucial for smooth sampling?
When you work with a large factory, you might feel like you are just a number. Emails go to a general inbox, and you get different responses from different people. This is inefficient. That is why we assign a dedicated sales manager to each client. This person becomes your single point of contact. They learn your brand. They understand your preferences. They know that you hate bright white thread or that you always want your labels sewn a certain way.
This relationship builds trust and speed. When you email your manager, you don’t have to re-explain your entire brand story every time. They already know it. They can quickly get answers from the pattern maker, the sourcing team, or the production floor. They speak your language and they speak our language. This direct line of communication prevents the kind of misunderstandings that lead to wrong samples. For example, last spring, a client from Texas was in a huge rush for a sample for a major trade show. His dedicated manager personally walked the request to the sample room supervisor and ensured it was prioritized. We got that sample made in 5 days instead of the usual 15. That is the power of a single, dedicated contact.
How do I give feedback on a sample to get it corrected faster?
Receiving a sample is exciting, but the real work starts with your review. The way you give feedback directly impacts how fast we can correct it and send you the next version. Vague feedback leads to slow, frustrating cycles. Clear, actionable feedback leads to fast, accurate results.
Here is a simple rule for good feedback: be specific and visual. Instead of saying “the stitching looks messy,” take a close-up photo and circle the area. Write: “The topstitching on the left pocket is 1/8 inch away from the edge. On the right pocket, it is 1/4 inch away. Please ensure all topstitching is consistently 1/8 inch from the edge.”
For fit comments, use the measurement points from your spec sheet. For example: “Please increase the chest width by 1 inch total (1/2 inch on each side).” If you are unsure how to describe a change, a quick video call can work wonders. Seeing the garment on a model while talking to your product development manager allows for instant clarification. This personal connection is something we value at Shanghai Fumao. We want to be your partner, not just your supplier. When we work together like a team, we create better products, faster.
Conclusion
Starting the sampling process might seem like a lot of work. You have to gather sketches, find fabrics, and write down measurements. But look at it this way: every hour you spend preparing your tech pack and details is a week you save in sampling corrections. It is the foundation for a successful partnership and a profitable product. You bring the vision and the market knowledge. We bring the manufacturing expertise, the quality control, and the reliable delivery. We have helped countless brands, from startups to established names, turn their ideas into real, sellable products.
If you are ready to move your project forward, or if you just have a question about how to start, we are here to help. Let’s talk about your next collection. Please contact our Business Director, Elaine, at strong>elaine@fumaoclothing.com</strong. She will personally guide you through the first steps and make sure you have all the information you need to get your perfect sample.