I was reviewing a production sample late one night in our embroidery room. The coat was a simple, unlined linen duster for a boutique brand in Austin. Beautiful cut. Perfect drape. But it looked like a blank canvas. The brand owner had asked us to embroider her logo on the left chest and a small, intricate sun motif on the back yoke. The first sample I picked up had puckering around the logo. The tension was wrong. The second sample had the back motif misaligned by three millimeters. I rejected both. The third sample was perfect. That night, I realized something important. Custom embroidery on a summer coat is not a simple add-on service. It is a separate manufacturing discipline with its own machinery, its own quality standards, and its own potential for catastrophic error. Many factories treat embroidery as an afterthought. They outsource it to a local shop with no quality oversight. The result is inconsistent stitching, misaligned logos, and damaged fabric that cannot be repaired. This is the fear every brand owner has when they imagine their logo stitched crookedly onto 800 coats.
Adding custom embroidery to a bulk summer coat order requires a specialized in-house embroidery department, digitized design files tested on the actual production fabric, and a pre-production approval process that includes a sew-out sample on the exact garment shell. The key technical considerations are needle selection based on fabric weight, stabilizer type to prevent puckering on lightweight summer fabrics, and stitch count optimization to keep the embroidery soft and flexible rather than stiff and board-like.
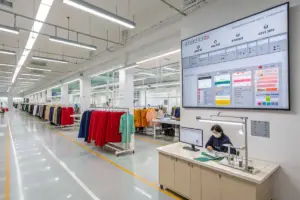
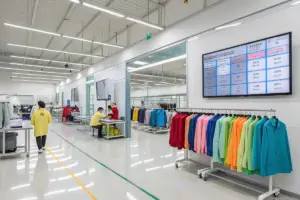
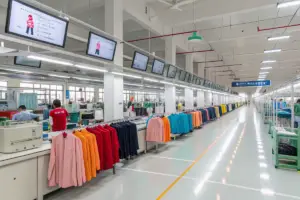
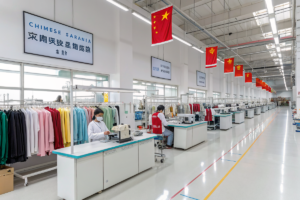
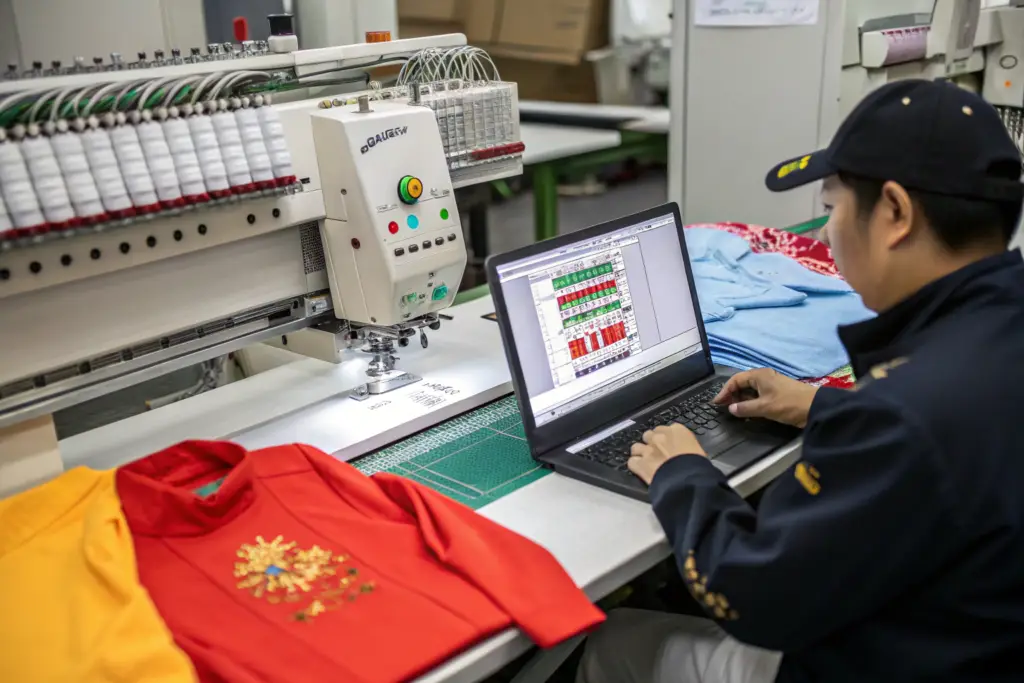
The good news is that custom embroidery, when executed correctly, transforms a generic summer coat into a branded asset. It adds perceived value, justifies a higher retail price, and creates a product that cannot be easily copied by a fast-fashion competitor. At Shanghai Fumao, we have invested in a dedicated embroidery workshop with multi-head computerized machines and a full-time digitizing team. Let me walk you through the process from artwork submission to final quality inspection, so you know exactly what to expect and what to demand from your manufacturing partner.
The Digitizing Process: Turning Your Artwork into Stitch Data
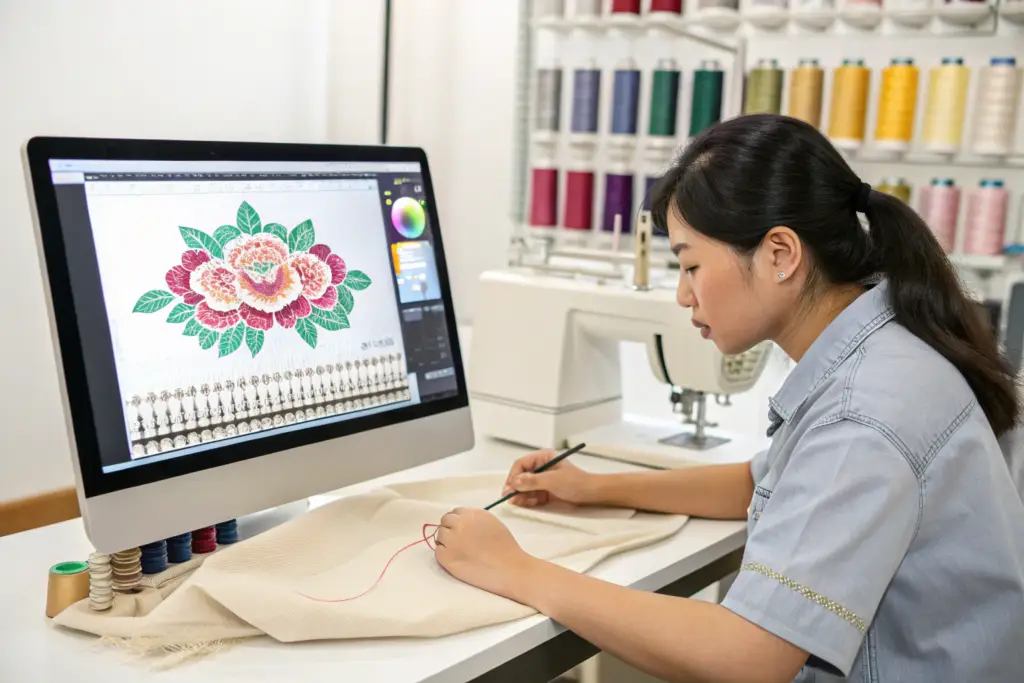
The digitizing process is invisible to the brand owner, but it determines everything about the final embroidery quality. Digitizing is the process of converting your logo or artwork file, usually a PNG, JPG, AI, or vector PDF, into a stitch file that an embroidery machine can read. The machine does not understand images. It understands coordinates, stitch types, thread colors, and sequence commands. A human digitizer must manually map every stitch path, assign every stitch type, and set every thread trim and color change. This is not automated. It is a craft skill that takes years to master. I learned the importance of a skilled digitizer the hard way. Three years ago, a brand sent us a beautiful, detailed watercolor floral logo for their summer kimono line. The logo had soft color gradients and delicate petal shapes. I sent it to a low-cost digitizing service to save the brand money. The resulting sew-out looked like a child’s drawing of a flower. The gradients were reduced to harsh blocks of color. The petals were jagged polygons. The brand owner was devastated. I paid for re-digitizing with our current in-house specialist out of my own pocket. The re-digitized version was stunning. Lesson learned permanently.
The digitizing process for a custom embroidery design involves six critical decisions: stitch type selection (satin, tatami, or run stitches), stitch angle to create visual texture and light reflection, stitch density to balance coverage with fabric flexibility, underlay stitches to stabilize the fabric before the top stitches are applied, pull compensation to counteract the natural tendency of stitches to pull the fabric inward, and thread trim sequencing to minimize jump stitches on the visible surface.
Each of these decisions must be adjusted based on the specific fabric of your summer coat. A dense tatami fill stitch that looks great on a heavy denim jacket will pucker and distort a lightweight linen duster. The digitizer must reduce the stitch density, increase the pull compensation, and add a more robust underlay for the lighter fabric. This requires experience and testing. We never use a standard digitized file across different fabrics without re-testing. A file that runs perfectly on 280 GSM cotton twill may fail on 140 GSM Tencel. The digitizer adjusts the file, runs a new sew-out sample on the actual production fabric, and submits it for approval.
What File Formats and Artwork Types Produce the Best Embroidery Results?
You need to understand the difference between a printable file and an embroiderable file. Your graphic designer creates artwork in Adobe Illustrator or Photoshop. That artwork looks perfect on a screen or printed on paper. Embroidery is a physical medium. Thread has thickness. It occupies space. It cannot reproduce a 0.5-point line or a soft drop shadow. The most common request we receive that cannot be executed is small text. A brand sends a logo with their company name in a 10-point serif font, expecting it to be legible when embroidered at 2 centimeters wide. It will not be legible. The minimum letter height for embroidered text is approximately 6 millimeters for uppercase sans-serif letters. Serif fonts require even larger sizes because the thin serifs disappear into the fabric texture. We recommend a minimum of 8 millimeters for serif text. Gradients and photographic images also cannot be directly embroidered. Thread is a solid color. You cannot fade from dark blue to light blue within a single stitch block. The digitizer must reduce a gradient to a series of solid color bands, which changes the visual character of the design. The best artwork formats for digitizing are clean vector files, AI or EPS or SVG, with clearly separated color areas, no gradients, and minimum detail sizes above 1 millimeter. If you only have a raster file like a PNG or JPG, provide it at 300 DPI or higher at the actual embroidery size. A 72 DPI web graphic blown up to embroidery size will be a blurry mess that the digitizer has to redraw from scratch, adding time and cost to the process.
How Many Stitches Should Your Custom Embroidery Design Have?
Stitch count is the primary cost driver for custom embroidery. Embroidery machines operate at a fixed speed, typically 600 to 850 stitches per minute. A design with 5,000 stitches takes roughly twice as long to sew as a design with 2,500 stitches. More stitches mean higher production cost per unit. More stitches also mean a stiffer, heavier embroidery that affects the drape of a lightweight summer coat. You want the minimum stitch count that achieves the desired visual impact. A standard left-chest logo, approximately 6 to 8 centimeters wide, typically requires between 1,500 and 3,500 stitches. A small, simple text logo in a single color might be only 1,200 stitches. A detailed crest or emblem with multiple colors and complex shapes might reach 6,000 stitches. A large back design, 20 to 25 centimeters wide, can range from 8,000 to 20,000 stitches depending on the fill density and the level of detail. We advise our clients to be conservative with stitch counts on summer coats. A 15,000-stitch back embroidery on a 140 GSM linen coat will create a stiff, heavy panel that hangs differently from the un-embroidered fabric. The coat loses its lightweight character. We recommend keeping back designs under 10,000 stitches for summer weight fabrics and using open, airy fill patterns instead of solid, dense tatami fills. The embroidery should enhance the coat, not transform it into something the customer no longer wants to wear in warm weather.
Production Setup: Hooping, Stabilizers, and Tension Control
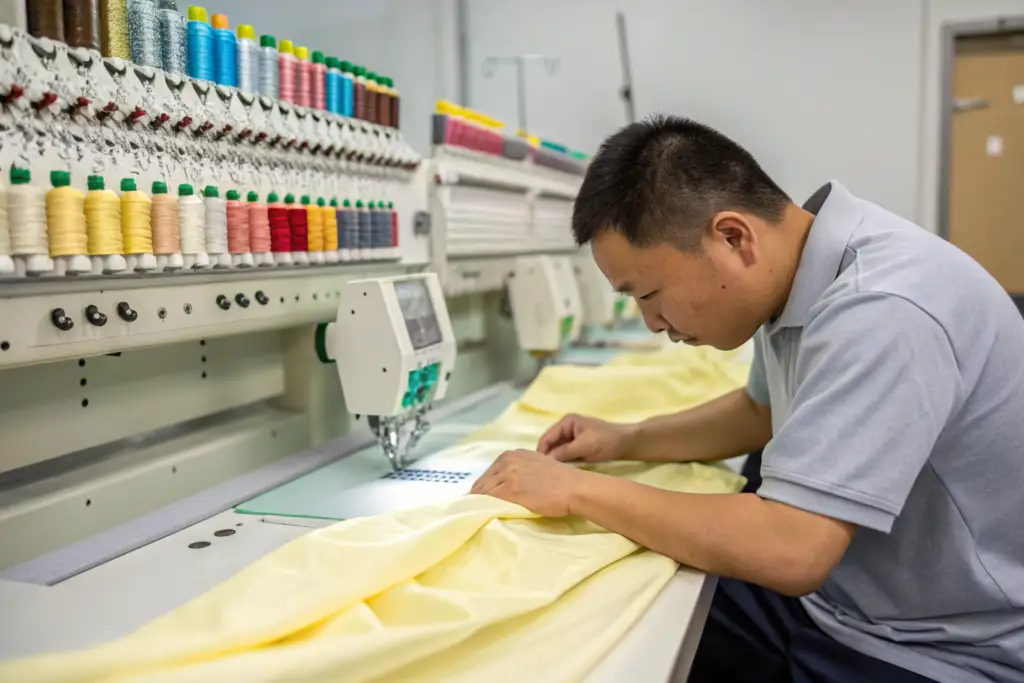
The embroidery machine is only as good as the hooping job. Hooping means mounting the fabric and a stabilizer backing into a frame that holds the material completely flat and stationary while the needle penetrates it at high speed. If the fabric is even slightly loose in the hoop, the embroidery will pucker. If the fabric is stretched too tight, it will relax after hooping and the embroidery will distort. If the stabilizer is the wrong type for the fabric, the embroidery will shift during sewing or the backing will be impossible to remove cleanly. I have seen entire production runs ruined by a new operator who was not trained on proper hooping technique for lightweight fabrics. The coats looked fine on the machine. After the hoop was removed and the fabric relaxed, every logo was surrounded by a visible ring of puckered fabric. The coats could not be sold at full price. We donated them to a charity and absorbed the loss. We now have a dedicated senior embroidery technician who checks every hooping station at the start of each shift and spot-checks hooped garments every hour.
The production setup for bulk summer coat embroidery requires four synchronized elements: the correct stabilizer for the fabric weight and stretch, the correct needle type and size to avoid damaging the fabric, the correct machine tension to prevent thread breaks and looping, and a hooping technique that keeps the fabric flat without stretching it. One element out of alignment compromises the entire run.
Stabilizer selection is the most common point of failure. A stabilizer is a backing material that supports the fabric during embroidery and prevents it from stretching, shifting, or puckering. There are three main types. Tear-away stabilizer is designed to be torn away from the back of the embroidery after sewing. It is fast and easy for the finishing team but leaves a rough edge around the design. It is suitable for heavy, stable fabrics like denim or canvas. Cut-away stabilizer remains permanently attached to the back of the embroidery. It provides the most support and is necessary for knit fabrics and lightweight woven fabrics that tend to stretch or pucker. Water-soluble stabilizer dissolves completely in water after embroidery. It is used as a topping on textured fabrics like terry cloth or fleece to prevent the stitches from sinking into the pile. For summer coats in lightweight linen, Tencel, or cotton voile, we use a soft, lightweight cut-away stabilizer. It adds minimal bulk but provides the permanent support the fabric needs to hold the embroidery without puckering over multiple washes. We also use a water-soluble topping if the fabric has a prominent weave texture that might swallow the stitches.
How Do You Prevent Puckering on Lightweight Summer Fabrics?
Puckering is the visible enemy of embroidered summer coats. It occurs when the embroidery stitches contract as they are sewn, pulling the surrounding fabric inward and creating wrinkles. It is more severe on lightweight fabrics because the fabric has less structural resistance to the pulling force. There are five techniques we use in combination to eliminate puckering. First, we reduce the stitch density in the digitized file. Less thread in the fabric means less pulling force. We typically reduce standard density by 10% to 15% for fabrics under 200 GSM. Second, we adjust the pull compensation in the digitizing software. Pull compensation slightly expands the stitch area outward, anticipating the contraction that will occur during sewing. The stitches shrink back to the intended size. Third, we use a sharp-point needle, size 70 or 75, that slices cleanly through the fabric fibers rather than pushing them aside and creating tension. A ballpoint needle, designed for knits, will grab and pull woven fibers, increasing puckering. Fourth, we hoop the garment with a cut-away stabilizer that is slightly heavier than the fabric itself. The stabilizer absorbs the pulling force and protects the fabric. Fifth, we run the embroidery machines at slightly slower speeds, 600 stitches per minute instead of 850, to reduce the instantaneous tension on each stitch. These five techniques combined reduce puckering to nearly zero, even on a 120 GSM viscose challis. It requires more time and more expensive materials, but the alternative is an unsellable product.
What Is the Correct Needle and Thread for Summer Coat Embroidery?
Needle selection is a precise science that many factories ignore. They use a standard 75/11 sharp-point needle for everything because buying one needle type is cheaper and easier. This laziness destroys lightweight fabrics. A needle that is too large punches a visible hole in the fabric around each stitch. The hole does not close because the fabric fibers are fine and the weave is open. The embroidery looks like it is surrounded by a perforated tear line. We stock five needle types and multiple sizes in our embroidery department. For lightweight summer coat fabrics like linen, Tencel, viscose, and fine cotton, we use a 65/9 or 70/10 sharp-point needle. The smaller diameter creates a smaller puncture that the fabric can close around the thread. For slightly heavier fabrics like brushed cotton twill or lightweight denim, we use a 75/11 sharp-point. For any fabric containing spandex or elastane, we switch to a 75/11 ballpoint needle to avoid cutting the elastic fibers. Thread selection matters equally. Standard embroidery thread is 40-weight polyester or rayon. This thickness works well for most applications. For very fine, delicate embroidery on ultra-lightweight fabrics, we sometimes switch to a 60-weight thread, which is thinner and creates a softer, less bulky stitch. The color palette for summer coats should also be considered. Rayon thread has a beautiful sheen that catches light and looks luxurious, but it is less colorfast and can fade with repeated sun exposure or washing. Polyester thread is more durable and colorfast, making it the better choice for a garment that will be worn outdoors in summer sunshine and washed frequently. We use high-tenacity polyester embroidery thread as our default unless the brand specifically requests rayon for a particular visual effect.
Quality Control and the Approval Workflow for Bulk Embroidery
The quality control process for custom embroidery must be integrated into the garment production workflow, not tacked on as a final afterthought. Embroidering a coat is an irreversible process. You cannot unpick 10,000 stitches and leave the fabric unmarked. A defective embroidery means a scrapped garment. The cost of that scrapped garment includes the fabric, the cutting, the sewing, the embroidery labor, and the wasted thread. On a summer coat with a high-quality fabric, that scrap cost can be $15 to $25 per unit. If 5% of an 800-unit order is scrapped due to embroidery defects, that is a $600 to $1,000 loss. The brand owner absorbs that loss, either through direct chargeback or through reduced margin on a smaller sellable quantity. This is why a rigorous, multi-stage approval and inspection workflow is not optional. It is a margin protection system.
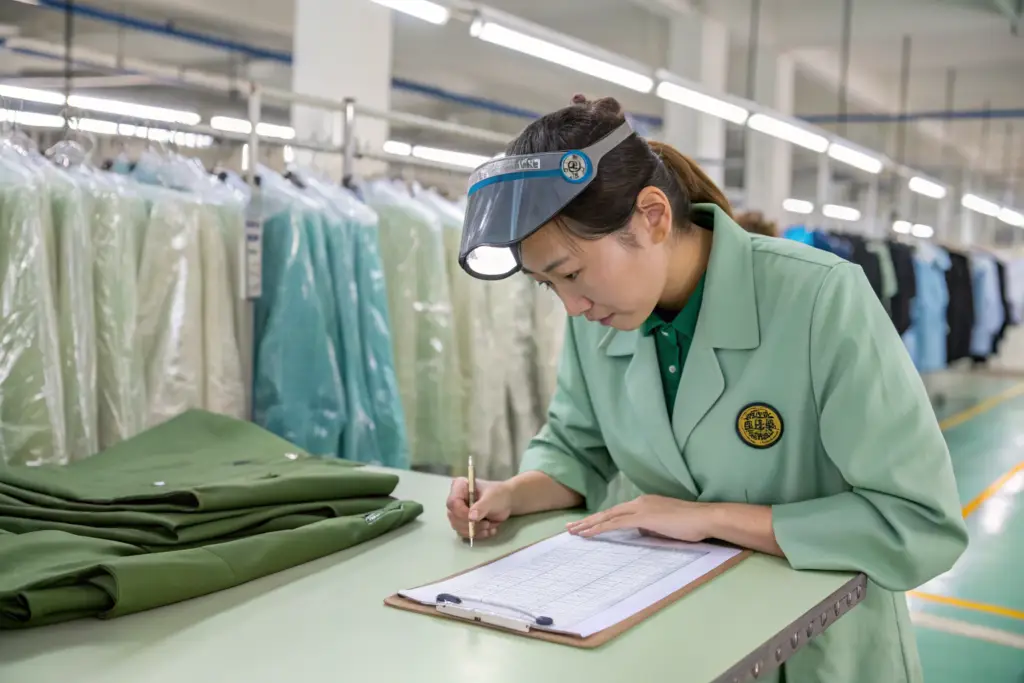
The bulk embroidery quality control workflow has five gates: sew-out approval on the actual production fabric before bulk begins, first-piece inspection of the first production garment off each machine, in-line inspection every two hours during the production run, final inspection of 100% of embroidered garments under bright light, and random AQL sampling after packing to catch any packing or handling damage. Each gate must be documented with photos and a signed checklist.
The sew-out approval is the most important gate. Before the embroidery machines are loaded with the production order, we run one complete design on a piece of the actual production fabric, not a similar fabric, not a swatch from a different dye lot, but the exact fabric that will be used for the coats. We mount this sew-out on a printed approval card that shows the design artwork at actual size, the thread colors with their Pantone or Madeira color codes, and the placement measurements from the garment seams. We photograph this sew-out from multiple angles and email the photos to the brand owner along with a physical sample shipped by express courier. Nothing moves to bulk production until the brand owner replies with written approval. This step adds two to three days to the production timeline. It is the most valuable two to three days in the entire manufacturing process because it prevents a misunderstanding from becoming a production disaster.
How Is Embroidery Placement Verified Across Bulk Quantities?
Placement consistency is the difference between a professional branded product and a sloppy promotional giveaway. A logo embroidered 5 centimeters from the left shoulder seam on one coat and 6 centimeters on the next coat signals low quality. The consumer may not measure the difference, but they perceive it. The coats look inconsistent. We use three methods to ensure placement consistency across bulk quantities. First, the production pattern includes a pre-printed placement mark for every embroidery location. The pattern piece has a small crosshair or circle printed directly on the fabric during the cutting process. The embroidery operator aligns the center of the embroidery hoop with this mark. Second, for styles with multiple embroidery locations or precise placement relative to design features like seams or pockets, we create a clear acrylic placement template. The template is a rigid sheet with the exact embroidery area cut out. It is placed on the garment, aligned with reference points like the shoulder seam and the center front, and the operator marks the embroidery position through the template with a fabric-safe marking pen or tailor’s chalk. Third, we use a laser positioning system on our newer embroidery machines. The machine projects a red crosshair laser dot at the center of the embroidery field. The operator positions the garment under the laser, aligns the placement mark with the dot, and clamps the hoop. This system is fast, accurate to within 1 millimeter, and eliminates the variability of manual visual alignment. For a bulk order of 500 or more units, the laser system pays for itself in reduced placement errors within a single production run.
What Thread Color Matching Process Prevents Brand Identity Disasters?
Thread color matching is a frequent source of tension between brand owners and manufacturers. The brand owner has a specific Pantone color for their logo, carefully chosen by their graphic designer over months of brand development work. Embroidery thread is not available in every Pantone shade. The thread manufacturer produces a finite color palette, typically 300 to 400 colors for a standard polyester embroidery thread range. A perfect match is often impossible. We have a defined process to manage this limitation without damaging the brand relationship. When we receive the artwork, our digitizer identifies the closest thread colors from our stocked range and notes any significant deviations. If the brand’s logo uses Pantone 186 C, a specific bright red, and our nearest thread match is a slightly darker or slightly more orange red, we flag this deviation on the sew-out approval card. We provide the Pantone reference number, the thread manufacturer’s color name and code, and a small physical thread wrap sample taped to the card. The brand owner can see and feel the actual thread, not just a digital approximation on a screen. If the deviation is unacceptable, we work with the brand to either adjust their artwork to match available thread colors, order a custom-dyed thread batch, which typically requires a 500-spool minimum and adds 3 to 4 weeks to the timeline, or accept the nearest match and update their digital brand guidelines to reflect the new embroidery thread specification. The key is transparency and documentation. A brand owner who discovers a thread color mismatch when they open the shipping carton is an angry brand owner who may refuse the shipment. A brand owner who approves the thread color on a documented sew-out card is a partner who made an informed decision.
Conclusion
Custom embroidery on bulk summer coat orders is a high-value service that carries high execution risk. When it is done right, it elevates your product, strengthens your brand identity, and creates a competitive moat that fast-fashion copycats cannot easily cross. When it is done wrong, it destroys garments that cannot be fixed and erodes the trust between brand and manufacturer. The difference between right and wrong lives in the details: the skill of the digitizer, the selection of the stabilizer, the size of the needle, the calibration of the machine tension, and the rigor of the approval workflow.
You should now have a clear picture of what to expect and what to demand from your manufacturing partner when adding embroidery to a summer coat order. Ask about their in-house versus outsourced embroidery capability. An outsourced operation means you have no visibility into quality control and no direct communication with the embroidery technicians. Ask about their stabilizer selection process for your specific fabric weight. If they cannot name the stabilizer type and weight they will use, they do not have a process. Ask about their sew-out approval workflow and whether they will ship you a physical sample on the production fabric before cutting bulk. If the answer is "we just need your artwork file," proceed with extreme caution.
At Shanghai Fumao, we invested in in-house embroidery because we refused to let an outsourced vendor compromise the quality of the garments we spent weeks sewing to perfection. Our embroidery department runs on the same quality management system as our cutting and sewing lines. Our digitizers have an average of eight years of experience. Our technicians test every new fabric with multiple needle and stabilizer combinations before production begins. Our sew-out approval cards have saved countless production runs from expensive misunderstandings.
If you are ready to add custom embroidery to your next summer coat collection, or if you have a current embroidery supplier and want to compare quality and pricing, reach out to our Business Director, Elaine. She can coordinate a test sew-out of your logo on our standard summer coat fabrics and ship you the physical sample for review. She can also provide a detailed cost breakdown based on your design’s stitch count and your order quantity. Contact Elaine at: elaine@fumaoclothing.com.