I have been in the apparel manufacturing business for over a decade. In that time, I have helped hundreds of entrepreneurs launch their own private label clothing lines. Some of them built successful brands. Some of them struggled. The difference was not luck. It was preparation.
At Shanghai Fumao, we work with brands at every stage. Some come to us with a clear vision and a complete tech pack. Others come with a rough idea and need help developing it. The ones who succeed are the ones who follow a structured process. They do not skip steps. They plan carefully. They build a foundation that supports growth.
In this article, I will walk you through the exact steps to launch a private label clothing line. I will share what I have learned from watching hundreds of brands launch. I will give you practical advice at each stage. I will tell you where to invest your time and money. And I will help you avoid the common mistakes that cause new brands to fail.
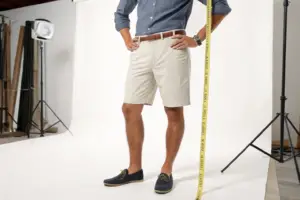
Step 1: Define Your Brand Identity and Target Market
Before you design a single garment, you need to know who you are designing for. Many new brand owners skip this step. They design what they like. But personal taste does not always match market demand.
Define Your Target Customer
Who is your customer? Be specific. Do not say "women aged 20 to 40." That is too broad. Instead, say "women aged 28 to 35 who live in urban areas, work in creative fields, and value sustainable fashion." The more specific you are, the easier it is to design for that customer.
Understand Their Needs
What does your target customer need? What problems do they have that current brands are not solving? Maybe they cannot find work-appropriate clothing that is also comfortable. Maybe they cannot find plus-size clothing that is stylish. Maybe they want sustainable clothing that does not look like a burlap sack. Your brand should solve a problem.
Research Your Competitors
Who else is selling to your target customer? What are they doing well? Where are they falling short? Visit their websites. Buy their products. Read their reviews. Understand their strengths and weaknesses. Your brand should fill the gaps they are missing.
Define Your Brand Values
What does your brand stand for? Sustainability? Ethical production? Inclusivity? Bold design? Your values will guide your decisions. They will also attract customers who share those values.
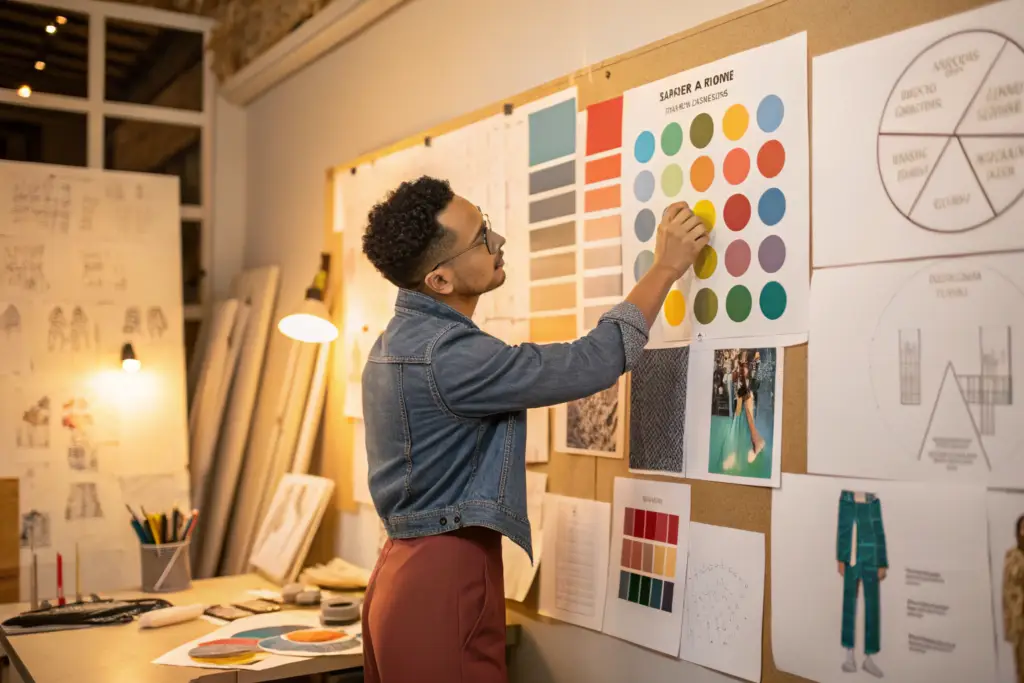
Create a Brand Name and Visual Identity
Your brand name should be memorable and easy to pronounce. Your logo should work on small labels and large marketing materials. Your color palette should reflect your brand personality. Invest in professional design for these elements. They will be on every garment you sell.
How Do You Validate Your Brand Concept Before Investing?
Validation is the step many new brand owners skip. They invest thousands in production before they know if anyone will buy. Validating your concept costs little and saves much.
Talk to Potential Customers
Find people who match your target customer profile. Ask them about their clothing needs. Show them your concept. Ask if they would buy it. Listen to their feedback. Do not defend your idea. Listen to what they say.
Create a Landing Page
Build a simple website or landing page. Describe your brand and your first collection. Add an email signup form. Run small ads to drive traffic. See how many people sign up. If you cannot get 500 email signups, you may need to refine your concept.
Use Pre-Orders
Before you invest in production, test demand with pre-orders. You can set up a pre-order campaign on platforms like Kickstarter or on your own website. If people are willing to pay upfront, you have validation. If not, you have saved yourself from a costly mistake.
Order Small Test Runs
Instead of ordering 1,000 units of one style, order 100 units of several styles. Test which styles sell best. Use that data to guide your next order. This approach reduces risk.
I had a client in Los Angeles who wanted to launch a line of sustainable activewear. Before she invested in production, she created a landing page and ran Instagram ads. She collected 1,200 email addresses in three weeks. That gave her confidence to move forward. Her launch was successful because she had an audience waiting.
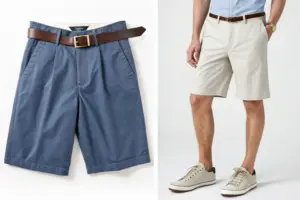
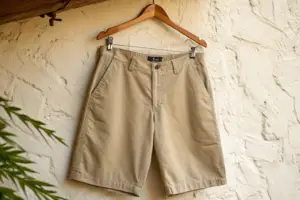
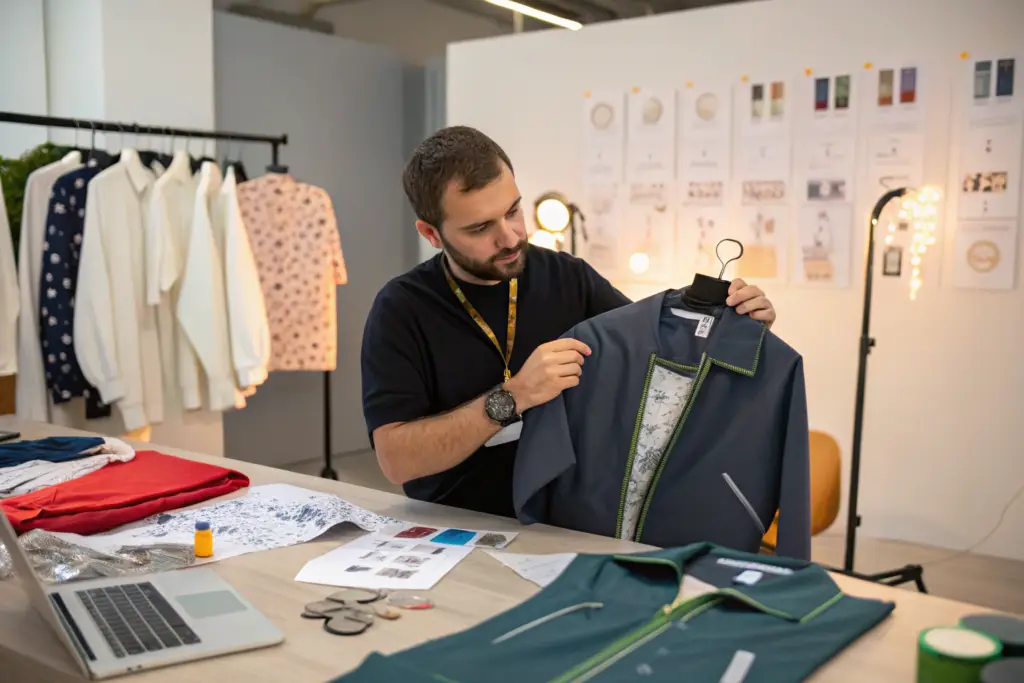
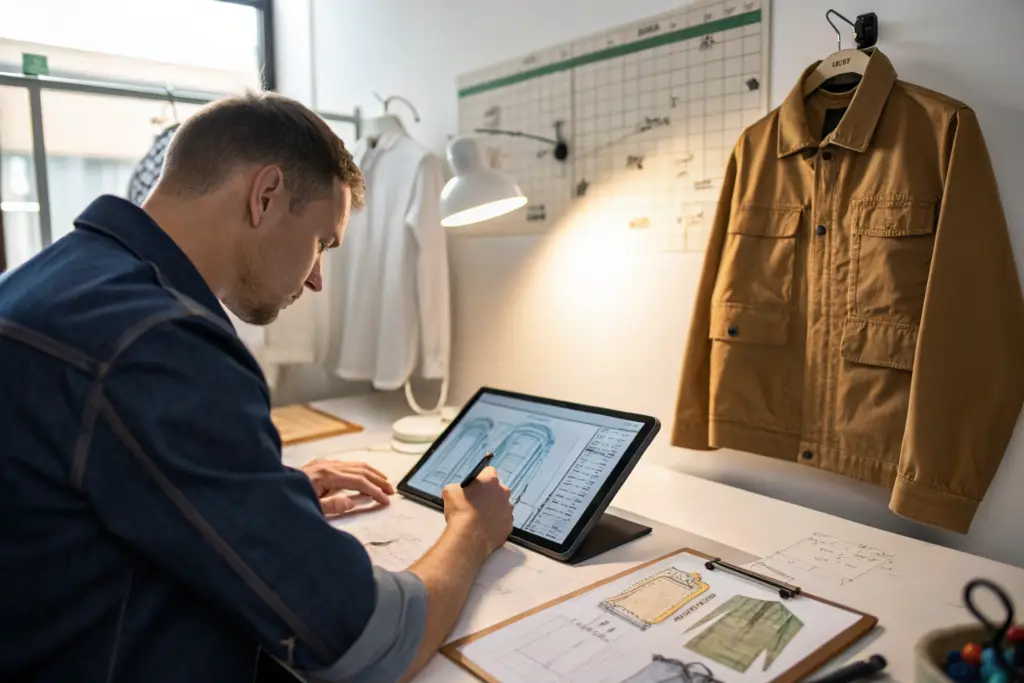
Step 2: Develop Your Product Line and Tech Packs
Once you know who you are designing for, you need to design the actual products. This step requires precision. Vague designs lead to wrong samples.
Create Flat Sketches
Flat sketches are technical drawings of your garments. They show the front, back, and side views. They show where seams go. They show pocket placement. They show every detail. You do not need to be a professional illustrator. But your sketches must be clear.
Develop a Tech Pack
The tech pack is the instruction manual for your factory. It includes:
- Flat sketches with measurements
- Size specification sheet
- Bill of materials (fabric, thread, trims)
- Construction details
- Labeling and packaging instructions
A complete tech pack saves time and money. It reduces sampling rounds. It ensures the factory produces what you want.
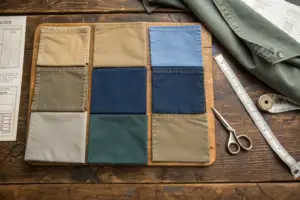
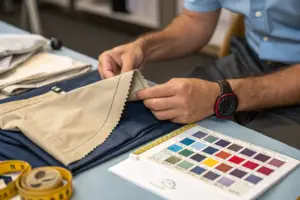
Select Your Fabrics
Fabric selection affects cost, quality, and fit. Research fabric options. Order swatches. Feel the fabric. Wash it. See how it behaves. For your first collection, consider using stock fabrics from your factory. Custom development adds time and cost.
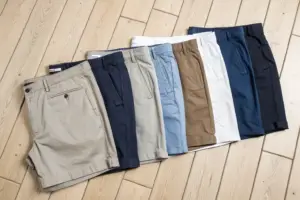
Choose Your Colors
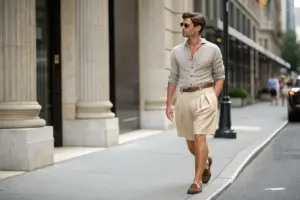
Select a color palette that reflects your brand. Limit your first collection to 3 to 5 colors. This simplifies production. It also creates a cohesive collection.
Define Your Sizes
What sizes will you offer? Standard sizing is XS to XL. If you are offering plus sizes, you need a separate size range. Work with your factory to develop a fit standard for your brand.
What Is the Difference Between a Tech Pack and a Spec Sheet?
This distinction is important. Many new brand owners confuse these documents.
Spec Sheet
A spec sheet is a list of measurements. It tells the factory how big each size should be. But it does not tell them how to make the garment. A spec sheet assumes the factory knows all the construction details.
Tech Pack
A tech pack is a complete set of instructions. It includes:
- Construction details: how each seam should be sewn
- Bill of materials: what fabric, thread, and trims to use
- Labeling: where to put the care label and brand label
- Packaging: how to fold and pack the garment
A complete tech pack gives the factory everything they need. They do not need to guess. They do not need to email you for missing information.
When You Need a Full Tech Pack
If you are working with a new factory, you need a full tech pack. If your garment has complex construction, you need a full tech pack. If you want consistent quality across multiple orders, you need a full tech pack.
How Do You Source Fabrics and Trims?
Fabric sourcing is a skill. Here is how to approach it for your first collection.
Use Stock Fabrics
For your first collection, use stock fabrics. These are fabrics that your factory already has or can source quickly. Stock fabrics have lower minimum order quantities. They are faster to produce. They are lower risk than custom-developed fabrics.
Order Swatches
Before committing to a fabric, order swatches. Feel the fabric. Test the stretch. Test the drape. Wash it to see shrinkage. Hold it up to see the color in different lights.
Consider Minimum Order Quantities
Fabric mills have minimum order quantities. For stock fabrics, the MOQ might be 500 to 1,000 yards. For custom fabrics, the MOQ might be 2,000 to 5,000 yards. Your factory can help you understand the MOQ implications.
Work with Your Factory on Sourcing
Your factory has relationships with mills. They can often get better prices and faster delivery than you can. Let them source the fabric for your first collection. Focus your energy on design and marketing.
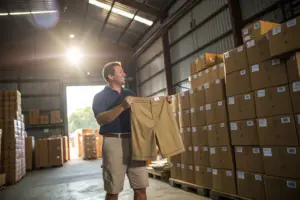
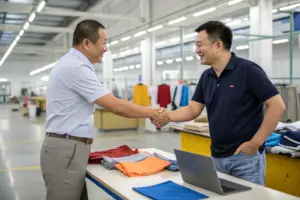
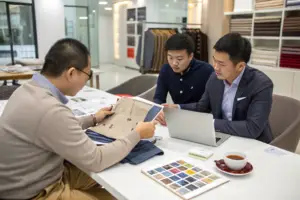
Step 3: Find and Vet Your Manufacturing Partner
Your manufacturing partner is critical to your success. Choosing the wrong factory can ruin your brand. Take this step seriously.
Identify Potential Factories
Look for factories that specialize in your product category. A t-shirt factory may not be good at making jackets. A knitwear factory may not be good at woven shirts. Use sourcing platforms, trade shows, and industry referrals to find candidates.
Check Their Experience
Does the factory have experience with your product category? Do they work with brands like yours? Ask for examples of their work. Ask for references from other brand owners.
Verify Their Credentials
Check the factory's business license. Ask for certifications. Verify them with the certifying bodies. A legitimate factory will provide this information.
Visit the Factory
If possible, visit the factory before committing. See the production floor. See the quality control systems. Meet the people you will be working with. If you cannot visit, do a video call. Ask for a video tour.
Start with a Test Order
Do not place a large order with a new factory. Start with a small test order. This could be 50 to 100 units. See how they perform. See the quality. See if they meet your timeline. If the test order goes well, you can increase your order size.

What Questions Should You Ask a Potential Factory?
Before you choose a factory, ask these questions. The answers will tell you if they are a good fit.
Production Capability
- What products do you specialize in?
- What is your monthly production capacity?
- Do you have the equipment to make my product?
- What is your typical lead time?
Quality Control
- Do you have an in-house quality control team?
- What is your defect rate?
- Do you do third-party inspections?
- What certifications do you hold?
Communication
- Who will be my main contact?
- How quickly do you respond to emails?
- Do you speak English?
- How do you handle revisions and changes?
Minimums and Pricing
- What is your minimum order quantity?
- How do you price samples vs. bulk?
- What is your payment term structure?
- Are there additional fees for pattern making or sampling?
Logistics
- Do you offer DDP shipping?
- What shipping methods do you use?
- How do you handle customs clearance?
- What is your on-time delivery rate?
What Are the Red Flags to Watch For?
Some factories are not good partners. Watch for these red flags.
Refuses to Sign a Contract
A legitimate factory will sign a contract. If they refuse, walk away.
Demands 100% Payment Upfront
A standard payment term is 30% deposit, 70% before shipment or after inspection. 100% upfront is high risk.
No Factory Visit Allowed
If the factory will not let you visit or do a video call, they may not be legitimate.
Vague Answers
If they cannot give specific answers about their capabilities, they may be hiding something.
Price Too Good to Be True
If the price is significantly lower than other quotes, there is a reason. They may be using lower quality materials or cutting corners.
No References
A factory with no references or references that seem fake is a risk.
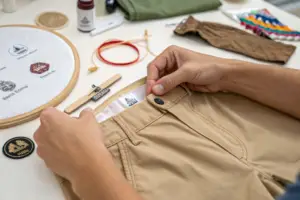
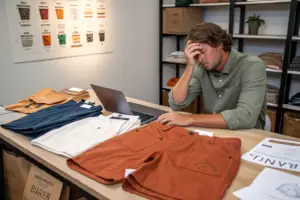
Step 4: Develop Samples and Perfect Your Product
Sampling is the step where your design becomes a real product. This step takes time. Do not rush it.
Prototype Sample
The first sample is a prototype. It proves the pattern works. It may not be perfect. The fit may be off. The construction may need adjustment. That is normal. Review the prototype carefully. Make detailed notes on what needs to change.
Fit Sample
The second sample focuses on fit. Put the sample on a fit model. Check every measurement. Check the drape. Check the comfort. Make adjustments. This sample should be close to final.
Pre-Production Sample
The pre-production sample is made using the final materials and construction methods. This sample should match exactly what you will receive in bulk. Approve this sample carefully. Once you approve it, the factory will produce bulk against this sample.
Production Sample
Some factories will make a production sample from the first batch of bulk fabric. This confirms that the bulk materials behave as expected. Approve this sample before full production begins.
How Many Sampling Rounds Should You Expect?
Sampling rounds vary by product complexity. Here is what to expect.
| Product Type | Typical Sampling Rounds | Timeline |
|---|---|---|
| Simple styles (t-shirts, tanks) | 1 to 2 rounds | 3 to 5 weeks |
| Medium complexity (button-down shirts, casual pants) | 2 to 3 rounds | 6 to 8 weeks |
| High complexity (jackets, tailored garments) | 3 to 4 rounds | 8 to 12 weeks |
Do Not Skip Rounds
I have seen brand owners try to skip sampling rounds to save time or money. This always backfires. The bulk order arrives with problems. The cost of fixing or replacing the order is much higher than the cost of an extra sample round.
Budget for Sampling
Sampling costs money. Pattern making costs. Sample making costs. Shipping costs. Budget $500 to $2,000 per style for sampling, depending on complexity. This is an investment in getting your product right.
How Do You Approve a Sample?
Approval should be formal. Vague verbal approvals lead to confusion.
Use a Sample Approval Form
Create a simple form. List the items to check:
- Measurements: are they within tolerance?
- Construction: are all seams correct?
- Color: does the fabric color match the specification?
- Trims: are all buttons, zippers, and labels correct?
- Hand-feel: does the fabric feel as expected?
Take Photos
Take photos of the approved sample. Store them with the approval form. These photos serve as the reference for bulk production.
Sign and Date
Both you and the factory should sign the approval form. This creates a clear record. There is no confusion about what was approved.
Keep a Physical Sample
Keep one physical sample in your possession. This is your benchmark. If there is a dispute about bulk quality, you have the approved sample to compare.
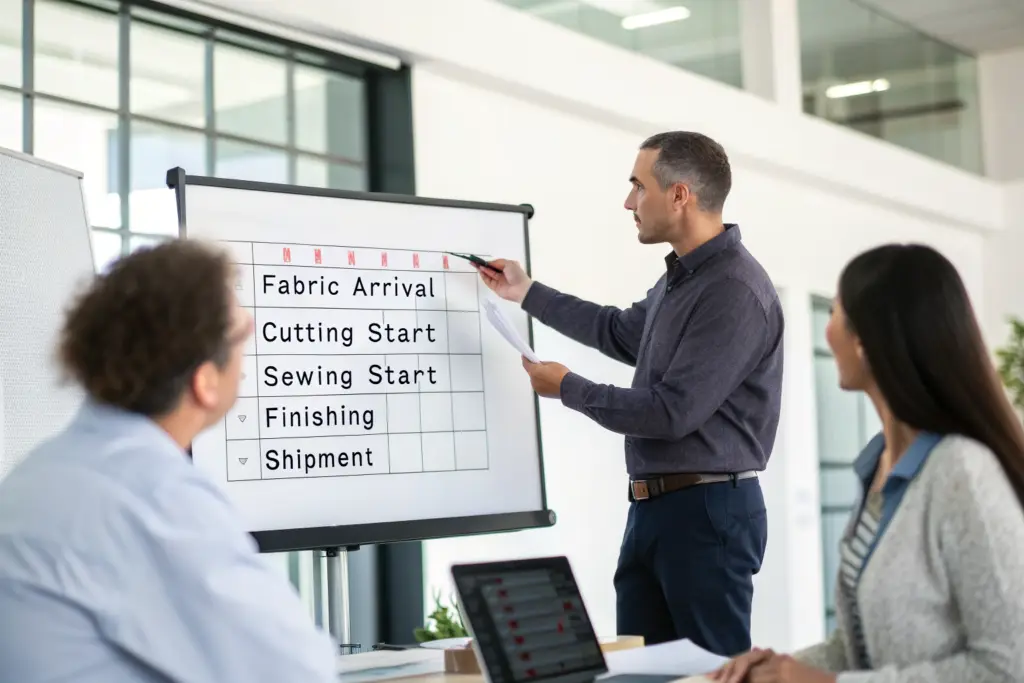
Step 5: Plan Your Production and Manage Quality
Once samples are approved, production begins. This is where your planning pays off.
Confirm Your Order
Place your purchase order in writing. Include style numbers, quantities, colors, and delivery date. Both sides sign. This document is your contract.
Review the Production Timeline
Work with your factory to create a detailed production timeline. Include:
- Fabric order date
- Fabric arrival date
- Cutting start date
- Sewing start date
- Finishing start date
- Inspection date
- Shipment date
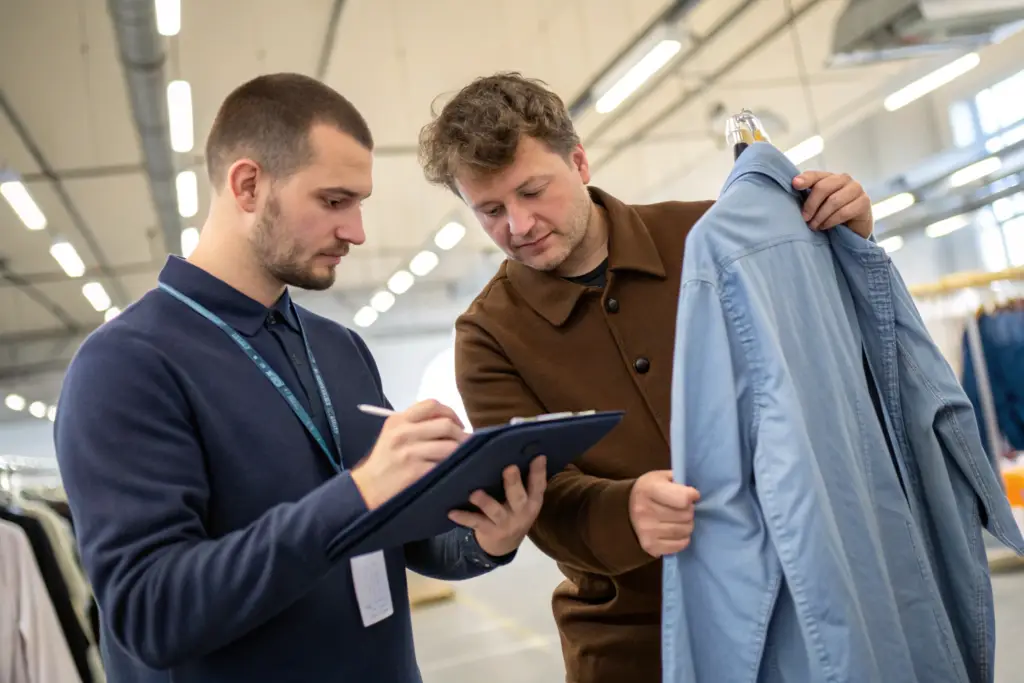
Plan for Quality Inspections
Do not wait until the end to check quality. Plan inline inspections. This means an inspector checks quality during cutting, during sewing, and during finishing. Problems caught early are cheaper to fix.
Consider Third-Party Inspection
For your first production run, consider hiring a third-party inspection company. They will inspect the finished goods before shipment. They provide an independent report. This gives you confidence that the quality meets your standards.
What Is the Typical Production Timeline for a First Order?
Timelines vary by product complexity and factory workload. Here is a typical timeline for a first order.
| Step | Time | Cumulative |
|---|---|---|
| Fabric ordering | 2 to 4 weeks | 2 to 4 weeks |
| Fabric production | 2 to 6 weeks | 4 to 10 weeks |
| Fabric inspection | 1 week | 5 to 11 weeks |
| Cutting | 1 week | 6 to 12 weeks |
| Sewing | 2 to 4 weeks | 8 to 16 weeks |
| Finishing | 1 week | 9 to 17 weeks |
| Final inspection | 1 week | 10 to 18 weeks |
| Shipping | 2 to 4 weeks | 12 to 22 weeks |
Total timeline: 3 to 5 months from order placement to delivery.
Plan for Delays
Add buffer time to your timeline. Fabric deliveries can be late. Machines can break. Workers can get sick. If you plan for no problems, you will be late. Add 2 to 4 weeks of buffer for your first order.
How Do You Manage Quality During Production?
Quality management is an active process. It does not happen by accident.
Incoming Material Inspection
Inspect fabric when it arrives. Check the color against the approved swatch. Check the weight. Check for defects. Reject fabric that does not meet specifications. It is better to reject fabric before cutting than to reject finished garments.
In-Process Inspection
Inspect during cutting. Check that pattern pieces are aligned with the grainline. Inspect during sewing. Check seam allowances. Check topstitching. Check for loose threads. Inspect during finishing. Check final measurements. Check button security. Check packaging.
Final Random Inspection
Use AQL (Acceptable Quality Limit) sampling to inspect finished goods. Randomly select garments from the completed order. Measure them. Inspect them. If the defect rate exceeds the AQL, the factory must re-inspect and repair the entire order.
Hold Back Payment
Structure your payment so that a portion is paid after final inspection. This gives you leverage. The factory will not get full payment until you approve the quality.
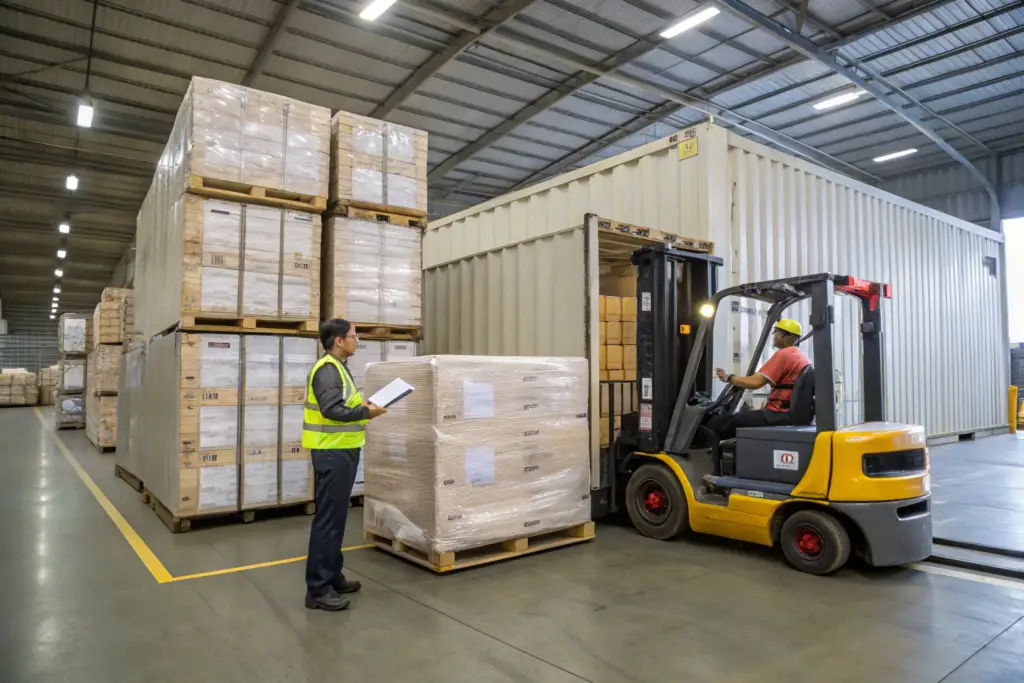
Step 6: Plan Your Logistics and Shipment
Getting your goods from the factory to your warehouse is the final production step. Logistics can be complex. Plan carefully.
Choose Your Shipping Method
There are two main shipping methods:
- Sea freight: Cheaper, slower (3 to 5 weeks). Best for larger orders.
- Air freight: More expensive, faster (3 to 7 days). Best for small orders or rush orders.
Understand Incoterms
Incoterms define who pays for what. The most common terms for apparel sourcing are:
- FOB (Free on Board): The factory pays to load the goods onto the ship. You pay for ocean freight, insurance, and customs clearance.
- DDP (Delivered Duty Paid): The factory pays for everything. You receive the goods at your warehouse. This is simpler but the factory may charge a premium.
Work with a Freight Forwarder
A freight forwarder handles the logistics. They book space on ships or planes. They handle customs clearance. They arrange delivery to your warehouse. For your first shipment, hire a freight forwarder. They will guide you through the process.
Prepare Customs Documents
Your factory or freight forwarder will prepare customs documents. These include:
- Commercial invoice
- Packing list
- Bill of lading (for sea freight) or air waybill (for air freight)
- Certificate of origin
Check these documents carefully. Errors can cause delays at customs.
What Are the Costs of Shipping and Importing?
Shipping and importing add significant cost. Factor these into your pricing.
Sea Freight Costs
Sea freight costs depend on container size and route. A 40-foot container from China to the US West Coast typically costs $3,000 to $8,000. A 20-foot container is cheaper. Costs vary by season and global conditions.
Air Freight Costs
Air freight is priced by weight. A 100 kg shipment might cost $500 to $1,500. Air freight is more variable. It is best for small, high-value shipments.
Duties and Taxes
Import duties vary by product category. For apparel, duties typically range from 10% to 30% of the declared value. You also pay a Merchandise Processing Fee (MPF) and Harbor Maintenance Fee (HMF). Your freight forwarder can estimate these costs.
Warehousing and Fulfillment
If you are storing inventory, factor in warehousing costs. If you are shipping to customers, factor in fulfillment costs. These can add $3 to $10 per order.
How Do You Set Up Your First Shipment?
The first shipment is a milestone. Follow these steps.
Confirm Final Inspection
Do not ship until the final inspection passes. If the inspection fails, work with the factory to correct the issues. Do not accept substandard goods.
Arrange Payment
Make the final payment according to your payment terms. The factory will not release the goods until they receive payment.
Book Shipping
Work with your freight forwarder to book space on a vessel or plane. Provide them with the packing list and commercial invoice.
Prepare for Customs
Ensure all customs documents are correct. Your freight forwarder will file the entry with customs. You will pay duties and fees.
Track Your Shipment
Track your shipment as it moves. Your freight forwarder can provide updates. When the goods arrive at your warehouse, inspect them immediately. Compare to the approved sample. Address any issues promptly.
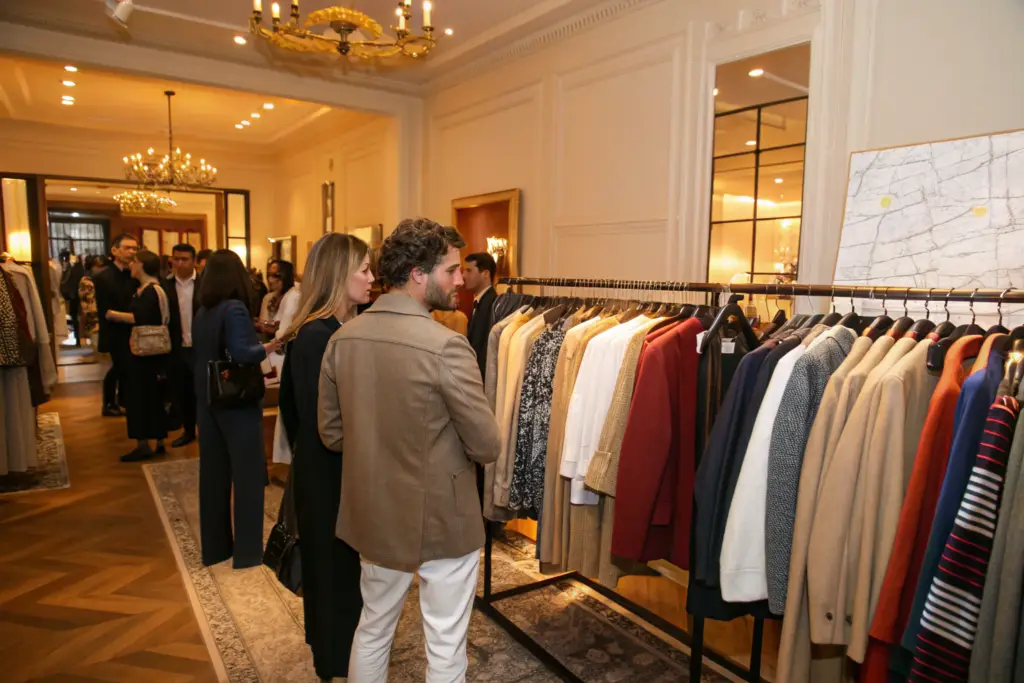
Step 7: Launch Your Brand and Fulfill Orders
Your goods have arrived. Now it is time to sell them. This is what you have been working toward.
Build Your Sales Channels
Will you sell through your own website? Through marketplaces like Amazon? Through wholesale to boutiques? Each channel has different requirements. Start with one or two channels and do them well.
Create Product Listings
Take professional photos of your garments. Show them on models. Show detail shots. Write compelling descriptions. Highlight the features that make your brand special.
Set Your Pricing
Calculate your costs:
- Cost of goods
- Shipping and duties
- Packaging
- Marketing
- Platform fees
- Your profit margin
Add these up to determine your wholesale and retail prices. A common rule is wholesale = 2x cost, retail = 2x wholesale. But this varies by category and brand positioning.
Plan Your Marketing
How will customers find you? Social media? Influencers? Paid ads? Email marketing? Start building your audience before your products arrive. A launch with an existing audience is more successful than a launch to silence.
Fulfill Orders
If you are shipping orders yourself, set up your fulfillment process. You will need packing materials, shipping labels, and a system for tracking orders. If you are using a fulfillment service, integrate with their system.
How Do You Manage Your First Fulfillment?
Your first fulfillment run will be a learning experience. Here is how to prepare.
Inspect Incoming Goods
When your shipment arrives, inspect everything. Count the units. Check for damage. Compare to the approved sample. If there are issues, document them and contact your factory immediately.
Set Up Inventory Management
Use inventory management software or a spreadsheet. Track what you have, what you have sold, and what you need to reorder. Accurate inventory management prevents stockouts and overstock.
Create Packing Materials
Order boxes, poly mailers, tissue paper, and stickers that reflect your brand. The unboxing experience matters. A well-packaged order feels premium.
Test Your Shipping Process
Ship a test order to yourself. See how long it takes. See how the package arrives. Make adjustments as needed.
Handle Customer Service
Be responsive to customer inquiries. Address issues promptly. Your first customers are your brand advocates. Treat them well.
What Should You Do After Your Launch?
Launch is not the end. It is the beginning. Use the data from your launch to improve.
Analyze Sales Data
Which styles sold best? Which colors? Which sizes? Use this data to plan your next order. Reorder the styles that sold well. Discontinue the styles that did not.
Collect Customer Feedback
Ask customers for feedback. What did they like? What could be improved? Use this feedback to refine your products.
Plan Your Next Collection
Start planning your next collection while the first is selling. Use the data and feedback to guide your designs. Your second collection should be stronger than your first.
Reinvest in Your Brand
Use your profits to reinvest. Improve your website. Increase your marketing. Order larger quantities to improve margins. Launch new styles. Growth compounds over time.
Conclusion
Launching a private label clothing line is a journey. It takes time, money, and patience. There is no shortcut. But with the right process, it is achievable.
The steps I have outlined are the path that hundreds of successful brands have followed. They define their brand and target market. They develop their product line with complete tech packs. They find and vet a manufacturing partner. They develop samples and perfect their product. They plan production and manage quality. They handle logistics and shipment. And finally, they launch and fulfill orders.
Each step builds on the previous one. Skipping steps leads to problems. Rushing leads to mistakes. Taking the time to do each step properly leads to a strong foundation.
At Shanghai Fumao, we have helped hundreds of entrepreneurs launch their private label clothing lines. We have seen the ones who succeed and the ones who struggle. The successful ones are the ones who prepare. They come with a clear vision. They invest in good tech packs. They take sampling seriously. They plan their timeline. They communicate clearly. They treat manufacturing as a partnership, not a transaction.
If you are ready to launch your private label clothing line, we would love to help you. We have the experience, the systems, and the commitment to quality that new brands need. We work with brands at every stage, from concept to delivery.
Reach out to our Business Director, Elaine, at elaine@fumaoclothing.com. Let us discuss your vision and how we can help you bring it to life.