You have spent months, maybe years, perfecting your brand identity. The name, the colors, the font—every element has been agonized over. Now, you are ready to place your first bulk apparel order. You are about to put your precious logo onto hundreds or thousands of garments. This is a moment of both excitement and terror. A CEO of a startup told me, "My logo is my baby. Handing it over to a factory 7,000 miles away feels like handing my baby to a stranger." That anxiety is completely valid. A crooked, faded, or peeling logo destroys brand credibility faster than any other mistake.
Customizing your brand logo on bulk clothing orders is a disciplined, multi-step process. It requires providing the correct Vector Artwork File (AI, EPS, PDF), selecting the appropriate Decoration Method (Embroidery, Screen Print, etc.) for your fabric and design, approving a physical Pre-Production Sample with the logo in place, and relying on the factory’s Placement Templates and Quality Control to ensure consistency across thousands of units.
At Shanghai Fumao, we handle logo customization for B2B brands every single day. We know that your logo is the most valuable piece of real estate on the garment. Let me walk you through the exact process we use to ensure your logo is executed with the precision, durability, and consistency that your brand deserves, turning that initial anxiety into confidence.
What Are the Best File Formats for High-Quality Logo Reproduction?
The single most common source of frustration and delay in custom logo projects starts right here: the artwork file. You have a beautiful logo on your website. You email that JPG to the factory. The factory emails back, "We need a vector file." You are not sure what that means. This is where the process can stall before it even begins.
For high-quality logo reproduction, a Vector File is non-negotiable. Vector files (.AI, .EPS, .PDF, .SVG) are created with mathematical paths, not pixels. This means they can be scaled to any size—from a tiny chest emblem to a massive back graphic—without any loss of quality or sharpness. Raster files (.JPG, .PNG) are made of pixels and will become blurry and pixelated when enlarged.
I recall a men’s wear brand that sent us a low-resolution JPG of their intricate, circular logo. Our digitizer tried to work with it, but the edges were fuzzy. The embroidery sample looked like a blurry blob. The client was disappointed. They went back to their original graphic designer and obtained the master Adobe Illustrator (.AI) file. We used that vector file to create the embroidery digitizing. The next sample was razor-sharp. Every detail of the logo was perfectly rendered. The lesson: your logo file is the blueprint. A bad blueprint produces a bad building. Invest in having your logo created as a vector file from the start.
What Is the Difference Between Vector and Raster Graphics?
This is the technical knowledge that saves weeks of back-and-forth.
- Vector (.AI, .EPS, .PDF): Imagine drawing with a perfect, mathematical line. You can stretch that line to be a mile long, and it stays perfectly crisp. This is how embroidery machines and screen-printing film output devices read designs. They need defined “paths” to follow.
- Raster (.JPG, .PNG, .PSD): Imagine a mosaic made of tiny colored squares (pixels). If you zoom in or enlarge it, the squares get bigger and the image gets blocky and blurry. This is fine for websites, but terrible for printing and embroidery.
If you only have a raster file, we can often redraw it as a vector for a small artwork conversion fee. But the best, fastest, and cheapest path is to have the original vector file from your designer.
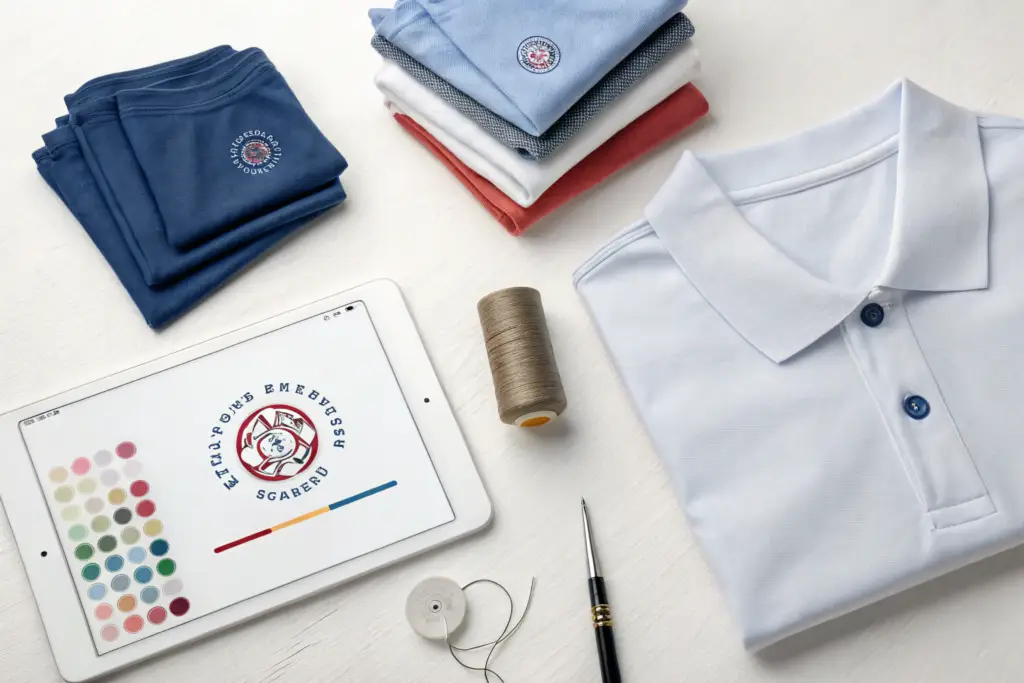
How Do Pantone (PMS) Colors Ensure Brand Consistency?
"Blue" is subjective. Your brand’s specific shade of blue is not. It is a precise formula. The Pantone Matching System (PMS) is the universal language of color in manufacturing. Each color has a unique code (e.g., PMS 294 C is a specific Navy Blue).
When you provide PMS codes for your logo colors, you eliminate guesswork. Our thread supplier in China and our screen print ink mixer can look up that exact code and create a perfect match. Whether the garment is made now or in a reorder six months from now, the logo color will be identical. This is essential for brand integrity. If you do not have PMS codes, we can help you select the closest match from our physical Pantone books, but providing them upfront is the gold standard.
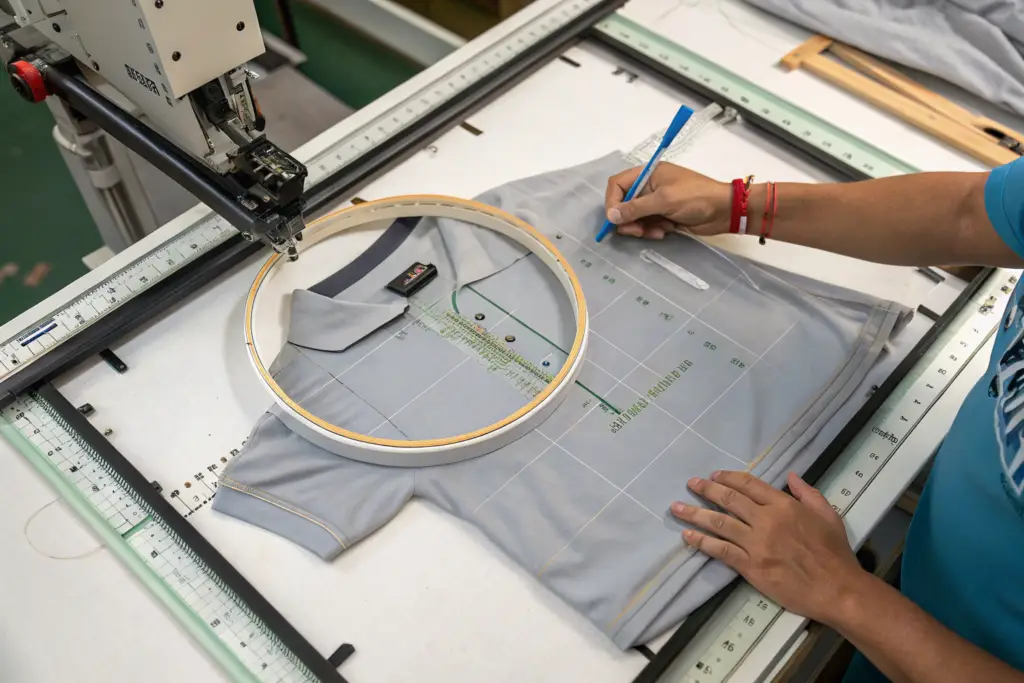
How Do We Ensure Perfect Logo Placement on Every Garment?
You have approved the perfect sample. The logo was exactly 3 inches down from the collar and perfectly centered. But how do you ensure that the next 5,000 units are identical? You cannot rely on 20 different operators to "eyeball" it. Human error will result in logos that drift—too high, too low, or tilted. This inconsistency screams "amateur" to your customers.
Fumao ensures perfect, repeatable logo placement through the use of physical Placement Jigs (Templates) and Laser Alignment Guides. For every bulk order, we create a custom acrylic template that locks onto the garment’s seams. The operator places the garment on the template, and the cut-out window dictates the exact location for embroidery or printing. This eliminates human variance.
For a recent kids’ wear order, the client had a small, delicate logo that needed to be placed on the chest of toddler-sized tees. Without a jig, the placement would have been all over the place. Our jig hooked onto the shoulder and neck seams. The operator could load a shirt in seconds and be 100% confident the placement was correct. The result was a perfectly uniform, professional-looking run of garments. This is the kind of behind-the-scenes precision that builds a top quality reputation. This commitment to precision is a key part of our quality control system.
What Are the Standard Tolerances for Logo Placement?
Perfection is the goal, but in manufacturing, we work within defined, acceptable variances. The industry standard for logo placement tolerance is +/- 1/4 inch (6mm) . This means the logo can be up to 1/4 inch higher, lower, or to the side of the target spec.
At Fumao, our internal standard using our jig system is +/- 1/8 inch (3mm) . We achieve this tighter tolerance because the jig physically prevents the operator from placing the logo outside of that narrow window. Our in-line quality assurance inspectors carry a small measuring tape and verify placement on random samples throughout the day. If they see drift, they stop and recalibrate.
How Are Logos Aligned on Seamless or Asymmetrical Garments?
Placement jigs rely on seams as reference points. But what about a seamless activewear top or an asymmetrical women’s wear blouse? For these, we use Laser Alignment Systems. A laser projects a crosshair or a grid onto the fabric. The operator aligns the garment’s center front and the specified distance from the neckline with the laser guides.
This is a more advanced technique that requires skilled operators, but it provides a perfect solution for complex garments. It is another example of how we invest in technology to ensure brand consistency across every style we produce.
What Quality Checks Prevent Logo Fading, Cracking, or Peeling?
The sample looked perfect on day one. But the true test of a custom logo is what it looks like after 20 washes. A logo that fades, cracks, or peels is a guarantee of customer complaints and a damaged brand reputation. The durability of the logo is a direct reflection of the quality of your product.
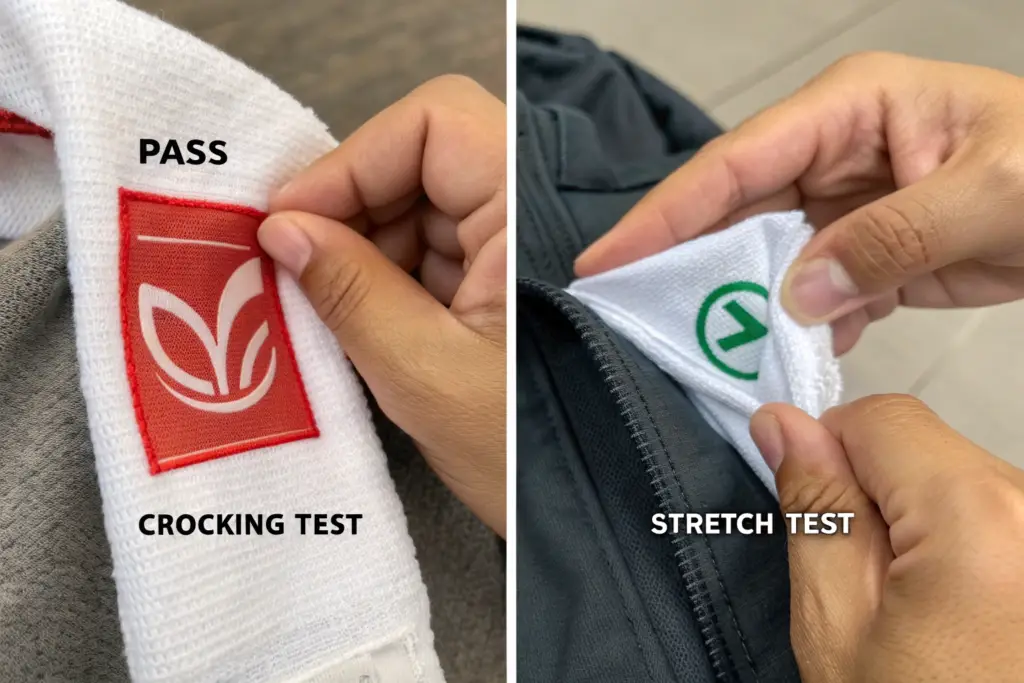
Fumao performs mandatory durability testing on every decoration method before bulk production begins. This includes AATCC Wash Fastness tests (simulating multiple home launderings), Crocking Tests (checking for color transfer), and Stretch & Recovery Tests (ensuring the logo moves with the fabric without cracking). We do not ship a bulk order until the logo passes these tests on the approved fabric.
We had a women’s wear client who wanted a metallic gold foil print on a stretch velvet dress. Foil on stretch fabric is notoriously difficult. We ran a series of tests with different adhesives and curing temperatures. The first sample cracked after two washes. We adjusted the formula and tested again. The third sample passed 10 washes with no cracking and only minimal, acceptable "distressing" that actually enhanced the vintage look. The client was thrilled. This is the engineering that happens behind the scenes to ensure your logo looks as good on month six as it did on day one.
How Do You Test Embroidery for “Thread Break” and Tension?
Embroidery durability depends on proper thread tension. If the tension is too loose, the thread loops will snag and pull. If it is too tight, the fabric will pucker around the logo, and the thread is more likely to break.
Our embroidery machines have Automatic Thread Break Sensors. If a needle thread breaks, the machine stops instantly, preventing a logo from being sewn with missing elements. We also do a 100% visual inspection of the back of every embroidered logo. The back shows the "underlay" stitches. A clean, consistent underlay pattern is the sign of perfect tension. This is the level of detail that separates professional customization from amateur work.
What Is the “Wash Test” Protocol for Screen-Printed Logos?
For screen-printed logos, especially those using Plastisol or water-based inks, proper curing is everything. The ink must reach a specific temperature for a specific amount of time to permanently bond with the fabric.
We perform an AATCC Wash Fastness Test (AATCC Test Method 61). This uses an accelerated laundering machine to simulate five home washes in about 45 minutes. The printed logo must show no significant cracking, peeling, or color loss. We also do a Stretch Test, pulling the printed fabric to ensure the ink film does not crack. These tests are non-negotiable. They are the foundation of our reliable delivery of top quality branded apparel.
What Is the Difference in Cost and Lead Time Between Decoration Methods?
The choice of decoration method is not just aesthetic. It has a direct impact on your budget and your production timeline. Understanding these trade-offs is essential for making smart B2B decisions that protect your margins and your launch dates.
Embroidery generally has a higher per-unit cost for large designs but is extremely durable and has no color limitations. Screen Printing has setup fees (per color) but a very low per-unit cost at volume, making it ideal for simple logos on large orders. Direct-to-Garment (DTG) has no setup fees and is great for complex, multi-color designs on small orders, but has a higher per-print cost and is less durable on some fabrics.
A distributor ordering 5,000 units of a one-color left-chest logo on polo shirts should almost always choose Screen Printing. The $50 screen setup fee is negligible when spread over 5,000 units, and the per-print cost is pennies. A brand ordering 50 units of a complex, photorealistic design for a sample sale should choose DTG. They avoid setup fees and can get the order quickly. We guide our clients through this decision matrix for every project. This is part of our competitive pricing and reliable delivery promise.
| Feature | Embroidery | Screen Print | DTG (Direct-to-Garment) |
|---|---|---|---|
| Best For | Left-chest logos, hats, outerwear | Bulk orders, simple designs, bold colors | Small orders, photorealistic/complex designs |
| Cost at Volume (1,000+) | Moderate to High | Lowest | High |
| Setup Fee | Digitizing Fee ($50-$150) | Screen Fee ($25-$50 per color) | None |
| Lead Time | 3-5 days (after sample approval) | 5-7 days | 2-3 days |
How Does the Number of Colors Affect Screen Printing Cost and Time?
This is a direct linear relationship. Each color in a Screen Print design requires its own separate screen. Each screen costs $25-$50 to produce. Each color also requires a separate setup on the printing press, which takes time.
A 1-color print is fast and cheap. A 4-color print is significantly more expensive and takes longer to set up. This is why many brands simplify their logo design for bulk orders. They might use a 1-color version of their logo for cost-effective wholesale production, reserving the full-color version for hangtags or special projects. We always provide a clear cost breakdown based on the number of colors so you can make an informed decision.
Does Embroidery Thread Count Impact the Final Cost?
Yes. The stitch count is the number of needle penetrations in the design. A larger, more solid logo has a higher stitch count. The digitizer calculates the stitch count from the vector file. The cost of embroidery is primarily driven by the stitch count. A small, 3,000-stitch left-chest logo is inexpensive. A large, 15,000-stitch back graphic is much more costly.
We always provide the estimated stitch count and the per-unit cost before you commit. This transparency allows you to adjust the design if needed to meet a specific budget.
Conclusion
Putting your brand logo on bulk clothing is the moment your vision becomes a tangible reality. It is the final, critical step that transforms a generic garment into your product. Getting it right—with the right file, the right method, the right placement, and the right durability—is non-negotiable. It is the difference between building a brand that customers trust and creating inventory that ends up in a clearance bin.
At Shanghai Fumao, we treat your logo with the same care and precision that we treat the fabric and the fit. Our processes—from vector file verification to placement jigs and rigorous wash testing—are designed to ensure that your logo is a source of pride, not anxiety. We are the behind-the-scenes partner who ensures that your brand identity is flawlessly executed, order after order.
If you are ready to put your logo onto a collection of high-quality apparel, let’s talk about the best decoration method for your design and budget. Our Business Director, Elaine, can walk you through the process and provide a clear, detailed quote. Please email Elaine at: elaine@fumaoclothing.com.