Starting a new clothing line or adding a style to your collection begins with a crucial phase: sample development. This is where your idea transforms into a physical garment you can see, touch, and fit. For many brands, this stage feels mysterious and slow. But understanding the structured process can save you time, money, and ensure the final bulk production matches your vision perfectly.
The process for sample development in garment sourcing is a multi-stage journey from design concept to a sealed production sample. It typically involves creating a tech pack, followed by initial prototypes (proto samples), fit samples, and finally pre-production samples (PP samples) to perfect design, fit, and construction before mass production.
This guide will walk you through each critical step, explain what you need to provide, and show you how to communicate effectively with your factory to get samples right the first time.
What Do You Need to Start the Sample Process?
Before any factory can make a sample, they need a clear blueprint of your idea. Ambiguity at this stage is the primary cause of delays, extra costs, and disappointing results. Providing complete information sets the foundation for a smooth journey.
To start the sample process, you need a comprehensive tech pack and clear communication about your target price, fabric, and timeline. A tech pack is the essential document that contains all technical specifications for your garment.
Think of your initial package as an instruction manual. The more detailed it is, the better the outcome.
Why is a Tech Pack Your Most Important Document?
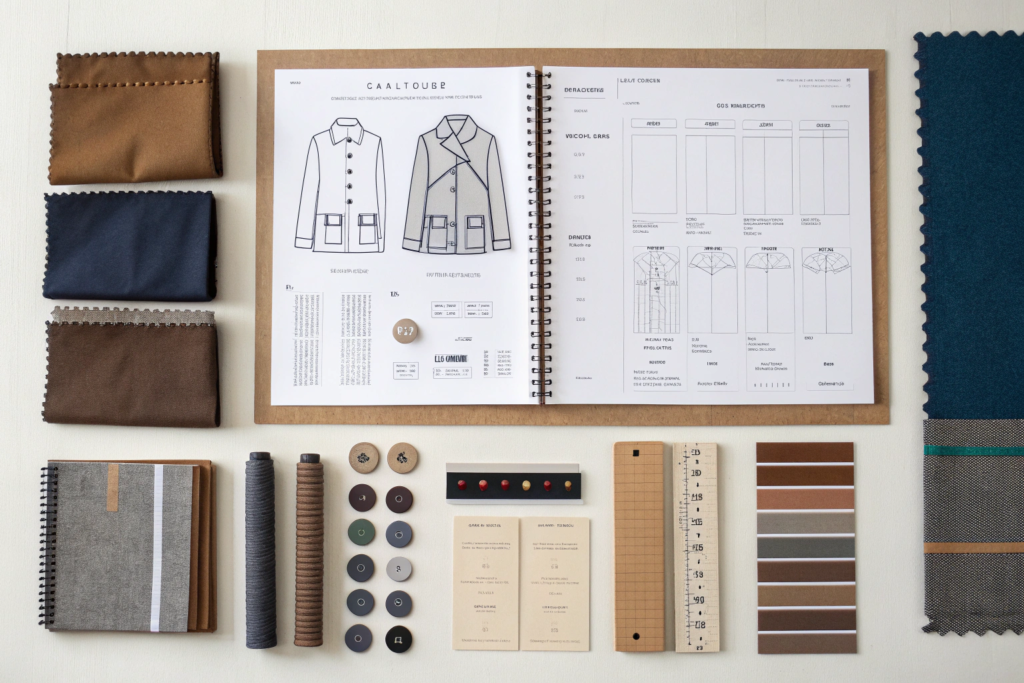
A tech pack is the universal language between designer and manufacturer. It removes guesswork. A good tech pack includes:
- Flat Sketches: Front, back, and side views of the garment with detailed construction callouts (stitch types, seam finishes).
- Detailed Measurement Spec Sheet: Every single measurement (point-to-point) for each size in your grading rule.
- Bill of Materials (BOM): List of all fabrics and trims (zippers, buttons, labels) with specifications like composition, weight, and color codes.
- Colorways and Print/Embroider Artwork: Vector files for logos and clear placement instructions.
Last year, a client sent us a inspirational photo and a rough sketch. We spent three weeks and made two sample rounds just to clarify basic construction details they hadn't specified. When they provided a proper tech pack for their next style, we delivered a perfect fit sample in one try.
How Do Target Price and Fabric Selection Interact?
You must have a target FOB price in mind. This directly influences the factory's suggestions for fabric and construction methods. Sending a desired fabric swatch is ideal. If you don't have one, describe the hand feel, weight, and drape you want. The factory can then source several fabric options that match your description and price point. Remember, the fabric cost is often 50-70% of the garment's cost, so this decision is critical. Be prepared to approve or reject fabric submissions early on.
What Happens During the Proto Sample Stage?
The prototype sample, or "proto sample," is the first time your design becomes three-dimensional. This sample is primarily about evaluating the overall design, silhouette, and basic construction. Don't expect perfect fit or final fabrics at this stage.
During the proto sample stage, the factory interprets your tech pack to create a physical mock-up. The goal is to check the design concept, proportions, and basic construction methods, using similar (not necessarily final) fabrics and trims.

What Should You Evaluate in a Proto Sample?
Focus on the overall vision, not the details. Key evaluation points are:
- Silhouette and Proportions: Does the shape match your sketch? Is the sleeve width, body length, or collar size as you envisioned?
- Design Element Placement: Are pockets, seams, and panels in the right place?
- Construction Feasibility: Can the factory make the design as drawn? They may suggest changes for better manufacturability or cost.
Avoid nitpicking stitch quality or minor fit issues on a proto. Its purpose is to answer: "Is this the right direction?" Provide clear, consolidated feedback like, "The silhouette is good, but please reduce the body width by 2cm overall and move the side seam pocket 3cm higher."
How Many Proto Sample Rounds Are Normal?
Typically, 1-2 rounds are sufficient for a standard design. Complex designs (e.g., technical outerwear with multiple panels and features) may require 3 rounds. Each round takes time (1-2 weeks) and may incur a sample cost. Clear feedback after the first round is crucial to minimize rounds. We once developed a complex performance jacket with a new client. The first proto was completely off because we misunderstood a key construction detail in their sketch. A quick video call where they physically showed us the seam they wanted solved it, and the second proto was 90% correct.
Why is the Fit Sample Critical for Your Brand?
The fit sample is where your garment comes to life on an actual body (or a fit form). This stage is non-negotiable for brands that care about customer satisfaction and returns. A poor fit in production will haunt your reviews and your bottom line.
The fit sample is critical because it finalizes the garment's dimensions on a specific body form or live model, ensuring consistency, comfort, and the intended look. Getting this right prevents massive bulk production errors and customer returns due to sizing issues.

How Do You Conduct a Proper Fit Session?
You need a consistent body standard. This is usually a standardized dress form (e.g., a size M ASTM form) or a live fit model with specific, documented measurements. During the session:
- The sample is dressed on the form/model.
- A technician checks ease, balance, and drape.
- Fit comments are noted precisely: "Take in 1cm at the side seam from underarm to hip," "Lower armhole by 0.5cm."
- Photos are taken from all angles.
The feedback must be technical and measurable, not subjective like "make it sexier." Provide the factory with a marked-up photo and a bullet-point list of adjustments.
What is a "Gold Seal" or Approved Sample?
After one or more fit sample rounds, you will approve the final fit. This approved sample is often called the "gold seal" or "counter sample." You should physically mark it with a pen, tag it, and sign a form or email stating, "This fit and workmanship are approved for bulk production." This sample becomes the binding standard for the factory. At Shanghai Fumao, we keep one approved sample in our QC room and ship one back to the client. This exact sample is used to check the first production pieces, ensuring the bulk matches your expectations perfectly.
What is the Purpose of a Pre-Production (PP) Sample?
The Pre-Production Sample is made after fit approval but before the main bulk cutting begins. It is the final safety check, using the exact production fabrics, trims, and on the actual factory production line.
The purpose of a Pre-Production (PP) Sample is to verify that the factory can replicate the approved fit and quality at production speed and with the correct mass-production materials and processes. It is a dress rehearsal for bulk manufacturing.
Approving the PP sample is your green light for the factory to proceed with the entire order.

How is a PP Sample Different from a Fit Sample?
The key differences are:
| Aspect | Fit Sample | Pre-Production (PP) Sample |
|---|---|---|
| Purpose | To perfect dimensions & fit. | To confirm mass-production capability. |
| Materials | May use similar but not final fabrics/trims. | Must use exact bulk-approved fabrics and trims. |
| Production | Made by sample room technicians. | Made on the main factory production line by regular operators. |
| Focus | Fit and major construction. | Consistency, workmanship, and that all materials perform under standard stitching. |
What Can Go Wrong if You Skip the PP Sample?
Skipping the PP sample to save 1-2 weeks is a high-risk gamble. Potential disasters include:
- The bulk fabric behaves differently when sewn at high speed (e.g., more shrinkage, puckering).
- The sourced trim (e.g., a cheaper zipper pull) fails during assembly.
- The factory's production line interprets an instruction differently than the sample room.
We had a case where the sample room used a manual bartack on a pocket, but the production line used an automated machine with a different stitch density, making the bartack look too bulky. The PP sample caught this, and we adjusted the machine setting before cutting 10,000 pieces.
Conclusion
The sample development process is a disciplined, iterative conversation between your vision and the factory's expertise. From the detailed blueprint of the tech pack, through the conceptual proto, the crucial fit refinement, to the final verification of the PP sample, each stage has a distinct purpose in de-risking your investment. Rushing or skipping steps almost always leads to costly errors in bulk production that far exceed the time and money spent on thorough sampling.
Embrace this process as your most valuable tool for quality control. Partner with a factory that guides you through it with transparency. At Shanghai Fumao, we view sample development as a collaborative partnership, providing clear timelines, costs, and expert feedback at each step to ensure your vision is perfectly realized in production. Ready to start the journey for your next collection? Contact our Business Director, Elaine, at elaine@fumaoclothing.com to begin.