Preparing graphics files for garment printing is both an art and a science. I've seen too many brands submit beautiful designs that can't be printed properly, leading to disappointing results and costly reworks. The gap between screen design and printed garment is wider than most designers realize.
Proper graphic file preparation requires using vector formats when possible, ensuring adequate resolution for raster images, separating colors correctly, accounting for printing method limitations, and including clear placement specifications. The technical requirements vary significantly between screen printing, DTG, and heat transfer methods.
Understanding these technical requirements before design finalization prevents most printing problems. Let me share the specific preparation steps we've developed through thousands of printing jobs that ensure your designs translate perfectly from screen to garment.
What File Formats Work Best For Different Printing Methods?
The ideal file format depends on your printing method and design characteristics. Using the wrong format can degrade quality or make printing impossible.
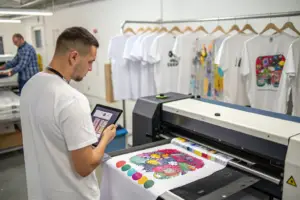
Vector files (AI, EPS, PDF) work best for most screen printing and designs with solid colors. Raster files (PSD, TIFF, PNG) work for DTG and photographic designs, but require sufficient resolution. We recently helped a client avoid a printing disaster by converting their low-resolution JPEG to vector format before screen printing.
Why are vector files preferred for screen printing?
Vector files use mathematical equations rather than pixels, making them infinitely scalable without quality loss. This allows precise color separation and crisp edges regardless of print size. Our vector file requirements ensure designs maintain quality from small logos to large back prints. A client's complex 8-color design printed perfectly because they provided properly created vector files with each color on separate layers.
When should you use high-resolution raster files?
Raster files work for photographic images, complex gradients, and designs with texture effects that can't be achieved with vectors. The key is sufficient resolution—typically 300 PPI at actual print size. We recommend PSD or TIFF formats with layers preserved for maximum flexibility during printing preparation.
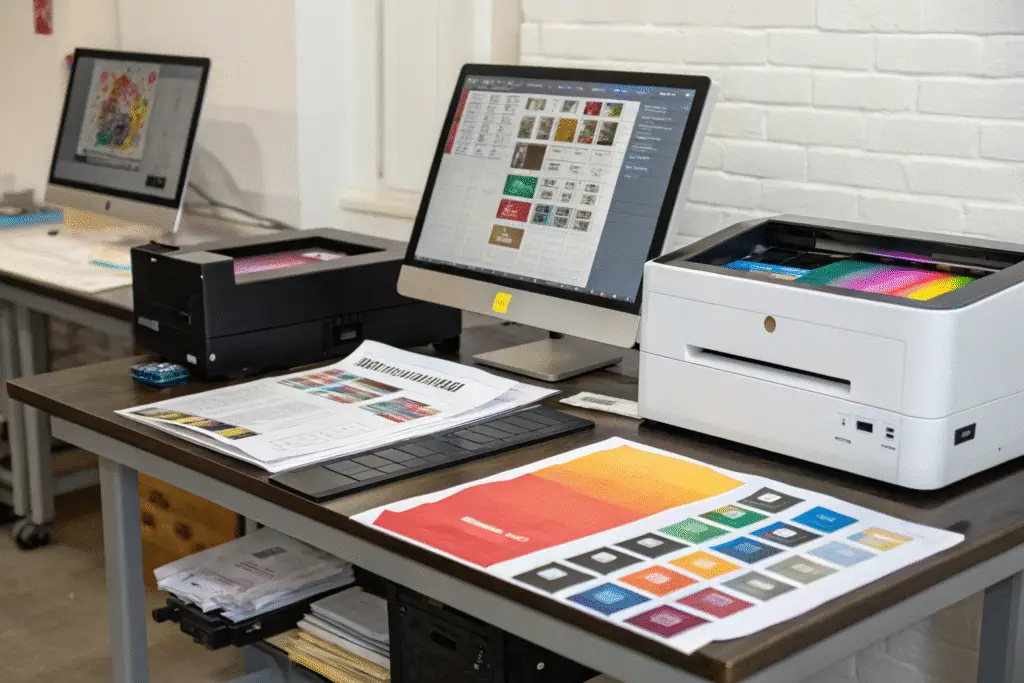
How Does Color Separation Impact Print Quality?
Color separation is the process of dividing a design into individual color components for printing. Proper separation determines color accuracy, registration, and print durability.
The separation approach differs dramatically between printing methods. Screen printing requires individual color layers, DTG handles full-color process automatically, and heat transfer needs careful color management for accurate reproduction. We've developed specialized separation techniques that maintain design integrity while ensuring printability.
What makes effective screen printing color separation?
Effective separation reduces colors without compromising design intent. Skilled separators combine similar colors, use halftones for shading, and optimize the printing sequence. Our color separation service recently transformed a client's 12-color design into a printable 6-color job without visible quality loss, saving them 35% on printing costs.
How should you prepare colors for DTG printing?
DTG printing uses CMYK color mode with white underbase for dark garments. Designs should be provided in RGB format since DTG printers convert to CMYK automatically. We provide clients with our DTG color profile to ensure their screen colors match the printed results as closely as possible.
What Resolution and Sizing Specifications Are Critical?
Resolution and sizing mistakes are the most common causes of poor print quality. Understanding the relationship between digital dimensions and physical print size is essential.
The fundamental rule is 300 PPI (pixels per inch) at the final print size. A design that looks crisp on screen at 4 inches wide will become pixelated if printed at 12 inches wide without sufficient resolution. We caught a client's design that was only 72 PPI at print size before production, preventing a batch of blurry prints.
![]()
How to calculate the correct resolution?
Multiply your desired print width and height in inches by 300 to determine the minimum pixel dimensions. A 10-inch wide print needs at least 3000 pixels width. Our resolution calculator helps clients verify their files meet requirements before submission.
What are the maximum printable dimensions?
Maximum print size depends on garment size and printing method. Standard maximums are approximately 12"x16" for front prints and 14"x18" for back prints, but this varies by garment style. We provide print dimension templates for all our standard garments to ensure designs fit properly.
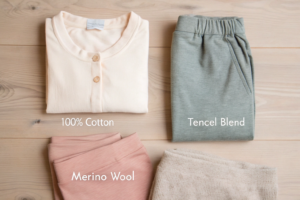
How Does Garment Color Affect Graphic Preparation?
The garment color significantly impacts how you prepare graphics, especially for transparent printing methods like screen printing.
Dark garments typically require a white underbase for colors to appear vibrant, while light garments can print directly. The relationship between ink opacity, garment color, and design elements requires careful planning. We helped a client adapt their design for black shirts by adding a white underbase and adjusting color saturation, transforming a washed-out print into a vibrant result.
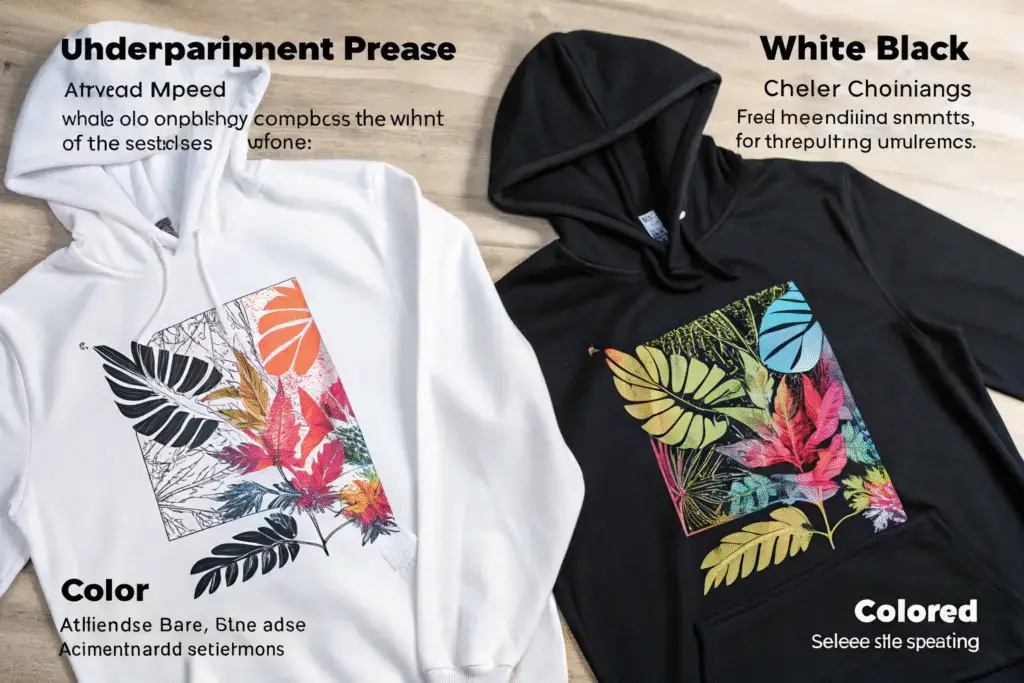
When is a white underbase necessary?
White underbase is essential for vibrant colors on dark garments in screen printing and often used in DTG. It creates a neutral foundation for other colors. Our underbase guidelines help clients understand when this layer is necessary and how it affects their design appearance.
How should you adjust designs for colored garments?
Designs for colored garments should account for how ink colors interact with the base color. Some colors may shift when printed over non-white bases. We provide garment color mockups that show how designs will appear on different colored shirts, allowing adjustments before printing.
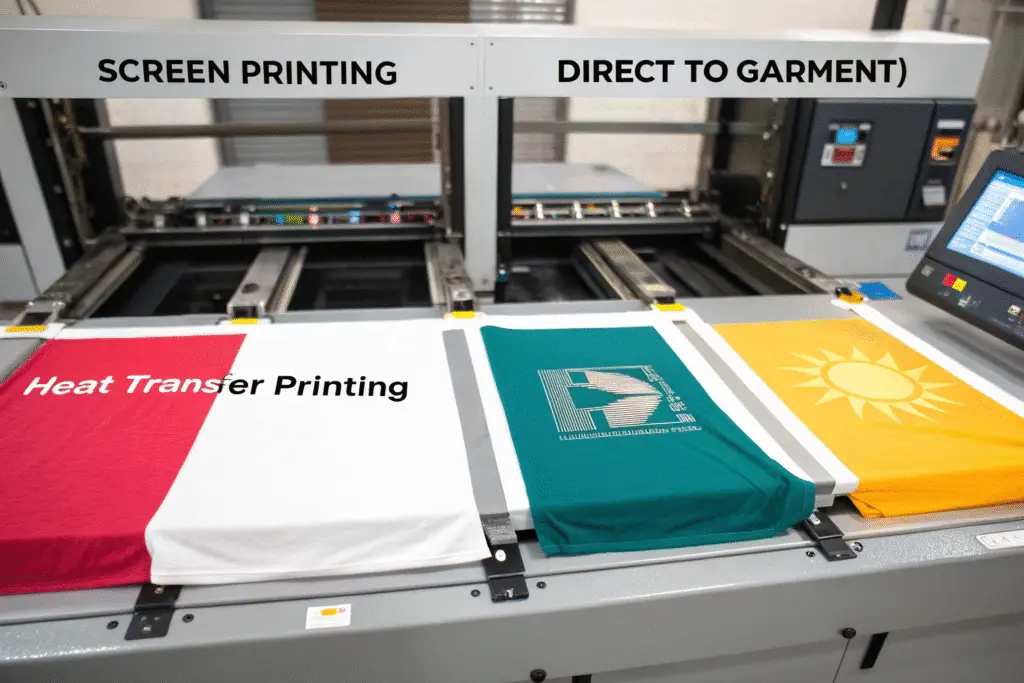
What Are the Technical Requirements for Different Printing Methods?
Each printing method has unique technical requirements that dramatically affect how you prepare files. Understanding these differences prevents costly mistakes.
Screen printing needs color separations, DTG requires high-resolution raster files, and heat transfer needs mirrored designs and proper material selection. We've developed method-specific preparation guidelines that address each technique's limitations and advantages.
| Printing Method | File Requirements | Color Limitations | Best For |
|---|---|---|---|
| Screen Printing | Vector files, color separations | Limited colors, no gradients | Simple designs, large quantities |
| DTG | 300 PPI raster files, RGB color | Full color, works on darks | Photographic, complex designs |
| Heat Transfer | Mirrored, high-resolution files | Colorfast to heat | Small quantities, mixed materials |
What are screen printing's technical constraints?
Screen printing works best with limited colors (typically 1-8), crisp edges, and minimal fine details. Very small text (below 8pt) and hairline details may not print cleanly. Our screen printing guidelines help clients design within these constraints while maintaining their creative vision.
How does DTG handle different design elements?
DTG excels at photographic images, gradients, and complex color blends but struggles with very large solid areas that may appear uneven. Very fine details may also be lost. We recommend our DTG design optimization service for clients transitioning from other printing methods.
How to Specify Placement and Size Correctly?
Accurate placement specifications prevent mispositioned prints and ensure consistent results across all garments.
Placement should be specified from fixed points like the collar or center seam, not variable points like the bottom hem. Include a placement guide with your files showing exact measurements. We recently saved a client from misprinted hoodies by noticing their placement measurement was taken from the bottom hem rather than the collar.
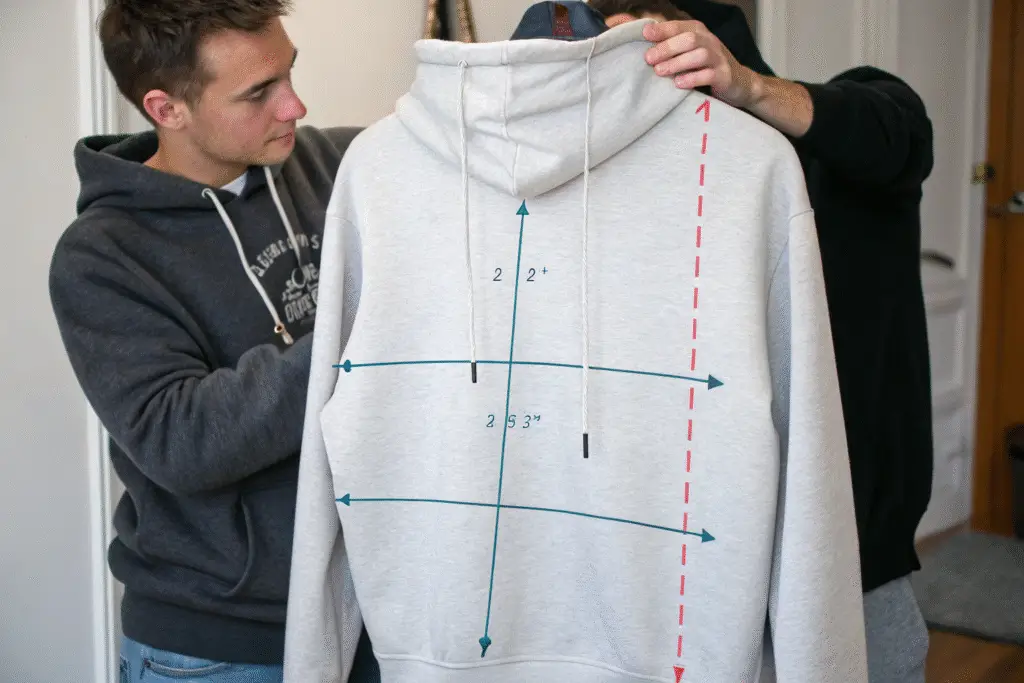
What are standard placement measurements?
Standard placements are typically 3-4 inches below the collar for front designs and centered 4-6 inches below the collar for back designs. However, these vary by garment style and design size. Our placement specification template ensures consistent positioning across all production.
How to create an effective placement guide?
Include a garment template with clear measurement markers and indicate whether measurements are from collar or center. For all-over prints, provide repeat patterns and alignment marks. We provide clients with garment templates for all our available styles to simplify this process.
Conclusion
Proper graphic file preparation bridges the gap between digital design and physical garment, ensuring your vision translates perfectly to printed apparel. The technical requirements may seem complex initially, but they become intuitive with practice and the right guidance.
The most successful brands either develop in-house expertise in print preparation or partner with manufacturers who provide comprehensive guidance through the process. This attention to technical details separates amateur-looking prints from professional results that enhance your brand perception.
If you're preparing graphics for garment printing and want to ensure optimal results, we can provide specific guidance for your designs and printing method. At Fumao Clothing, we've helped hundreds of brands navigate these technical requirements. Contact our Business Director, Elaine, at elaine@fumaoclothing.com for personalized file preparation assistance.