Logo placement might seem like a small detail, but it's one of the most critical elements for brand identity. Many brands focus on the main garment design and treat the logo as an afterthought. This approach leads to inconsistent branding, incorrect samples, and costly revisions. So, is specifying logo placement in your tech pack really necessary?
Absolutely. Logo placement must be explicitly detailed in your tech pack. It is a fundamental component of your brand's identity and visual communication. Leaving it to the factory's interpretation risks misplacement, incorrect sizing, and a final product that fails to represent your brand consistently and professionally.
Forgetting to specify logo details is a common and costly mistake. A misplaced logo can make an otherwise perfect garment look unprofessional. This guide will explain why precise logo specification is non-negotiable, what details to include, and how to communicate them effectively to your clothing manufacturer to ensure flawless execution every time.
Why Is Precise Logo Placement Crucial for Brand Consistency?
Your logo is the face of your brand on every product. Its position, size, and application method directly influence consumer perception and brand recognition. Inconsistent placement across a collection or between production runs makes your brand look disorganized and unprofessional.
Precise specifications prevent subjective interpretations. What you consider "centered" might differ from the factory's standard. Without explicit instructions, you rely on the production team's guesswork. Last year, a client ordered 5,000 polo shirts. Their tech pack included the logo artwork but failed to specify the exact placement. The factory placed the logo 2 inches lower than the client's expectation, deeming the entire batch unsellable. This costly error could have been avoided with a single, clear measurement in the tech pack.

How Does Incorrect Logo Placement Affect Brand Perception?
A misplaced logo can undermine the entire garment's quality. When a logo is too high, too low, or crooked, it signals a lack of attention to detail. Customers may perceive the product as counterfeit or low-quality, even if the fabric and construction are excellent. Consistent, precise logo placement builds trust and reinforces a professional brand image. It tells your customers that you care about every aspect of your product. This level of detail is what separates established, reputable brands from the competition.
What Are the Financial Costs of Logo Placement Errors?
The financial impact is direct and significant. Errors in logo placement typically require a complete rework of the finished garments or, in worst-case scenarios, the production of an entirely new batch. This involves:
- Additional labor costs for removing and reapplying logos.
- Cost of new materials (e.g., new logos, fabric patches).
- Potential loss of the original garments if rework damages them.
- Massive delays in shipping, which can cause you to miss key selling seasons. Specifying placement correctly in the tech pack is a minor effort that prevents major financial losses.
What Specific Logo Details Must Be In Your Tech Pack?
Simply stating "place logo on left chest" is insufficient. A professional tech pack treats the logo as a key component with its own detailed set of specifications. Ambiguity is the enemy of quality control.
Your goal is to provide so much detail that the factory cannot get it wrong. This requires a combination of visual guides, precise numerical data, and clear text descriptions. A comprehensive logo specification section is a hallmark of a well-prepared brand.
How Should You Specify Logo Placement and Measurements?
You must provide exact measurements from fixed points on the garment. Do not use vague terms like "center" or "near the top." Use a visual diagram (like a flat sketch) with callouts.
| Measurement | Description | Example Specification |
|---|---|---|
| Horizontal Placement | Distance from a specific seam (e.g., center front neck seam). | "Place logo 3 inches down from the neckline opening at center front." |
| Vertical Placement | Distance from a side seam or edge. | "Place logo 2.5 inches from the center front line." |
| Logo Dimensions | The exact height and width of the logo. | "Embroidery logo: 2 inches wide x 0.8 inches high." |
| Alignment | How the logo should be oriented. | "Logo must be aligned parallel to the bottom hem." |
What Are the Key Application Method Specifications?
The method used to apply the logo affects its look, feel, and durability. Your tech pack must specify the exact application technique. Common methods include embroidery, screen printing, and heat transfer. For embroidery, you must provide the thread colors using Pantone codes or thread brand references, the stitch type (e.g., satin stitch, fill stitch), and the backing material. For printed logos, you must specify the print type (e.g., plastisol, discharge) and any special effects. We once received a tech pack that specified an "embroidered logo" but not the stitch density. The first sample had a sparse fill stitch that looked cheap. We corrected it with a denser satin stitch, but this required a second sample round. Clear application details prevent such setbacks.
How Can You Effectively Communicate Logo Specifications?
Providing the information is one thing; ensuring it is understood is another. Effective communication combines visual, numerical, and descriptive elements. This multi-layered approach eliminates any potential for misunderstanding between your design team and the manufacturing floor.
Using industry-standard tools and formats makes the process seamless. It shows your manufacturer that you are a professional partner who understands the production process, which builds confidence and fosters a better working relationship.

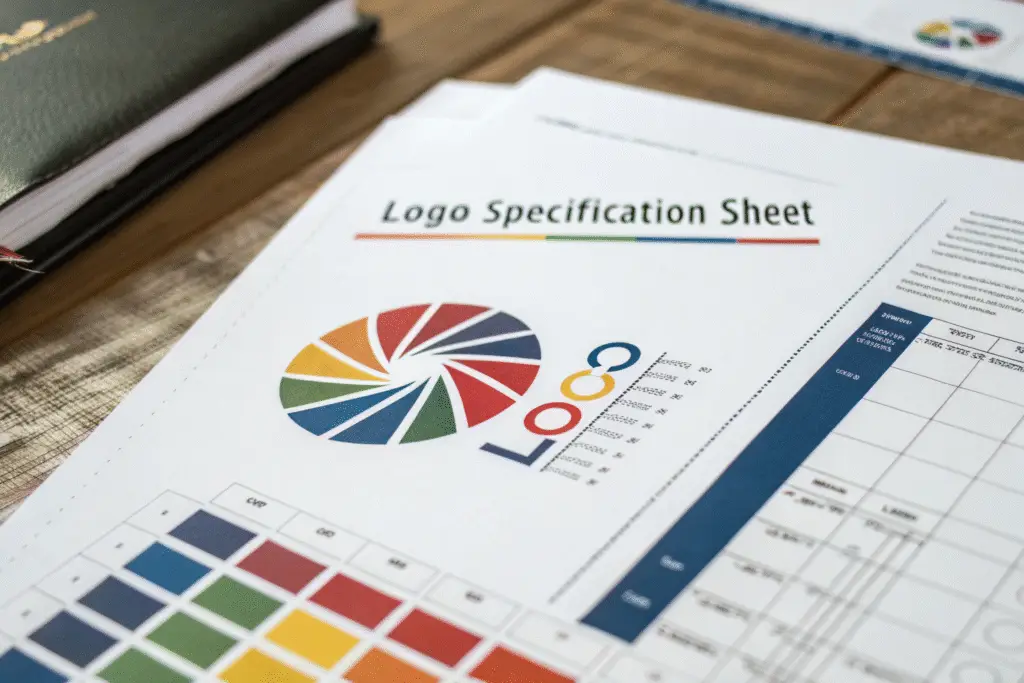
Why Are Digital Mockups and Callout Sheets Essential?
A digital mockup is the most effective way to visualize logo placement. Create a flattened image of your garment and place the logo exactly where it should be. This serves as an instant visual reference that complements your numerical measurements. A callout sheet is a dedicated page in your tech pack for all branding elements. It should include the final, high-resolution logo artwork in vector format (like .AI or .EPS), a table of all placement measurements, and a section detailing the application method. Sending a low-resolution .JPG file of your logo is a common mistake that leads to blurry, pixelated prints and embroidery.
What is the Role of a Reference Sample?
For new brands or complex logos, creating a reference sample is invaluable. This is a physical sample where the logo is applied perfectly. You can send this sample to the factory as a gold standard. They can match the placement, size, and application method directly to the physical object. This is especially useful for difficult-to-describe placements or unique application techniques. It provides a tangible target that leaves no room for ambiguity. Combining a reference sample with a detailed tech pack is the ultimate strategy for ensuring perfection.
Conclusion
Including detailed logo placement in your tech pack is not just a recommendation; it is an essential requirement for professional apparel production. It safeguards your brand identity, ensures consistency across all units, and prevents expensive mistakes and delays. By providing precise measurements, clear application methods, and effective visual aids, you empower your manufacturing partner to deliver a product that truly reflects your brand's standards.
Do not leave this critical detail to chance. A complete tech pack is your blueprint for success. If you want to work with a manufacturer that prioritizes this level of detail and precision for your brand, we are here to help. For a consultation on your next production order, please contact our Business Director Elaine at elaine@fumaoclothing.com.