You have a great brand and a stunning logo. Now, you want to see it beautifully displayed on your custom garments. This is a common and crucial step for brand owners looking to elevate their product lines. But the process can seem complex if you're not familiar with apparel manufacturing. How do you ensure your logo is translated perfectly onto fabric, maintaining its quality and integrity?
Adding your logo to custom garments involves selecting the right decoration method for your design and material, preparing professional print-ready artwork, and partnering with a manufacturer that offers expert guidance from sampling to bulk production to ensure a flawless result. The right technique can enhance your brand's perceived value, while the wrong one can lead to disappointing quality and unhappy customers. This guide will walk you through the entire process.
Many brand owners come to us with a digital file of their logo but are unsure about the next steps. The journey from a digital image to a perfectly embroidered polo shirt or a crisply printed tote bag requires careful planning. Let's dive into the specifics of how you can successfully add your logo to your custom apparel orders.
What Are The Best Methods For Logo Application?
Choosing how to apply your logo is the first and most critical decision. The method impacts the look, feel, cost, and durability of your final product. Your choice should align with your design complexity, fabric type, and the desired aesthetic.
The best method for your logo depends on your design's detail, the garment fabric, and your volume. For simple, durable logos on sturdy fabrics, embroidery is superior. For full-color, complex designs, Direct-to-Garment (DTG) printing excels. Techniques like screen printing are cost-effective for large orders with limited colors, while heat transfer offers versatility for smaller batches. A reliable manufacturer will advise you on the most suitable option.
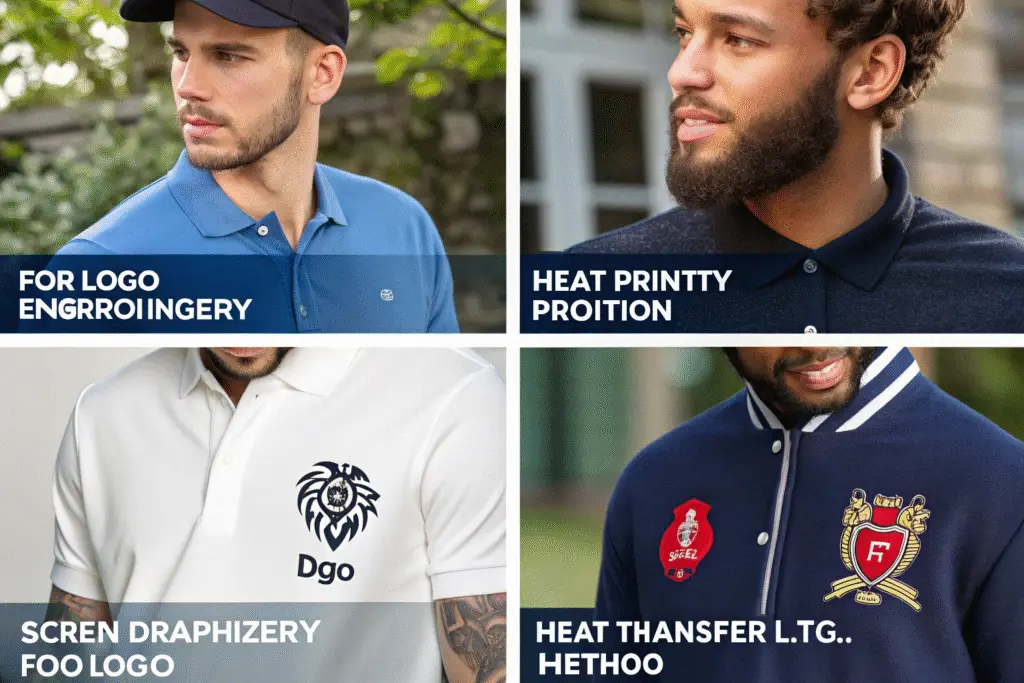
Is Embroidery The Right Choice For My Brand Logo?
Embroidery involves stitching your logo directly onto the garment using threads. It creates a textured, premium, and durable finish. We often recommend it for corporate wear, polo shirts, and outerwear because it conveys quality and withstands repeated washing. However, it's not ideal for very small, intricate details or extremely lightweight fabrics like silk, as the needlework can cause puckering. For instance, a New York-based corporate client we worked with last quarter wanted to rebrand their team uniforms. Their previous logo was a printed patch that peeled after washes. We helped them switch to direct embroidery on polo shirts. The result was a much more professional appearance, and the logos have maintained their sharpness through over 50 industrial washes, according to their feedback. The key is to have a simple, clean vector design for the best embroidery digitizing process.
When Should I Consider Screen Printing For My Logo?
Screen printing is a classic technique where ink is pushed through a mesh screen onto the fabric. It is excellent for bold, graphic logos with a limited color palette and is highly cost-effective for large orders. The resulting print is vibrant and long-lasting. However, it has a higher initial setup cost due to screen creation, making it less economical for small batches. It also doesn't work well for photorealistic images or gradients. A common application we see is for branded merchandise like event t-shirts. A startup from Texas ordered 5,000 custom t-shirts for a major product launch. Using screen printing, we achieved bright, opaque colors on dark fabric at a unit price that fit their budget. The process was efficient, and the consistency across all units was perfect, which is crucial for brand image.
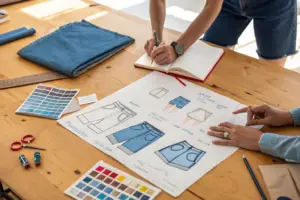
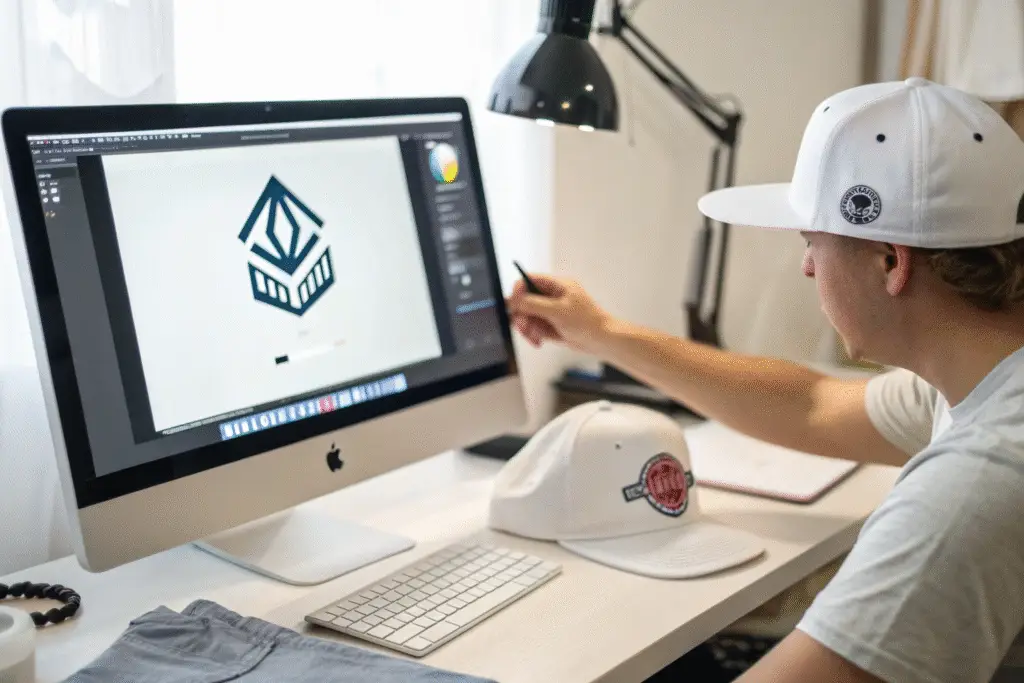
How To Prepare Your Logo Artwork For Production?
Your digital file is the blueprint for your logo application. Providing the correct format is non-negotiable for a high-quality outcome. Incorrect or low-resolution files are a primary reason for delays and subpar results in the production process.
To prepare your logo, you need a vector file (like .AI or .EPS) from your designer. This format allows for scaling to any size without quality loss, which is essential for creating samples and production-ready files for any application method. If you only have a raster file (like .JPG or .PNG), your manufacturer will likely need to recreate it as a vector, which can add time and cost. Always request this file from your graphic designer.
What Is The Difference Between Vector and Raster Files?
Understanding the difference between these two file types is crucial. A vector file uses mathematical paths and points to define the design, meaning it can be scaled infinitely without becoming blurry or pixelated. Common vector formats are .AI, .EPS, and .PDF (if saved correctly). A raster file, like a .JPG, .PNG, or .BMP, is made of a grid of pixels. Enlarging a raster file will result in a loss of clarity and sharpness, making it unsuitable for most garment decoration processes. We once had a client who only had a small .PNG file from their website. When we tried to use it for a large back print, it became extremely pixelated. We had to spend two days redrawing the logo as a vector, which delayed their sampling by a week.
Why Are Pantone Colors Critical For Logo Consistency?
Pantone Matching System (PMS) colors are standardized, universal color references. Specifying your logo colors using Pantone numbers ensures the color you choose is the color you get, regardless of the production method or factory location. This eliminates guesswork and guarantees your brand identity remains consistent across all your products and promotional materials. Without Pantone references, color matching becomes subjective, leading to potential variations. For a client importing kids' wear into Europe, we used specific Pantone colors for their animal character logos. This ensured that the pink used on the first shipment in Spring was identical to the pink used in a reorder six months later, maintaining perfect brand consistency for their customers.
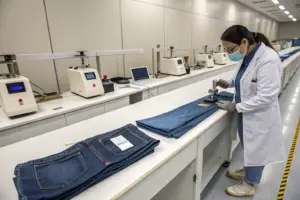
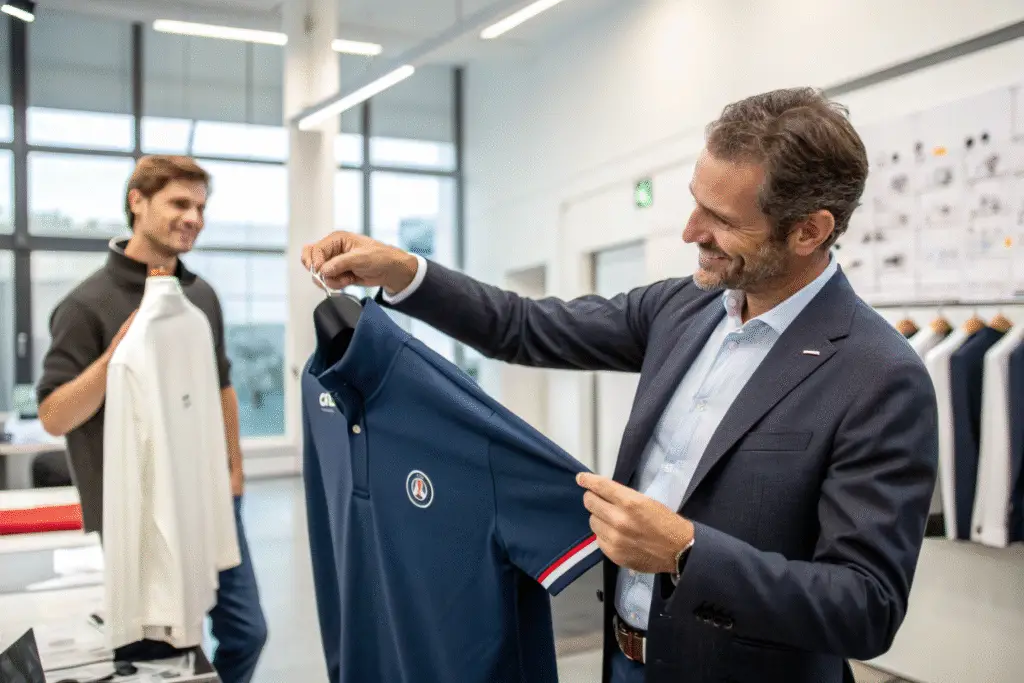
What Does The Sampling Process Look Like?
The sampling or prototyping stage is your opportunity to see and feel how your logo will appear on the actual garment. Never skip this step. It is the final check before you commit to a large and costly production run.
The sampling process involves your manufacturer creating a physical prototype of your garment with your logo applied. You will receive this sample for a thorough inspection of the logo's placement, size, colors, and the quality of the application method itself. This is the time to be meticulous. Check everything from the stitch density in an embroidery to the color vibrancy in a print. Your approval of the sample greenlights the bulk production.
| Inspection Point | What to Look For |
|---|---|
| Logo Placement | Is it centered? Is the height from the collar correct? |
| Color Accuracy | Does it match your Pantone reference? |
| Application Quality | Are there loose threads (embroidery)? Is the print cracking (transfer)? |
| Size & Proportion | Does the logo look balanced on the garment? |
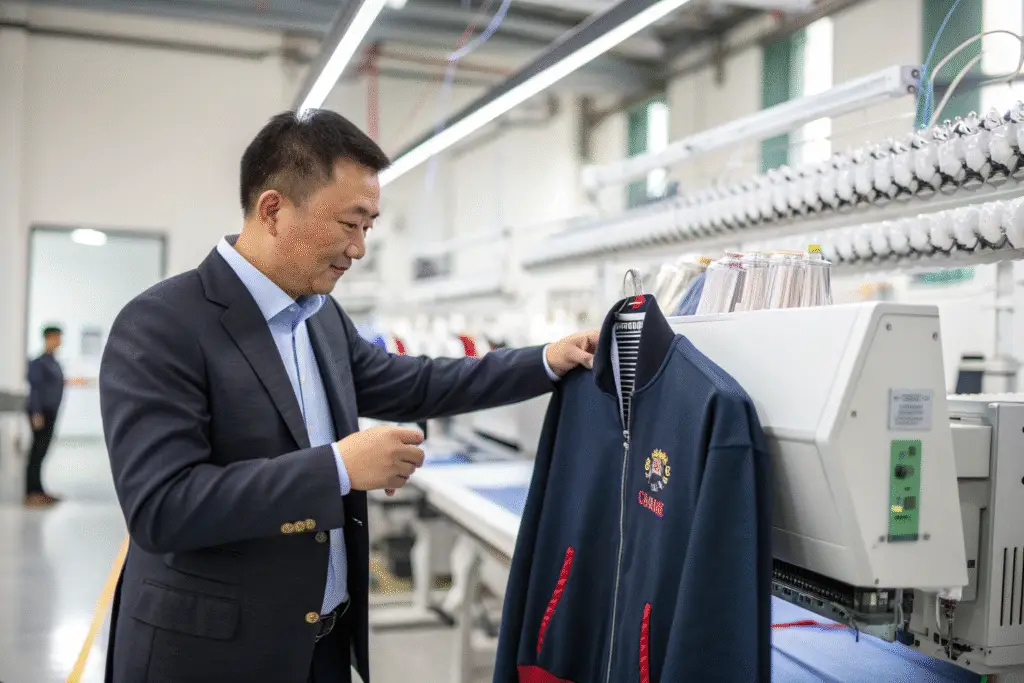
How Many Sample Revisions Are Typical?
Typically, one to two sample revisions are standard to get everything perfect. The first sample checks the overall execution. You might request a change, such as moving the logo half an inch higher or adjusting a color shade. The second sample then incorporates these changes for your final approval. While some projects are approved on the first sample, it's wise to budget and plan for at least one revision to ensure quality. Rushing this process is a common pitfall. A sportswear brand from Florida learned this the hard way with a previous supplier. They approved a sample without checking the colorfastness and later discovered the logos on the bulk order faded significantly after just a few washes. With us, we provide wash-test reports with our samples to prevent such issues.
What Should I Check When Approving The Logo Sample?
Be systematic. First, check the visual aspects: color, placement, and size. Then, check the physical aspects. For embroidery, run your finger over it; it should feel firm and smooth, not loose or bumpy. For prints, gently stretch the fabric to see if the ink cracks. Look for any misalignment or ghosting. Finally, if possible, do a wash test. We provide a simple quality control checklist for our clients to use during sample approval. This proactive approach saved a client from a major issue last year when they noticed a slight smudge in a complex graphic print on a hoodie. We caught it at the sample stage, adjusted the printing plate, and avoided a defective bulk order of 3,000 pieces.
How To Ensure Quality And Avoid Delays?
A smooth production process hinges on clear communication and a reliable manufacturing partner. Delays often stem from unclear expectations, last-minute changes, or suppliers cutting corners.
You ensure quality and avoid delays by partnering with an experienced manufacturer, providing clear and complete information upfront, and understanding realistic timelines that include sampling and production. Ask your supplier about their quality control protocols and their policy on deadlines. A professional partner will be transparent about their process and keep you updated on your order's status.
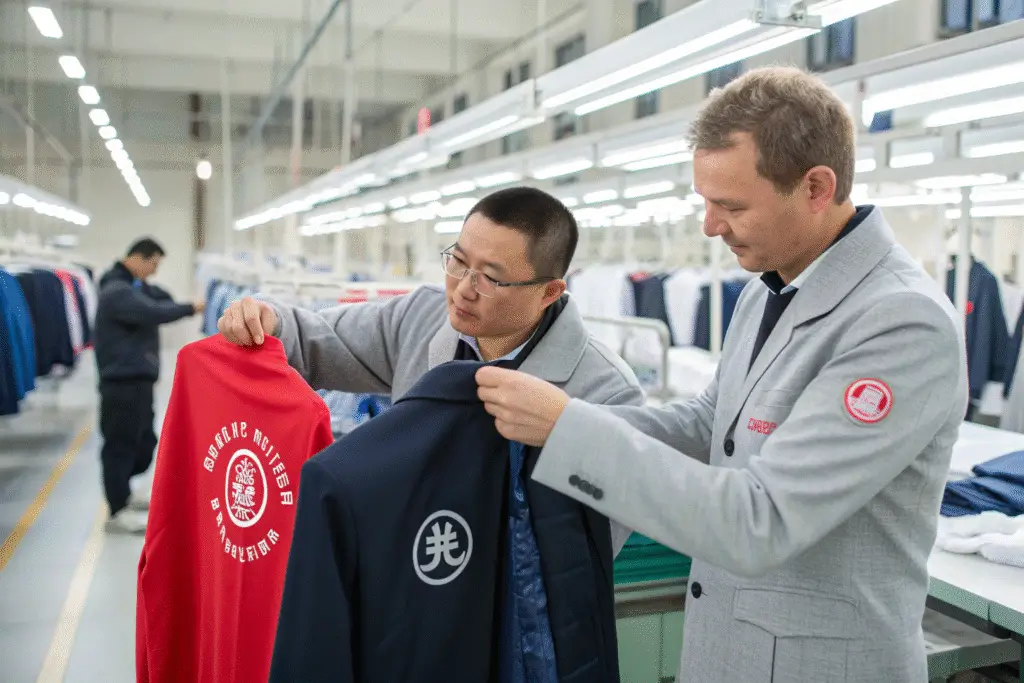
Why Is A Reliable Manufacturer Key To On-Time Delivery?
A reliable manufacturer has robust systems in place for supply chain management and production planning. They proactively manage fabric sourcing, thread/ink inventory, and production line scheduling. They also have strict in-house quality checks at every stage, preventing a last-minute discovery of a major flaw that could halt shipment. We implement a milestone-based update system for our clients. For example, a client knows when their fabric is sourced, when production begins, when quality check is complete, and when the goods are shipped. This transparency builds trust and eliminates stressful uncertainty about order status.
How Can I Prevent Common Logo Application Mistakes?
Most common mistakes are preventable with clear communication. Firstly, always approve a physical sample. Secondly, provide explicit written instructions regarding logo placement, size, and colors—don't assume. Thirdly, discuss the garment's end-use; a logo for high-performance activewear needs different durability considerations than one for casual loungewear. Finally, work with a manufacturer that is honest about capabilities. We once turned down an order for a very detailed photographic logo that a client wanted embroidered on a thin jersey. We explained it was technically impossible to achieve a good result and proposed a hybrid print-embroidery solution instead. Honesty in the planning phase prevents disappointment upon delivery.
Conclusion
Adding your logo to custom garments is a multi-step process that blends creative design with technical precision. The journey involves selecting the optimal application method, preparing professional artwork, rigorously approving samples, and partnering with a manufacturer you can trust. By understanding each of these stages, you can confidently navigate the process and ensure your logo enhances your brand's identity and value.
A successful logo application strengthens your brand in the market. It's a direct reflection of your attention to detail and commitment to quality. By following these steps, you transform your logo from a simple digital image into a powerful, tangible asset on your products.
Ready to bring your branded apparel vision to life with a partner that prioritizes clarity, quality, and on-time delivery? Let's discuss your specific needs. Contact our Business Director, Elaine, today at elaine@fumaoclothing.com to start your custom garment journey with Shanghai Fumao.