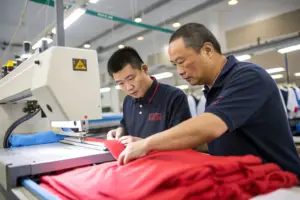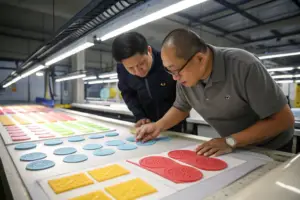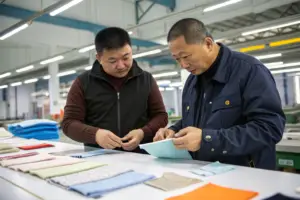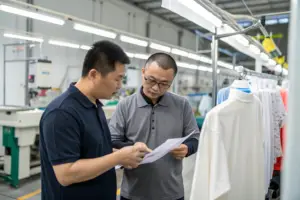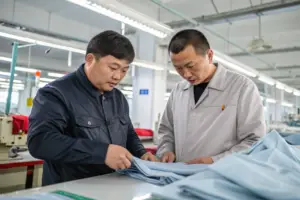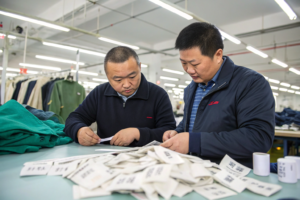
You ordered heat-transfer labels for your new line. The samples looked great. Now your factory needs to apply them the right way. If the heat is wrong, the label peels. If the pressure is wrong, the label fades. If the time is wrong, the label cracks. These small errors can cost you a whole shipment.
Heat-transfer labels are applied with a heat press. The press uses three settings: temperature, pressure, and time. The label is placed on the fabric, covered with a protective sheet, and pressed. Then it cools and bonds. Most factories use 300–350°F, medium pressure, and 10–20 seconds. At Shanghai Fumao, we apply heat-transfer labels on our 5 production lines. We ship to North America and Europe.
This guide explains the full process. I will cover equipment, steps, settings, and common problems. I will share real cases from our factory. You can then apply labels the right way or check your supplier’s work.
What Equipment Do You Need for Heat Transfer?
You may think you only need a heat press. That is not enough. You also need the right accessories. A missing sheet or a dirty plate can ruin the label. Many US buyers ask me what tools are needed. The answer is simple but important.
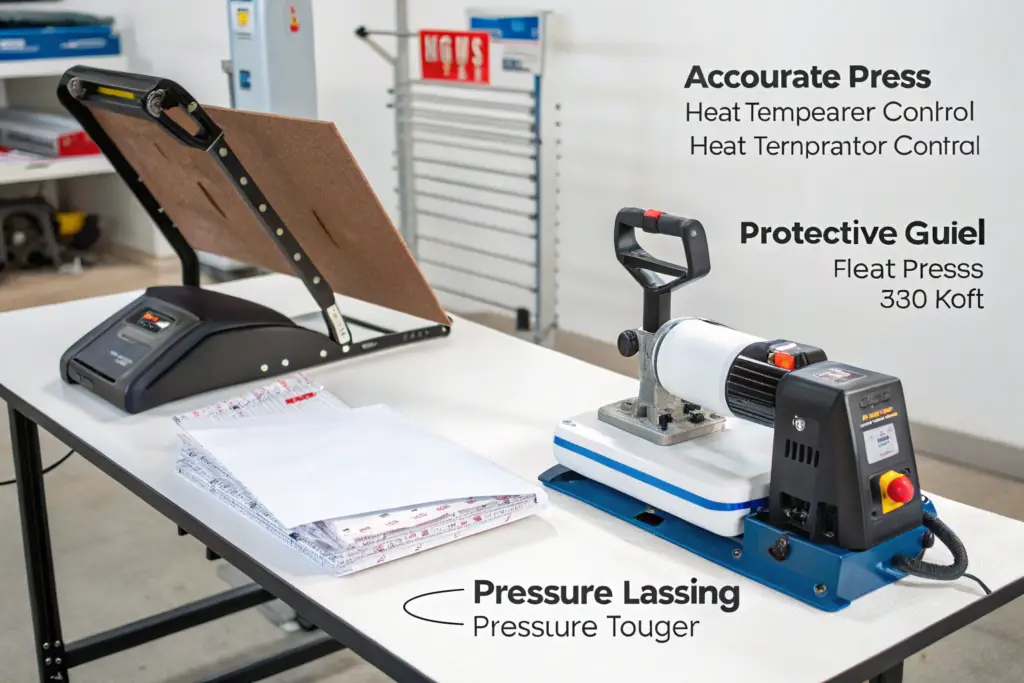
You need four main tools for heat-transfer labels. First, a heat press with accurate temperature control. Second, a protective sheet or Teflon paper. Third, a clean, flat work surface. Fourth, a cooling rack or table. Some factories also use a laser guide and a pressure gauge. At Shanghai Fumao, we check every press before each shift.
The press is the most important tool. A cheap press may have cold spots. Cold spots cause weak bonds. A good press keeps the same heat across the plate. It also holds pressure steady. We test our presses with a heat gun and a pressure map. This step keeps quality stable.
| Tool | Purpose | Common Problem |
|---|---|---|
| Heat press | Applies heat and pressure | Cold spots |
| Protective sheet | Protects label and plate | Wrinkles |
| Clean surface | Keeps fabric flat | Dust and lint |
| Cooling rack | Cools label evenly | Hot stacking |
| Pressure gauge | Checks force | Wrong pressure |
What Type of Heat Press Works Best?
A pneumatic heat press works best for bulk production. It gives steady pressure. It also saves operator energy. A manual press works for small runs. But it can vary from piece to piece. A Los Angeles activewear brand came to us in 2024. Their old manual press caused 8% label defects. We switched to a pneumatic press with a digital controller. Their defect rate dropped to 1.5%. You can check machine safety with OSHA and quality rules from ISO 9001. The right press pays for itself.
What Accessories Improve Label Quality?
Three accessories improve label quality. First, a Teflon sheet protects the label surface. Second, a heat-resistant glove protects the operator. Third, a laser guide helps place the label in the same spot every time. A Midwest kids’ brand tested our setup in early 2025. Their label placement was off by 6 mm on some shirts. We added a laser guide. Their customer complaints fell by 30%. You can review softline testing from SGS softlines and Intertek. Small tools make a big difference.
What Are the Steps to Apply Heat-Transfer Labels?
You may want to rush the process. You may think a few seconds do not matter. But each step matters. A missed step can cause peeling or fading. Many US buyers ask me for a simple process. I will give you one.
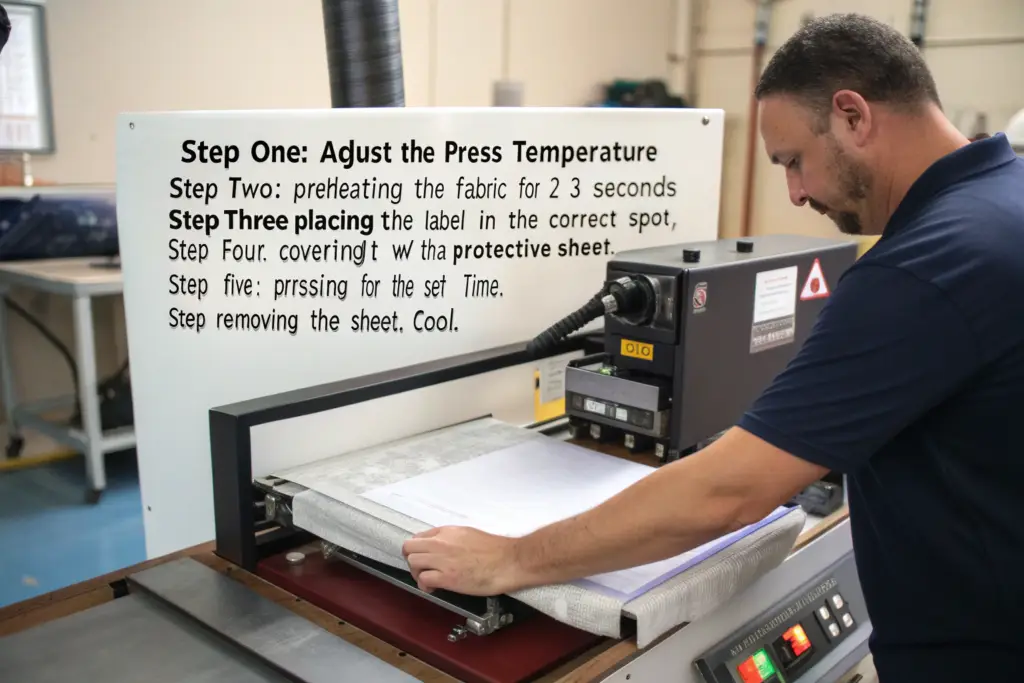
To apply heat-transfer labels, follow six steps. First, set the press temperature. Second, preheat the fabric for 2–3 seconds. Third, place the label in the correct spot. Fourth, cover it with a protective sheet. Fifth, press for the set time. Sixth, remove the sheet and let the label cool. At Shanghai Fumao, we keep a printed checklist at every station.
Preheating is often skipped. That is a mistake. Preheating removes moisture and wrinkles. Moisture can trap steam under the label. Steam causes bubbles and weak bonds. A clean, dry fabric gives a strong bond. We teach every operator to preheat first.
| Step | Action | Time |
|---|---|---|
| 1 | Set temperature | 300–350°F |
| 2 | Preheat fabric | 2–3 seconds |
| 3 | Place label | By guide |
| 4 | Cover with sheet | Full cover |
| 5 | Press | 10–20 seconds |
| 6 | Cool and check | 1–2 minutes |
How Do You Place the Label Correctly?
Placement is critical. A label that sits too high or too low looks wrong. A label that sits off-center looks cheap. Use a laser guide or a chalk mark. Keep the same spot on every piece. A Dallas basic tee brand tested our placement in mid-2024. Their neck labels were off by 5 mm. We added a guide and trained the team. Their returns fell by 18%. You can check labeling rules from the FTC apparel labeling guide and CPSC clothing rules. Good placement shows quality.
How Do You Press and Cool the Label?
Press with steady pressure. Do not press too hard. Too much pressure can push ink into the fabric. Too little pressure can cause a weak bond. After pressing, remove the sheet and let the label cool. Do not stack hot garments. Hot stacking can cause wrinkles and peeling. A New York yoga brand tested our cooling method in 2023. Their labels stayed flat after 30 washes. Their repeat purchase rate rose by 20%. You can review test methods from ASTM and AATCC. Cooling is part of the bond.
What Temperature and Pressure Should You Use?
You may see many temperature charts online. They can confuse you. Some say 280°F. Some say 375°F. The right setting depends on the film, the ink, and the fabric. There is no single number for every job.
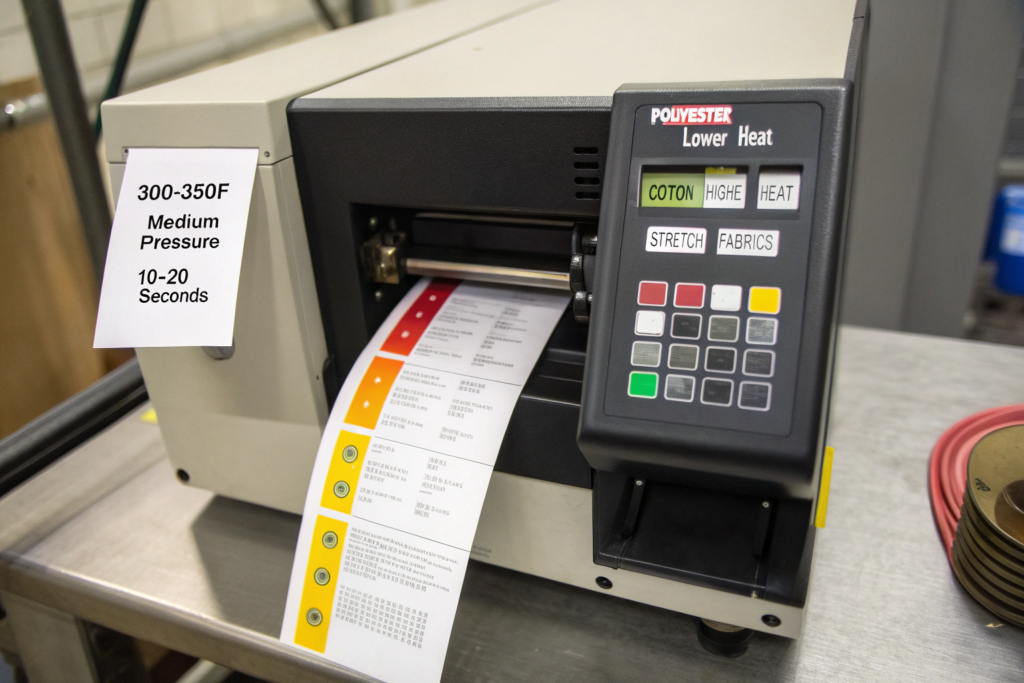
Most heat-transfer labels use 300–350°F, medium pressure, and 10–20 seconds. Polyester needs lower heat and shorter time. Cotton can take higher heat. Stretch fabrics need lower pressure. Always follow the label maker’s data sheet and test a sample first. At Shanghai Fumao, we test three settings before every bulk run.
Temperature, pressure, and time work together. If you raise heat, you may need less time. If you lower pressure, you may need more time. Small changes can shift the result. We keep a settings log for every fabric and label type. This log stops guesswork.
| Fabric | Temperature | Time | Pressure |
|---|---|---|---|
| Cotton | 350°F | 15–20s | Medium |
| Polyester | 300°F | 10–15s | Medium |
| Nylon | 290°F | 10–12s | Low |
| Stretch blend | 300°F | 10–15s | Low |
| Kids’ knit | 310°F | 12–15s | Medium |
Why Does Fabric Type Change the Settings?
Fabric type changes the settings because each fiber reacts differently. Cotton can take high heat. Polyester can melt or shine at high heat. Nylon can yellow. Stretch blends can lose shape under high pressure. A Los Angeles running brand had shiny marks on their polyester shirts. We lowered the heat by 40°F. The marks disappeared. Their returns fell by 22%. You can check fiber guidance from Textile Exchange and material safety from OEKO-TEX. Match the setting to the fiber.
How Do You Find the Right Settings?
Find the right settings with a simple test. Cut five fabric squares. Apply the label at five different settings. Wash the squares 10 times. Check the edges, color, and feel. Pick the best one. A US buyer once used the same setting for cotton and polyester. Half their labels failed. We helped them build a settings chart. Their defect rate dropped by 25%. You can review quality ideas from Bureau Veritas and Higg. A small test saves big money.
How Do You Fix Common Heat-Transfer Problems?
You may see a label peel after one wash. You may see a label fade after two weeks. You may see bubbles or shine marks. These problems are common. But they are also fixable. The key is to find the cause.
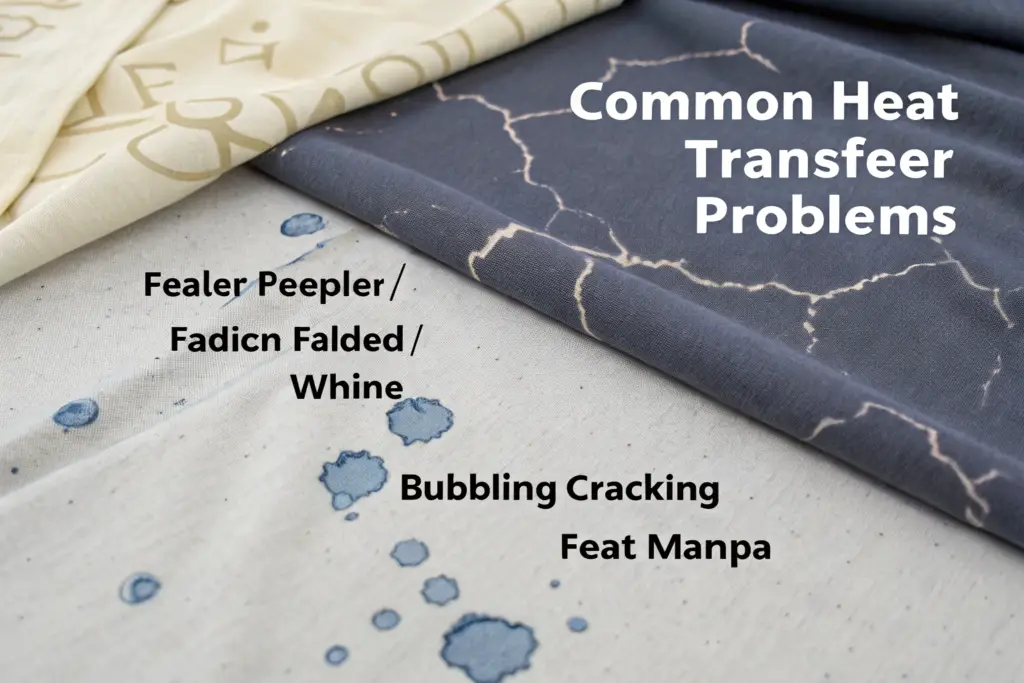
Common heat-transfer problems include peeling, fading, bubbling, cracking, and shine marks. Peeling comes from low heat or dirty fabric. Fading comes from cheap ink or too much heat. Bubbles come from moisture. Shine comes from too much pressure or heat. Each problem has a simple fix. At Shanghai Fumao, we track every defect and fix the cause.
Do not fix the symptom only. Fix the cause. If labels peel, check the fabric finish first. Softener can block the bond. If labels fade, check the ink type. Cheap ink cannot take heat. If bubbles appear, check the moisture. A dry fabric gives a clean bond.
| Problem | Likely Cause | Fix |
|---|---|---|
| Peeling | Low heat, softener | Raise heat, wash fabric |
| Fading | Cheap ink, high heat | Change ink, lower heat |
| Bubbles | Moisture | Preheat longer |
| Cracking | Low pressure, old film | Raise pressure, new film |
| Shine | Too much heat or pressure | Lower both |
Why Do Heat-Transfer Labels Peel After Washing?
Heat-transfer labels peel after washing for four main reasons. First, the heat was too low. Second, the pressure was too low. Third, the fabric had softener or dust. Fourth, the label film was cheap. A Midwest kids’ brand had labels peel after 5 washes. We raised the heat by 20°F and washed the fabric before pressing. Their complaints fell by 35%. You can check labeling rules from the US Fashion Industry Association and industry news from Just Style. Fix the cause, not the label.
How Do You Prevent Fading and Cracking?
Prevent fading with the right ink and the right heat. Prevent cracking with the right film and the right pressure. Do not overheat dark fabrics. Do not use old film. Do not skip the wash test. A New York streetwear brand tested our protected label in 2024. The label stayed clear after 40 washes. Their repeat order doubled. You can review responsible sourcing ideas from WRAP and test methods from Textile World. Good materials and good settings stop most problems.
Conclusion
Heat-transfer labels are applied with a heat press. You need the right tools, the right steps, and the right settings. Most labels use 300–350°F, medium pressure, and 10–20 seconds. The fabric type changes the setting. Preheat the fabric. Place the label with a guide. Press with steady pressure. Let the label cool. Fix peeling, fading, and bubbles by finding the cause. I tell US brands to test first. Run a small wash trial. Check certificates. Compare the full cost. At Shanghai Fumao, we design, develop, and manufacture apparel for US brands. We handle heat-transfer labels, application, quality control, and DDP shipping. If you want to produce your own clothing order, please contact our Business Director Elaine. Her email is elaine@fumaoclothing.com. Let us help you bring your apparel vision to market.